Continue readingThis is the first post in a series of small projects for retrofitting my JEN SX-1000 monosynth with a simple and cheap MIDI interface controller. Read about the basic idea here. Today, I am designing and building the micro-controller brain of the Jenny retrofit – if you are capable of basic soldering, it should not take you more than two hours and a couple of very common electronic parts.
Jenny and friends in action
Vanity post: This is what a session with the JEN sounds and looks like, mainly playing it as a bass synth. Look out for the freshly integrated phaser from 20:05 onwards. Other electronic sounds are from my Blofeld, a Ferrofish organ and Synthstrom Audio Deluge beatbox, a Meris Enzo guitar synth, an occasional Octatrack sample, and Eberhard’s guitar.
The glorious monkey art was conceived and painted by my friend Gerald, who – apart from playing organs and the Deluge – edited the video as well.
The chip shop is down…
…as I am installing proper shop software after all. Safer and faster for you, easier for me.
Might take a couple of days though until the webshop plugin is running and properly translated.

If you are about to lose patience, or would like to contact me about any issue or question, please use the contact form. (Yes, I DO know that it stubbornly mistakes some people for spammers but please stick with me; there is also a mail address on that site.)
Jenny getting her very own phaser…
…and my sweet Lord, does it make her shine!
Nothing fancy here. After inserting the booster/overdrive in between VCO and filter section, I took another of those lovely Musikding.de kits for a phaser, built it, drilled some holes into Jenny’s housing and fitted it.
 I have been using Jenny as a bass synth recently, and I am quite impressed by the quantities of life and fun this old machine is adding to the mix. She doesn’t do that much in terms of tonal range, but what she does, she does well.
Drilling holes in Jenny’s front
I rediscovered an old trick when drilling metal: use a bit of alcohol, not on the person drilling, but on the surface you want to drill. And don’t go too fast. 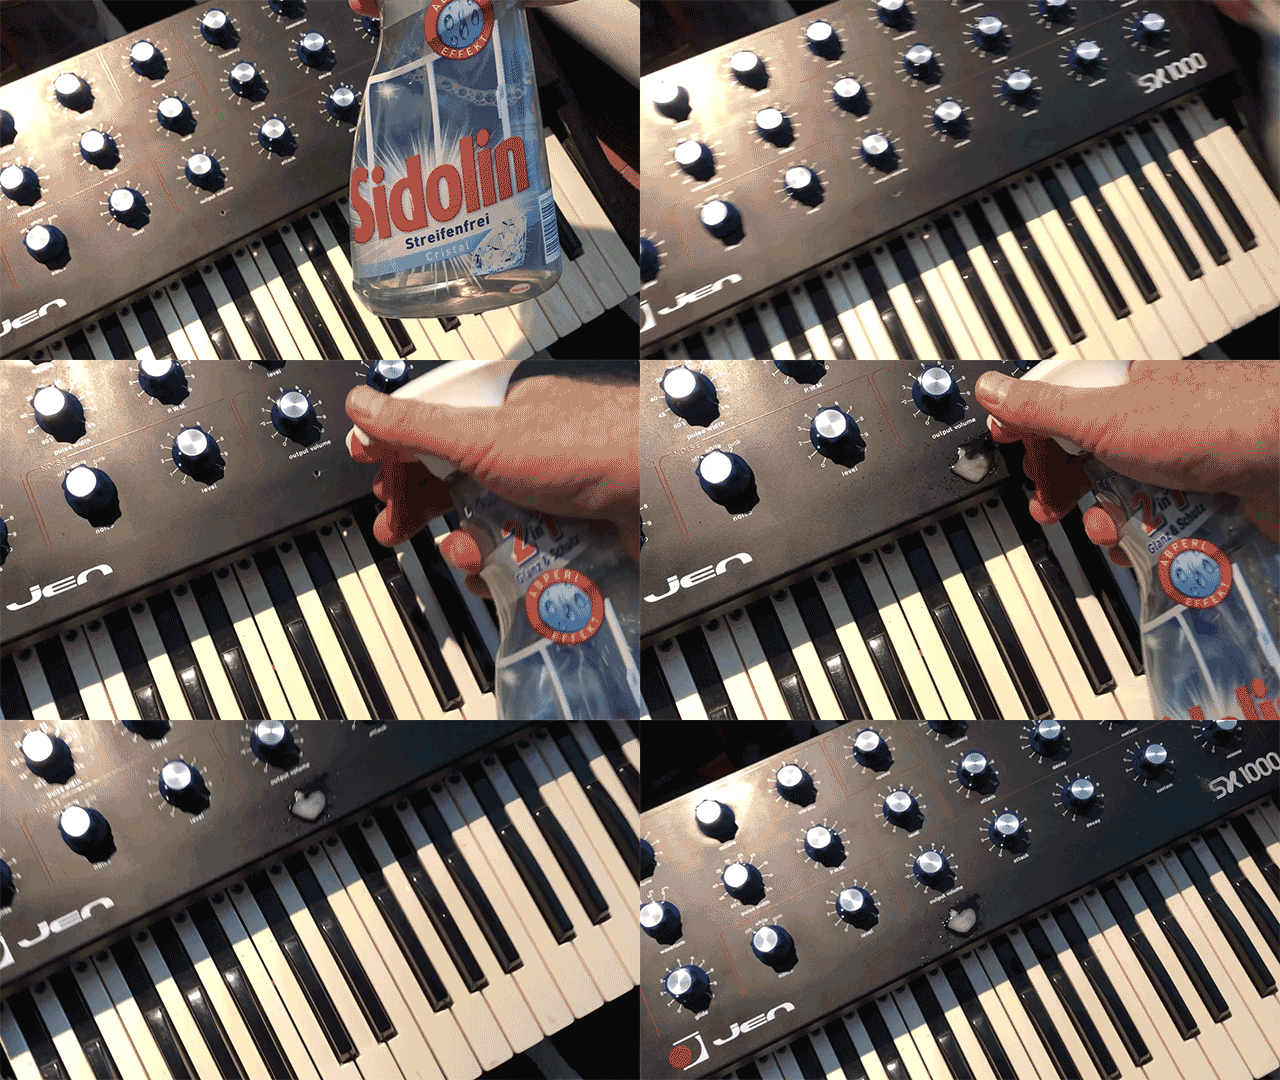
A Pre-Filter Booster Stage for Jenny
Giving my JEN SX-1000 a bit of additional low growl by adding a pre-filter overdrive.
A nice little addition: Insert a booster circuit kit where the coupling capacitor between oscillator and the filter used to be. Come on, you’ll have to take out that damn capacitor anyway. And it sounds really nice, punching through the mix (samples below) – especially in combination with the sub-oscillator mod.
I do admit that you might think that this is a superfluous mod. After all, when you drive this circuit – any circuit – into overdrive and into clipping, the resulting wave form will, gradually, start to resemble a square wave.
But I could do it, so I did it. And I like it. So let’s get started.
Still phasin’…
Using an Arturia Beatstep (or something like it) to control the Matrix-1000
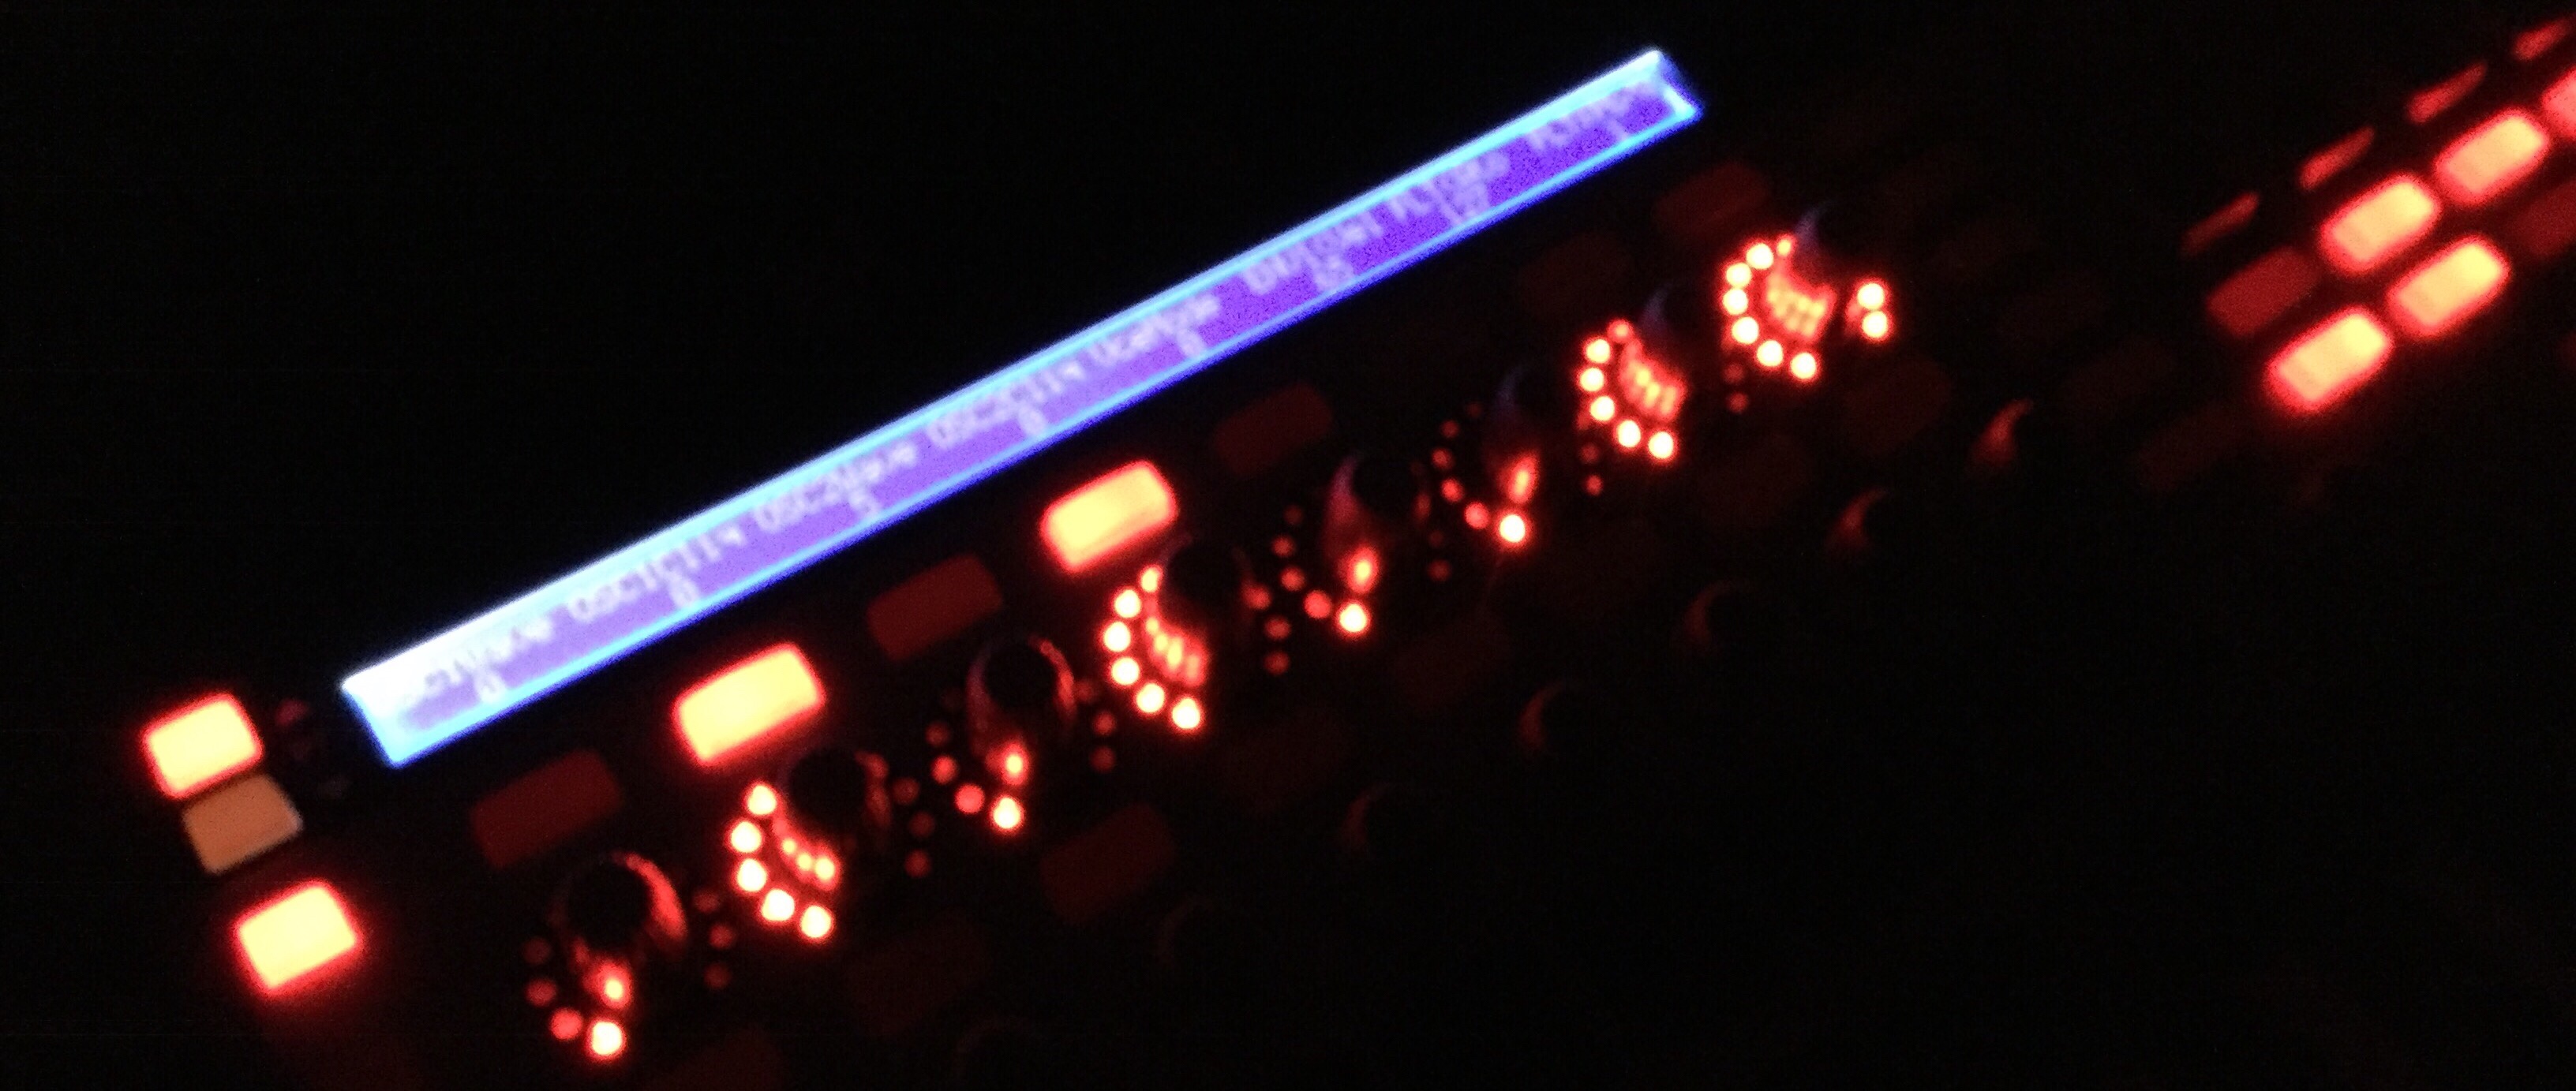
Hi, I just bought and upgrade a matrix 1000 to 1.20 , I saw your video on youtube where you control yours with a Beatstep Arturia.. I’d like to control mine with my key lab but I don’t know how to do that ! can you help me ?
I tried to build a template for the key lab with Arturia software (midi control center) but all button and fader on the keylab are midi cc , and if I assigne midi cc 21 for the cutoff it doesn’t work.. I don’t know how to make rnpn with Arturia controller..
If you did with the Beatstep I’m pretty sure it can work with key lab..
Clement
Hi Clement, I hope you don’t mind answering your mail in public. Using simple MIDI CCs won’t do the trick; you’ll have to use NRPN. (To be honest, I don’t know whether the Keylab can be programmed to send NRPN but like you, I am pretty confident.)
What is this NRPN thing after all?
You do know about MIDI CCs. This is one type of MIDI command where you send a controller number – 0 to 127 – followed by the value for that parameter. Quite a lot of synths assign a CC number to each and every parameter, for example the Roland JX8P synths, or my wonderful Creamware Pro-12 VA synth. The big advantage being that those synths do not only receive MIDI CC values, they also send them – when you change a parameter or switch to a different patch. A fader box attached to the synth can be made to show the settings for each individual parameters, like my Pro-12 panel for the iPad. Spoiler: The Matrix-1000 won’t do this.
The problem with MIDI CC: sometimes, 128 controllers won’t be enough, especially as quite a lot of them have pre-defined meanings. It is pretty crowded in CC-Land.
To overcome this, NPRN was defined – same idea as CC, different way to do it. The main difference being that there are not 128 possible controller numbers but 16,384 of them – and, by the way, they can send a much higher range of values; instead of 0-127, values from 0-16,383 are possible. But, another spoiler, not with the Matrix, and not with Arturia controllers, either.
You see, NRPN is not really a different MIDI command. It is a way to use the MIDI CC command to transmit a larger range of values. A full NRPN sequence is not one MIDI CC command, but four: using four designated CC controller numbers to send a more complex message.
- CC 99 is the higher part of the NRPN controller number (the MSB).
- CC 98 is the lower part of the NRPN controller number (the LSB).
- CC 6 indicates the MSB part of the value: the coarse setting of the parameter.
- CC 38 indicates the LSB part of the value: the fine setting of the parameter.
As MIDI can only transmit values from 0-127, the wider ranges for parameter numbers and values are transmitted in two parts.
How do I use this with the Matrix and Arturia?
The Matrix with V1.20 interprets NRPN as follows:
- The NRPN controller number is the number of the parameter you wish to change. As Matrix parameter numbers are in the range of 0-98, this means that the first part of the message – CC 99, the higher part of the controller number – is always 0.
- The NRPN value is transmitted as a coarse value – via the MSB of the value message.
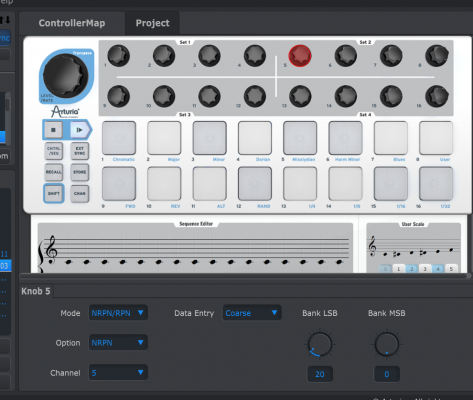
So to transmit the value for the DCO MIX parameter (#20), you’ll have to set the controls in Arturia’s MIDI Control Centre to:
(fixed a mixup here 07-Mar-18, thanks Jörg!)
- BANK MSB -> 0
- BANK LSB -> 20 (the number of the parameter)
- DATA ENTRY -> COARSE (transmit the value in the MSB)
If you managed to get a grip on NPRN, you may have noticed that Arturia is actually cheating: The NPRN transmission from the Beatstep does not make use of the full range possible. But at least the Matrix won’t make use of the higher resolution anyway.
Extended iPad control panel for Creamware Pro-12 ASB synth
Certainly the last post in this blog this year – a happy 2018 to all of you, with loads of creative endeavour and technical discoveries!

Version 1.2 of my iPad control panel for my brilliant virtual Prophet, the Creamware/Soniccore Pro-12 ASB. Read here about it. The new version does not only allow access to all the hidden parameters you cannot reach by turning the synth’s knobs, it shows the actual settings for the sound as well – a true addition if you want to look at what the sound actually does. Once again, you need the TB Midi Stuff app for it to work, which is about 4 Euros.
You can download the template [here (V1.2)].
Cheat Sheet: How to play notes (and chords) on the Launchpad
A tutorial for using the Novation Launchpad Pro as a synth keyboard.
What this is about
Last summer, I borrowed a Launchpad to take along on my holiday, and fell in love with it. The Launchpad is a new instrument; you have to relearn the movements of your fingers. These considerations and patterns are supposed to make learning easier.
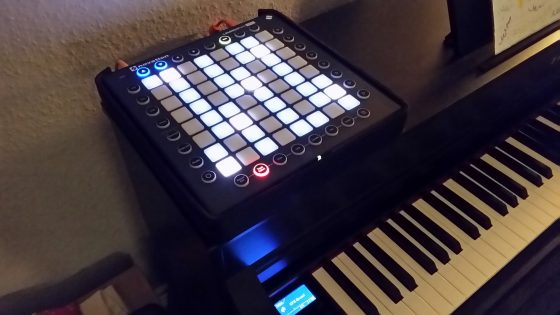
I am not much of a musician, nor do I know that much musical theory. The few musical skills I use these days are mostly self-taught. When I started discovering synthesizers, I got myself a table of the basic minor and major chords and their inversions. This helped me produce the first harmonies, just like someone learning the first chords on a guitar. This document is supposed to give you that same kind of start.
Continue readingWhat makes synth keyboards turn yellow?
Spoiler: It may be the gig bags.
My magnificent Waldorf Blofeld has been shelved for a couple of weeks in the place where we usually jam – but as one of my fellow musicians had a broken finger, we could not make music together and I just left the Waldorf synth in that place, a basement belonging to a church. Then, on Saturday, we finally met again. I unpacked the Blofeld and was stunned to discover that it looked like this: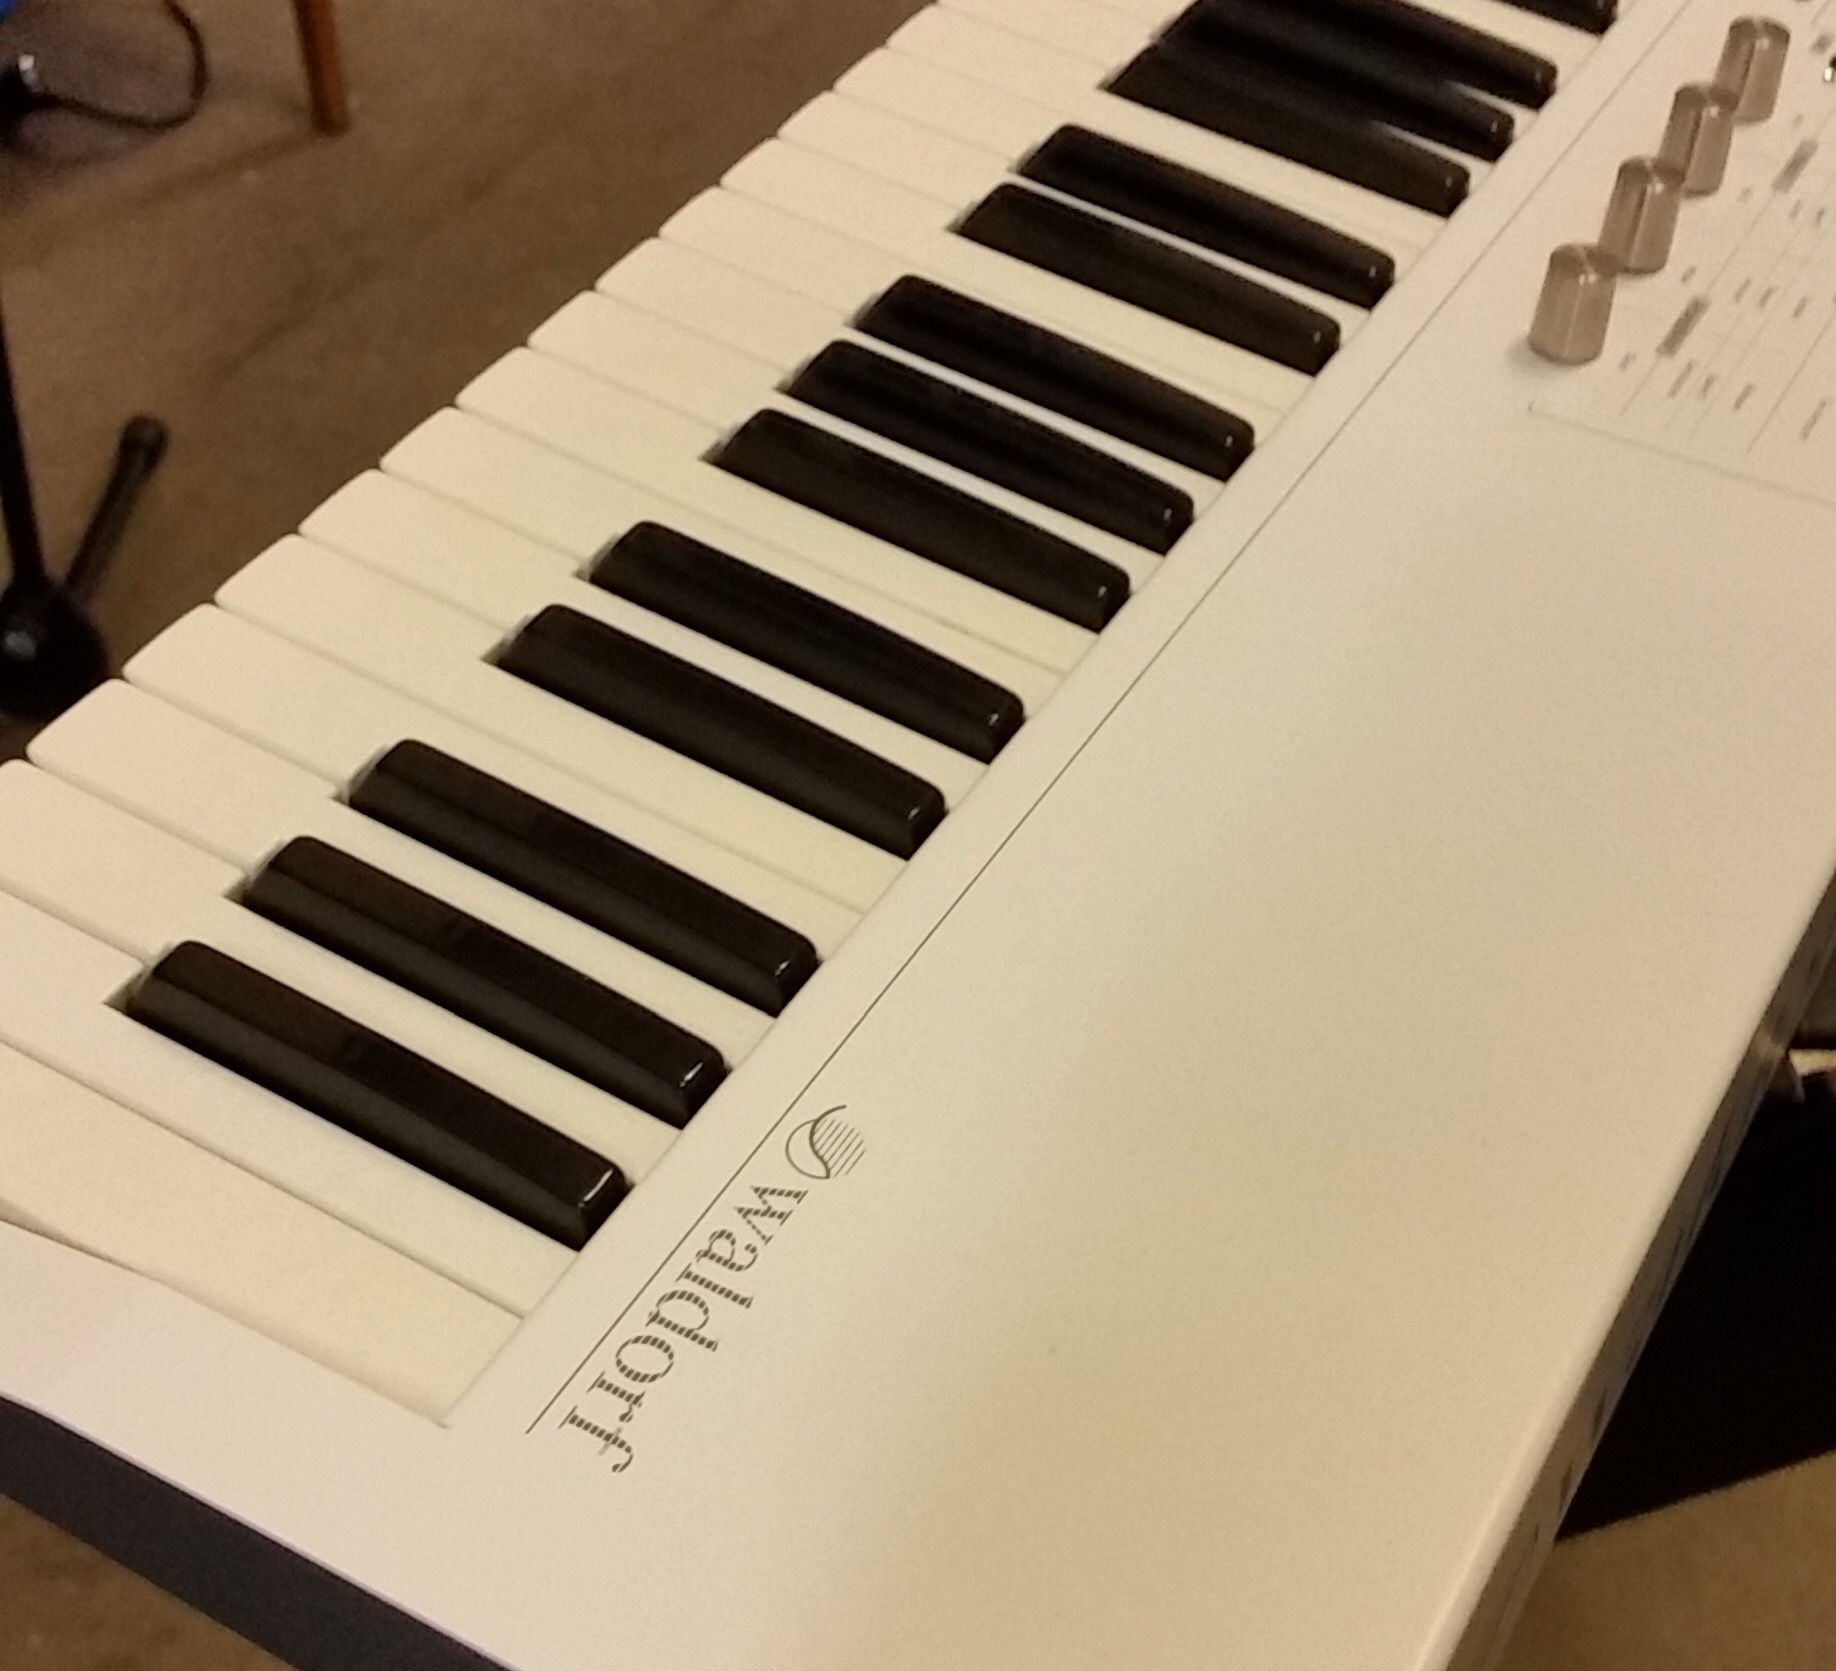
The keys had developed a slight yellow tint, well visible in contrast with the pearly-white Blofeld housing. A daylight view of the synth confirms this:
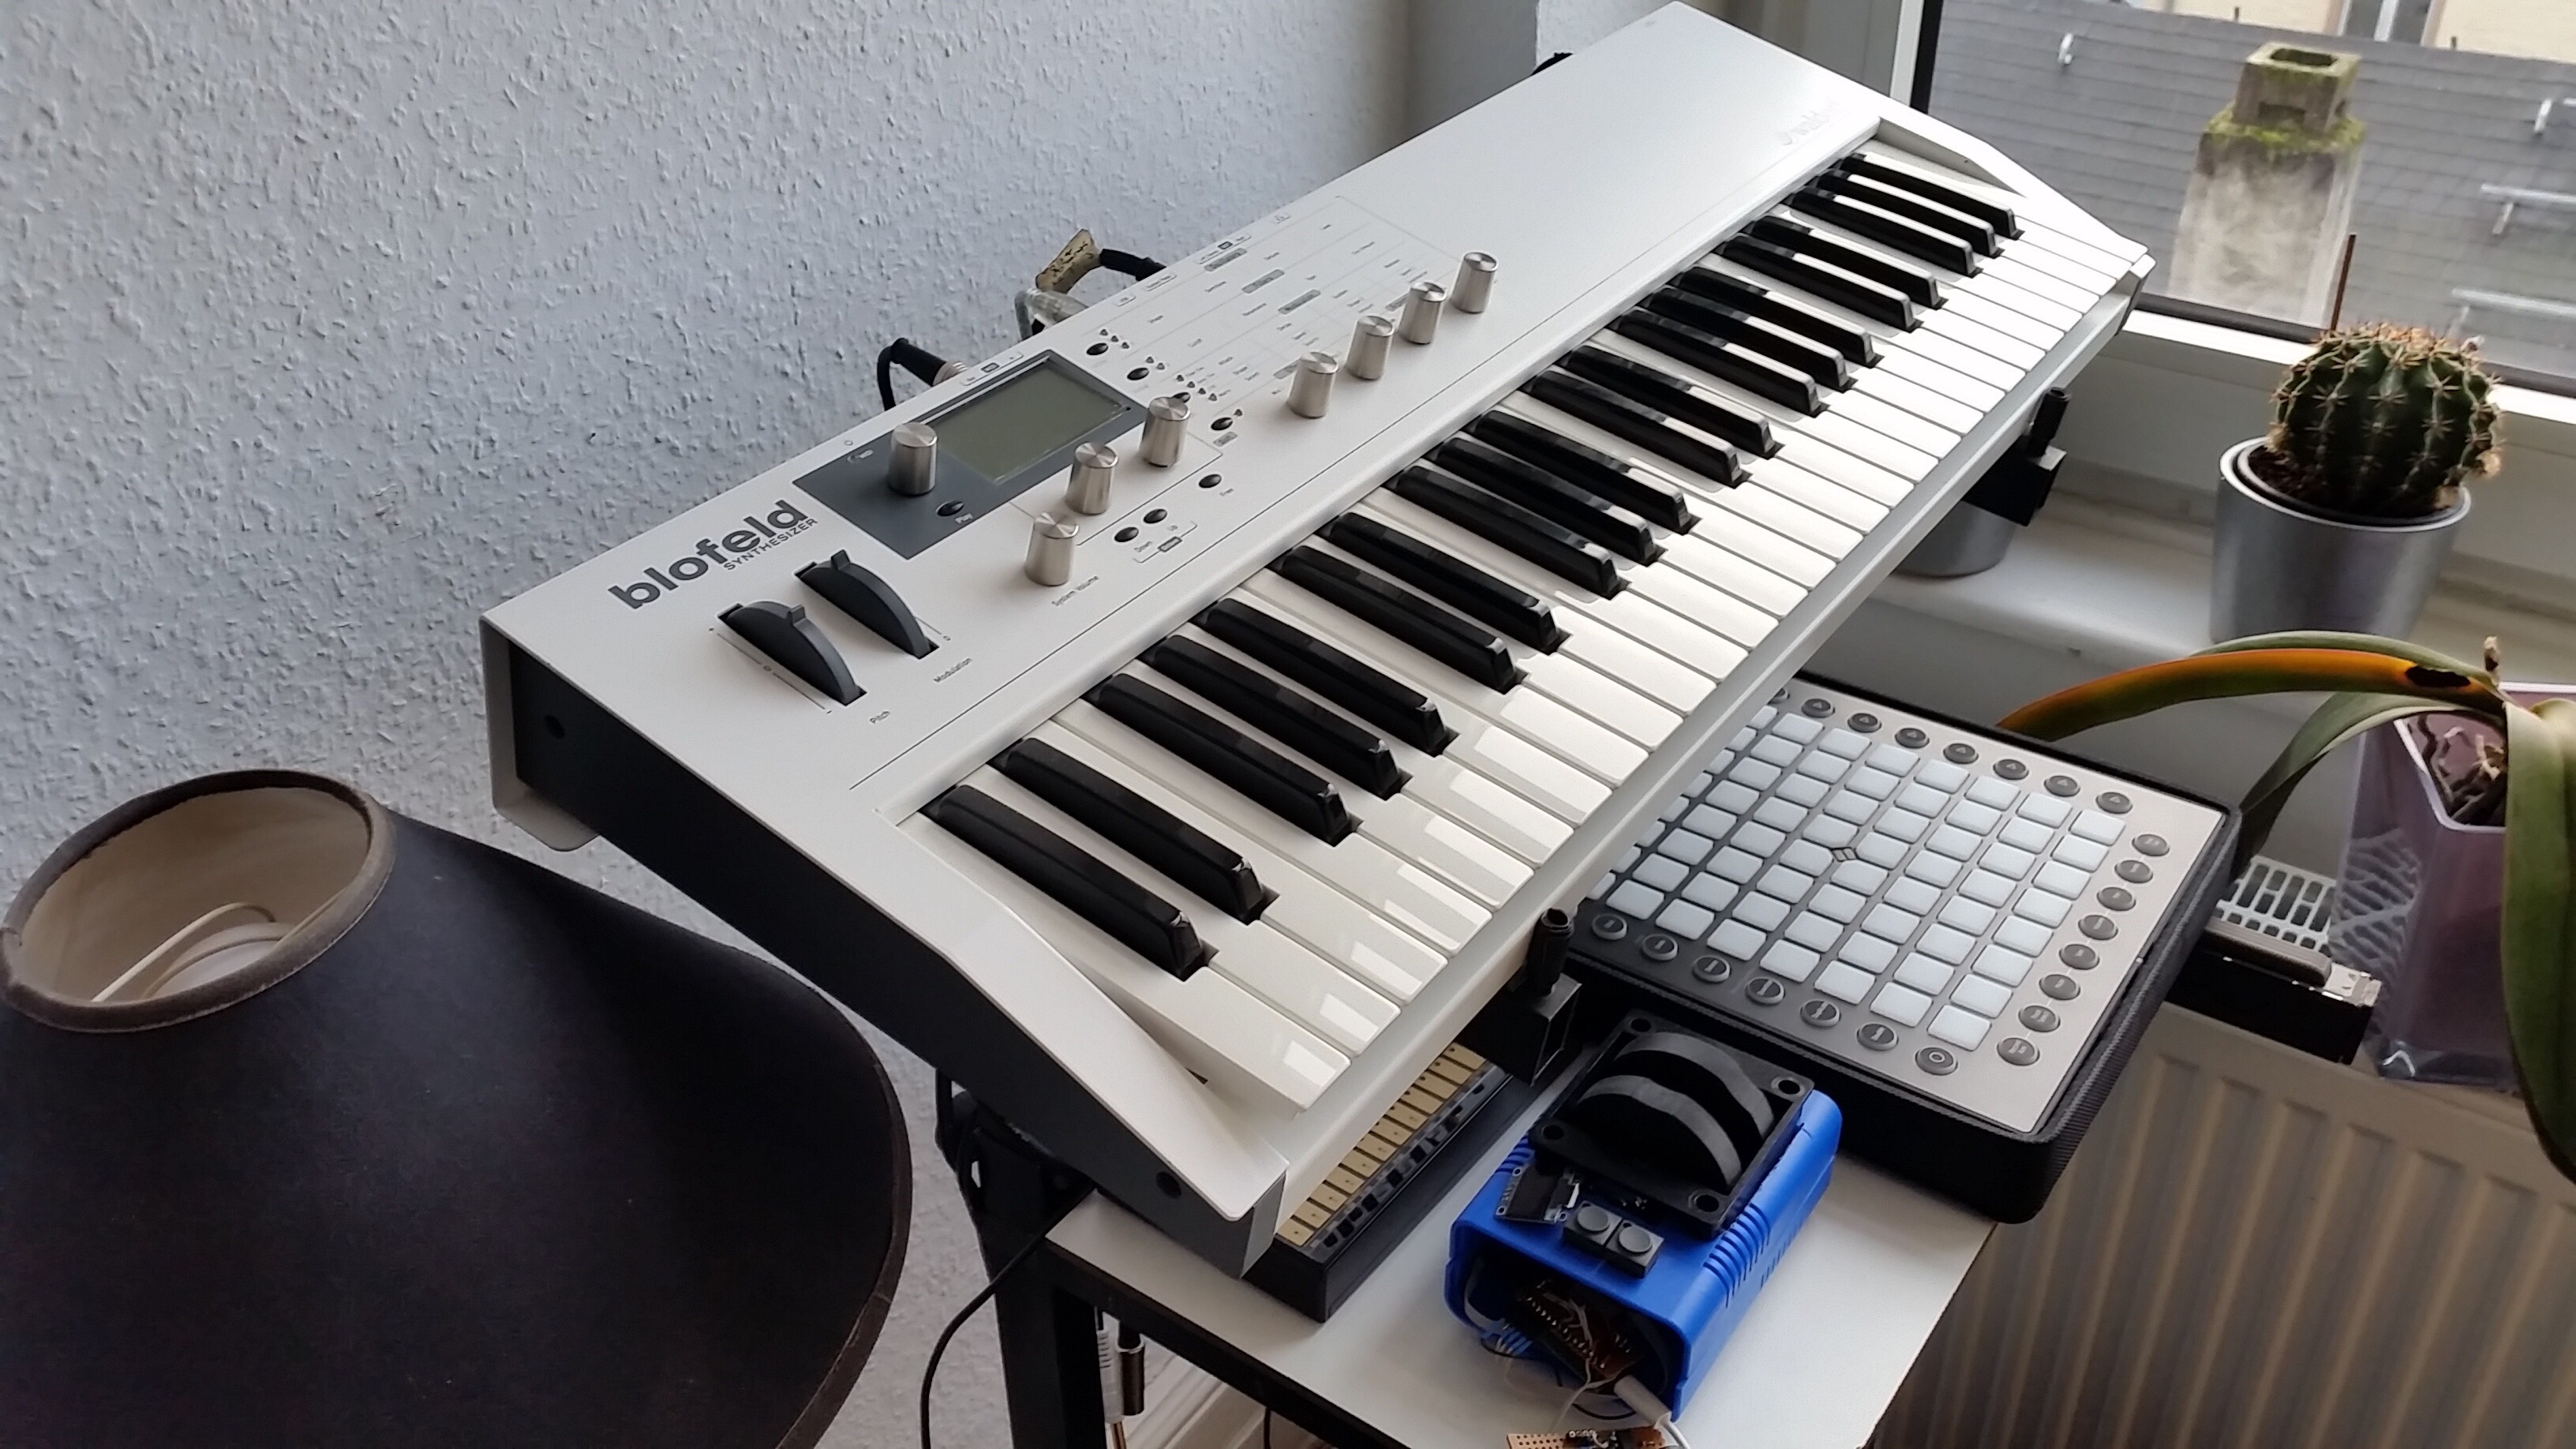
The tint is not very strong yet but it is plain ugly – and I know that even with a strong bleach agent and lots of sunlight, there is no guarantee to get them white again. Not mentioning the time it would take to take the keyboard apart. So I was shocked and hurt – and started looking for a culprit.
Good conditions?
The Blofeld is not the first synth that turns slightly yellow: A Korg R3 I once owned and sold to my friend, and which has been stored away in the basement room for months, has really, really yellow keys by now. So which conditions are responsible for making the keys (and the synths) that ugly?
To clear the most obvious suspicion: it has nothing to do with humidity. The cellar room in the church’s basement is next to the heating facility for the church, so it is dry, warm, and sufficiently aired. But there is another factor: Both synths had been stored in gig bags.
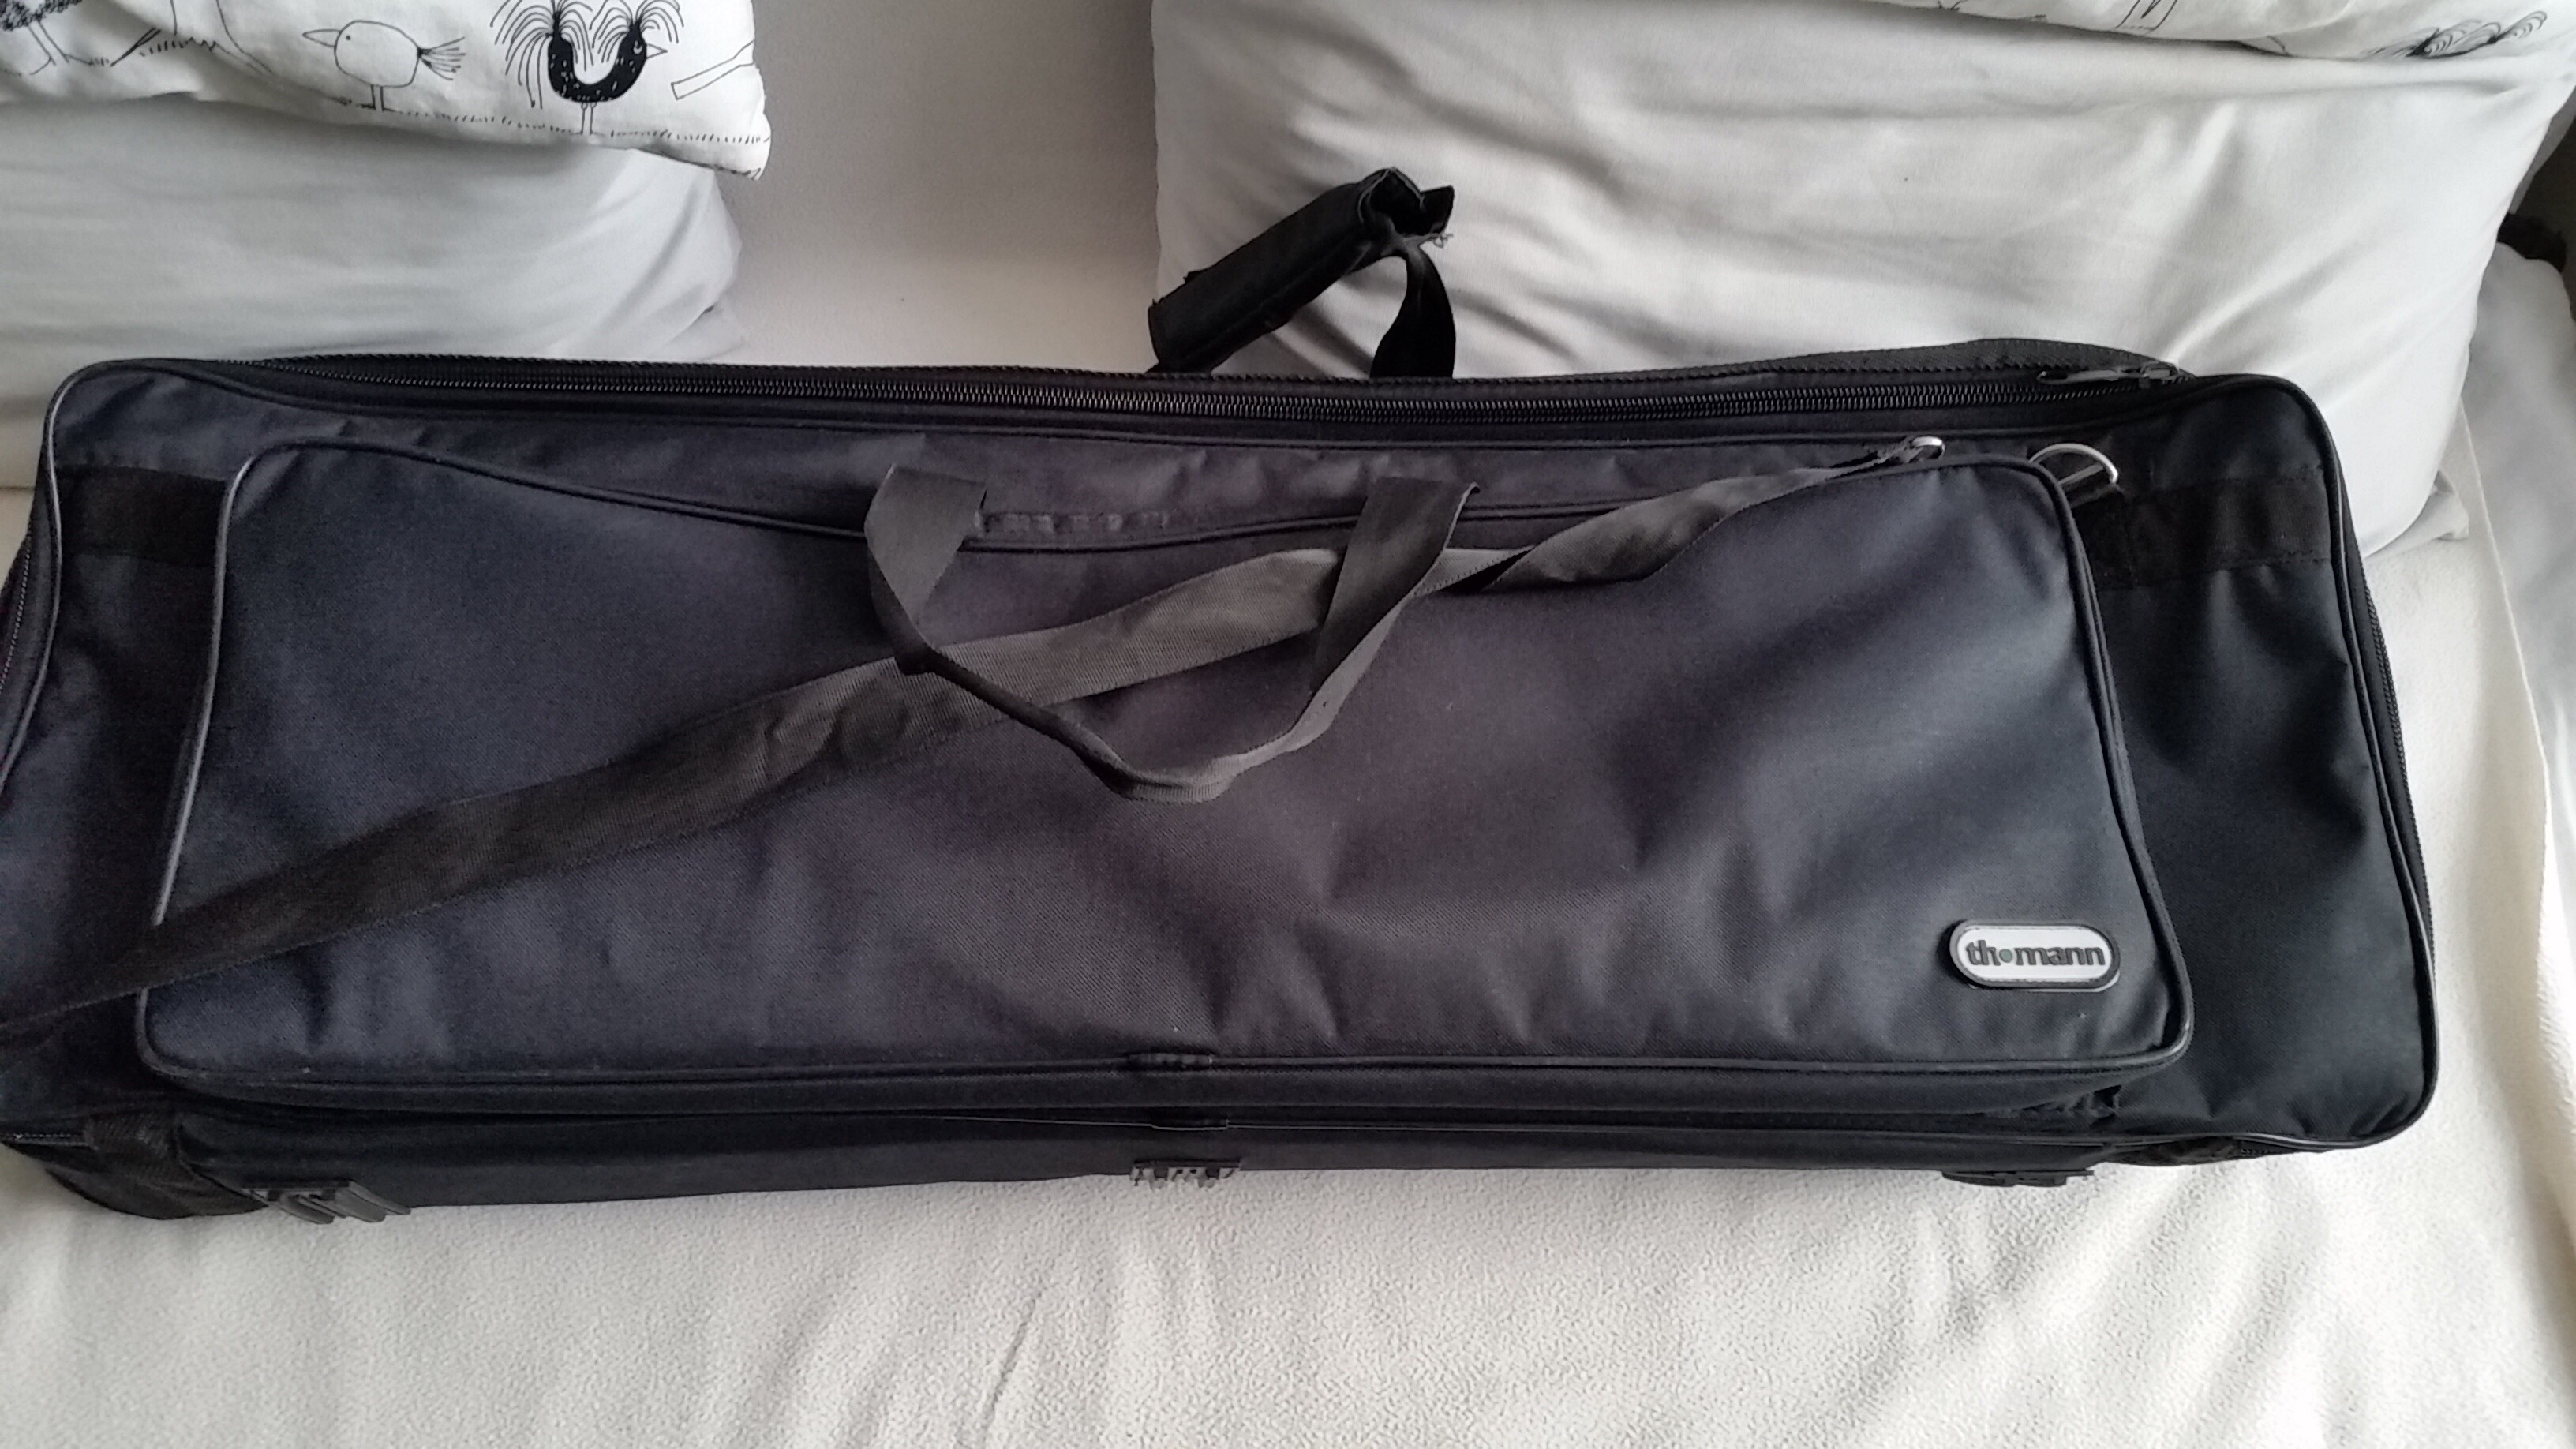
Soft bags like the one for my Blofeld are cheap, lightweight, and available in all possible sizes – but my theory is that these gig bags air a chemical agent that slowly tints the plastic keys. A likely contender: a brominated flame retardant. Cheap plastic textiles like the ones used for those gig bags are required to be made from flame-retardant material, so the agent is there, maybe something like the common TBPPA that is supposed to be harmless in comparison to other flame retardants. We know that they diffuse into the air – almost every human in the Western world contains traces of bromide from flame retardant. What that will do to our health is another rather unsettling issue, but I am pretty sure that it makes my synths ugly.
What is there to do?
Apart from the Blofeld and the Korg R3, there are a couple more synths in the basement room. My friend keeps his master keyboards in plastic bags, and they have not been affected by the yellowing disease – so if you are about to store synths, it may be a good idea to put them into a closed trash bag before putting them into the gig bag. I also noted that another keyboard in another gig bag is not affected – maybe due to another flaming retardant used, but more likely because I never closed that gig bag, so the chemicals just diffused into the air (and into our lungs) rather than into the keys.
I will have to write to Thomann about this.
