
Dass man aus Schaltern mit drei Positionen welche mit sechs, sieben, acht, neun, zehn, elf Positionen machen kann?
Ich nicht. Weiterlesen
Dass man aus Schaltern mit drei Positionen welche mit sechs, sieben, acht, neun, zehn, elf Positionen machen kann?
Ich nicht. Weiterlesen
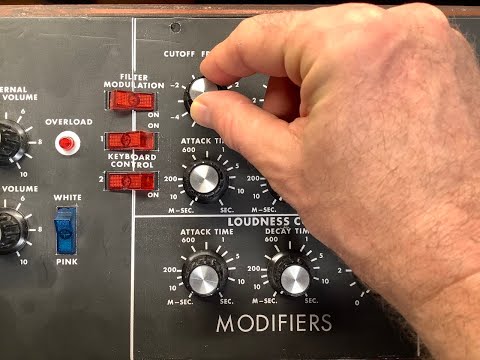
Ist das nicht WUNDERBAR? Gediegene Klassik: Ein Minimoog – weniger ein Bedienpanel, eher eine erogene Zone für Synthesizer-Freaks. Einmal an diesen Dingern drehen – komm, du willst es doch auch! Die reine Schönheit eines einmaligen elektronischen Instruments, das auch über 50 Jahre nach seiner Konzeption noch äußerst gefragt ist – und das ich nie, nie, nie selber haben wollte.
Jetzt mal ehrlich: Moogs sind überteuert und überschätzt. Nenn mir einen klassischen Moog-Leiterfilter-Sound, den man nicht auch mit einem Plugin oder fast jedem modernen Hardware-Synthesizer hinkriegt. Selbst mein oller R3 – Underdog-Synth Nr. 1 – kriegt gute Moog-Imitationen hin. Und wer zur „Digital-kann-halt-nicht-klingen-wie-wahre-Analogsounds“-Sekte gehört, kann immer noch auf technologischen Neoklassizismus setzen und moderne analoge Technik nutzen. Jetzt kauf dir halt einen Boog, verdammt! Und raus aus der Kellerwohnung.
Und trotzdem… der Minimoog hat was. Bei Synthesizern geht es um den Fluss – und um die einzigartige Kombination von Aussehen, Verhalten und Klang, die ein Instrument ausmachen. Als ich also ein Moog-Gehäuse mit Knöppen und Tastatur aus einem Eigenbau-Projekt um wenige Euro sah, das der Ursprungs-Bastler aufgegeben hat, konnte ich nicht widerstehen.
Plötzlich hat es nicht mehr geklickt: Das Trackpad im Macbook Air M1 (Apple Silicon, Ende 2020 gekauft) schien sich verklemmt zu haben, zumindest gab es keinen Klick, wenn man auf das Trackpad drückte – ich konnte nichts mehr anklicken; ohne externe Maus war der Laptop unbrauchbar. Das Problem ließ sich aber relativ schnell beseitigen.
Nur ein paar kurze Notizen, auch falls jemand gute Tipps sucht.
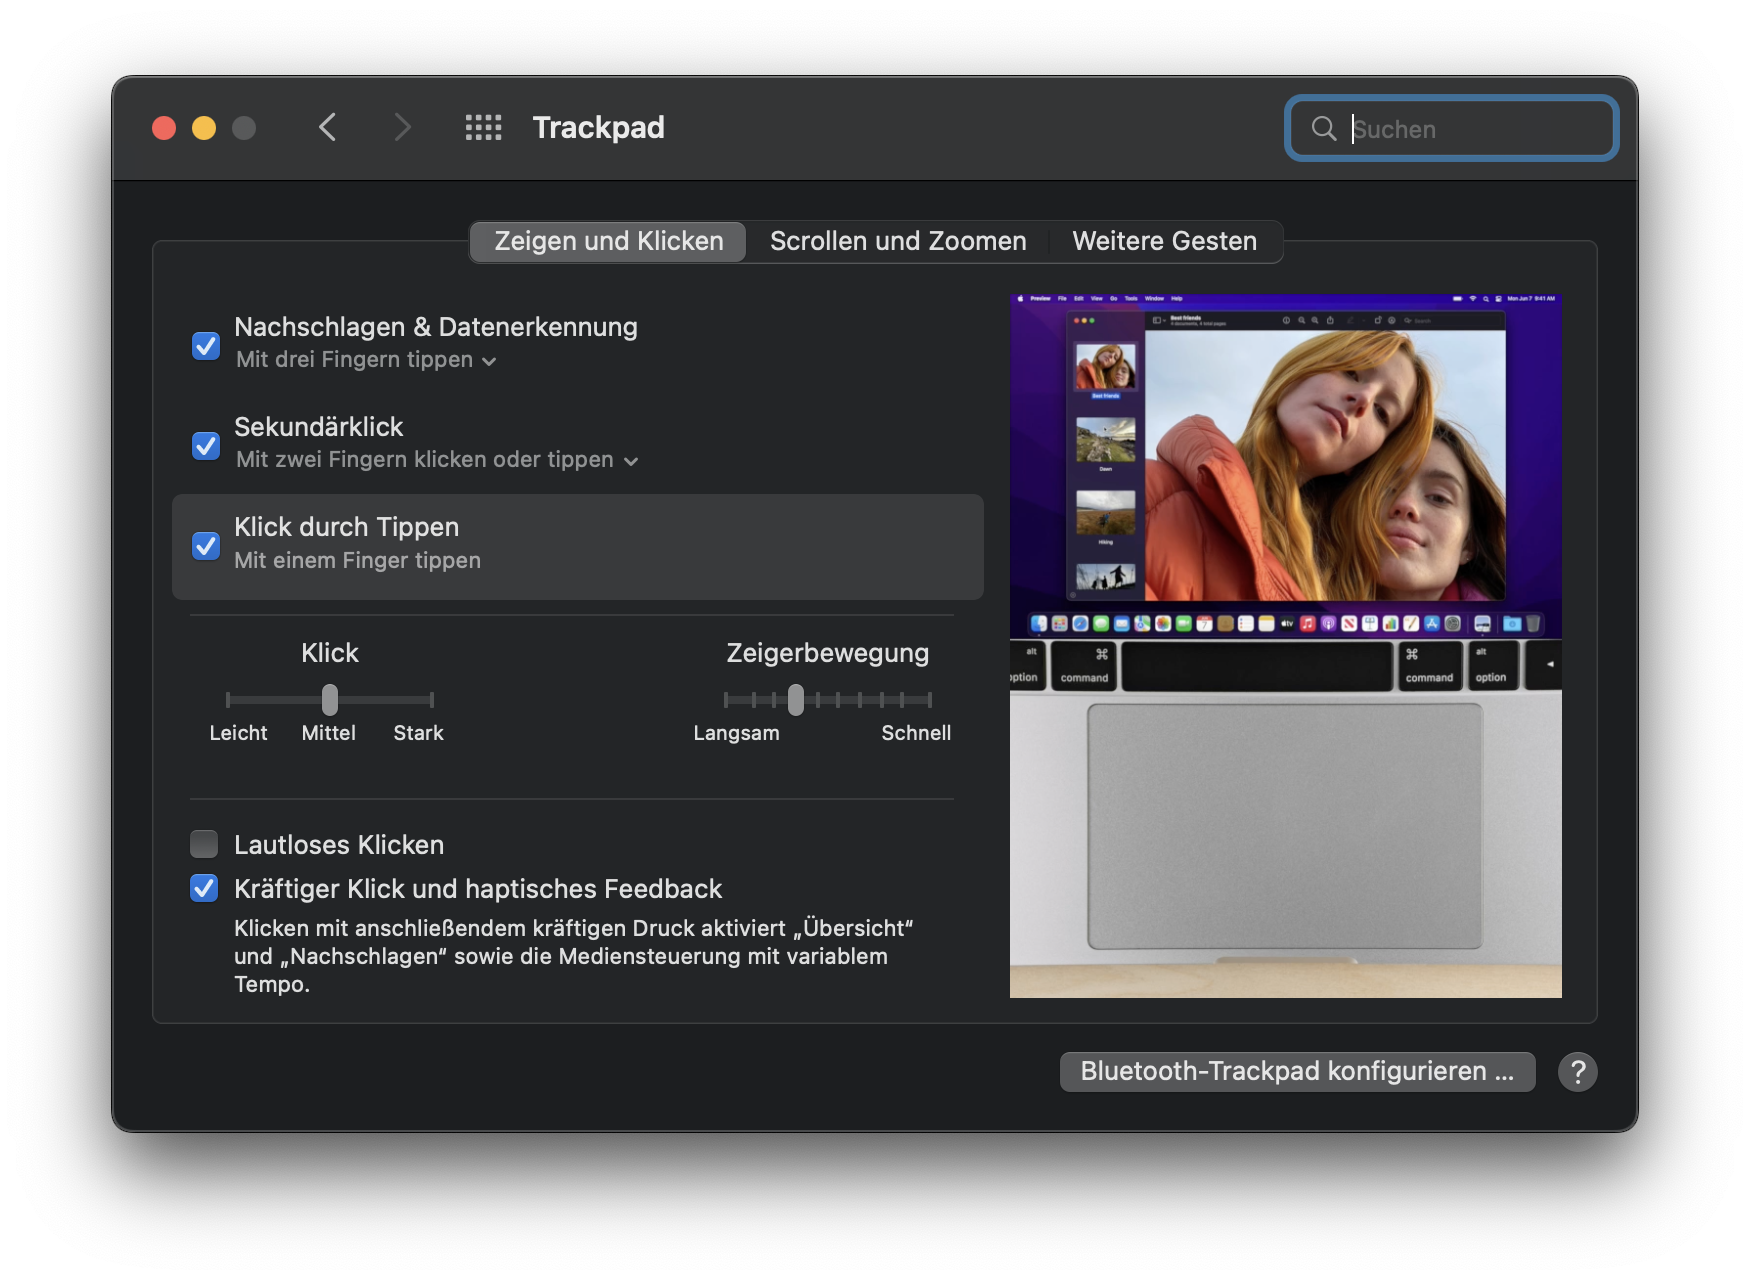
Bliebe nur noch mal klar aufzulisten, was ich denn jetzt eigentlich getan habe, damit das Trackpad wieder klickt.

Hey! Ich hab‘ mal was gewonnen – einen Dreadbox Typhon (in einer Amazona-Verlosung). Hammermaschine! Großartiger Sound, und echt clever, wie man mit ein paar wirklich handschmeichlerischen Knöpfen die schönsten Soundveränderungen hinfrickelt… Wenn das Ding nicht nur so ein fieses Rauschen produzieren würde.
Hier, einfach mal reinhören! Wundervoll – aber am Anfang, der böse Einschaltlärm, ist nicht zu überhören, und das kratzige hochfrequente Bratzeln auch nicht (auch wenn es interessanterweise in der Aufnahme nicht mehr zu hören ist, wenn der Sequenzer startet; es ist da, die ganze Zeit, glaubt mir. )
Ganz klar: Digitales Rauschen.
WeiterlesenStephan (aka umusic6) did some nice work:

Thanks to his efforts, there is now a Bit Edition of Stereoping’s Synth Controller, for Crumar Bit-01/One/99 with the Tauntek firmware. You can read up on the firmware, or order it, here.
(No, this is not an affiliate link, I have no share in this. But I think it’s a great project.)
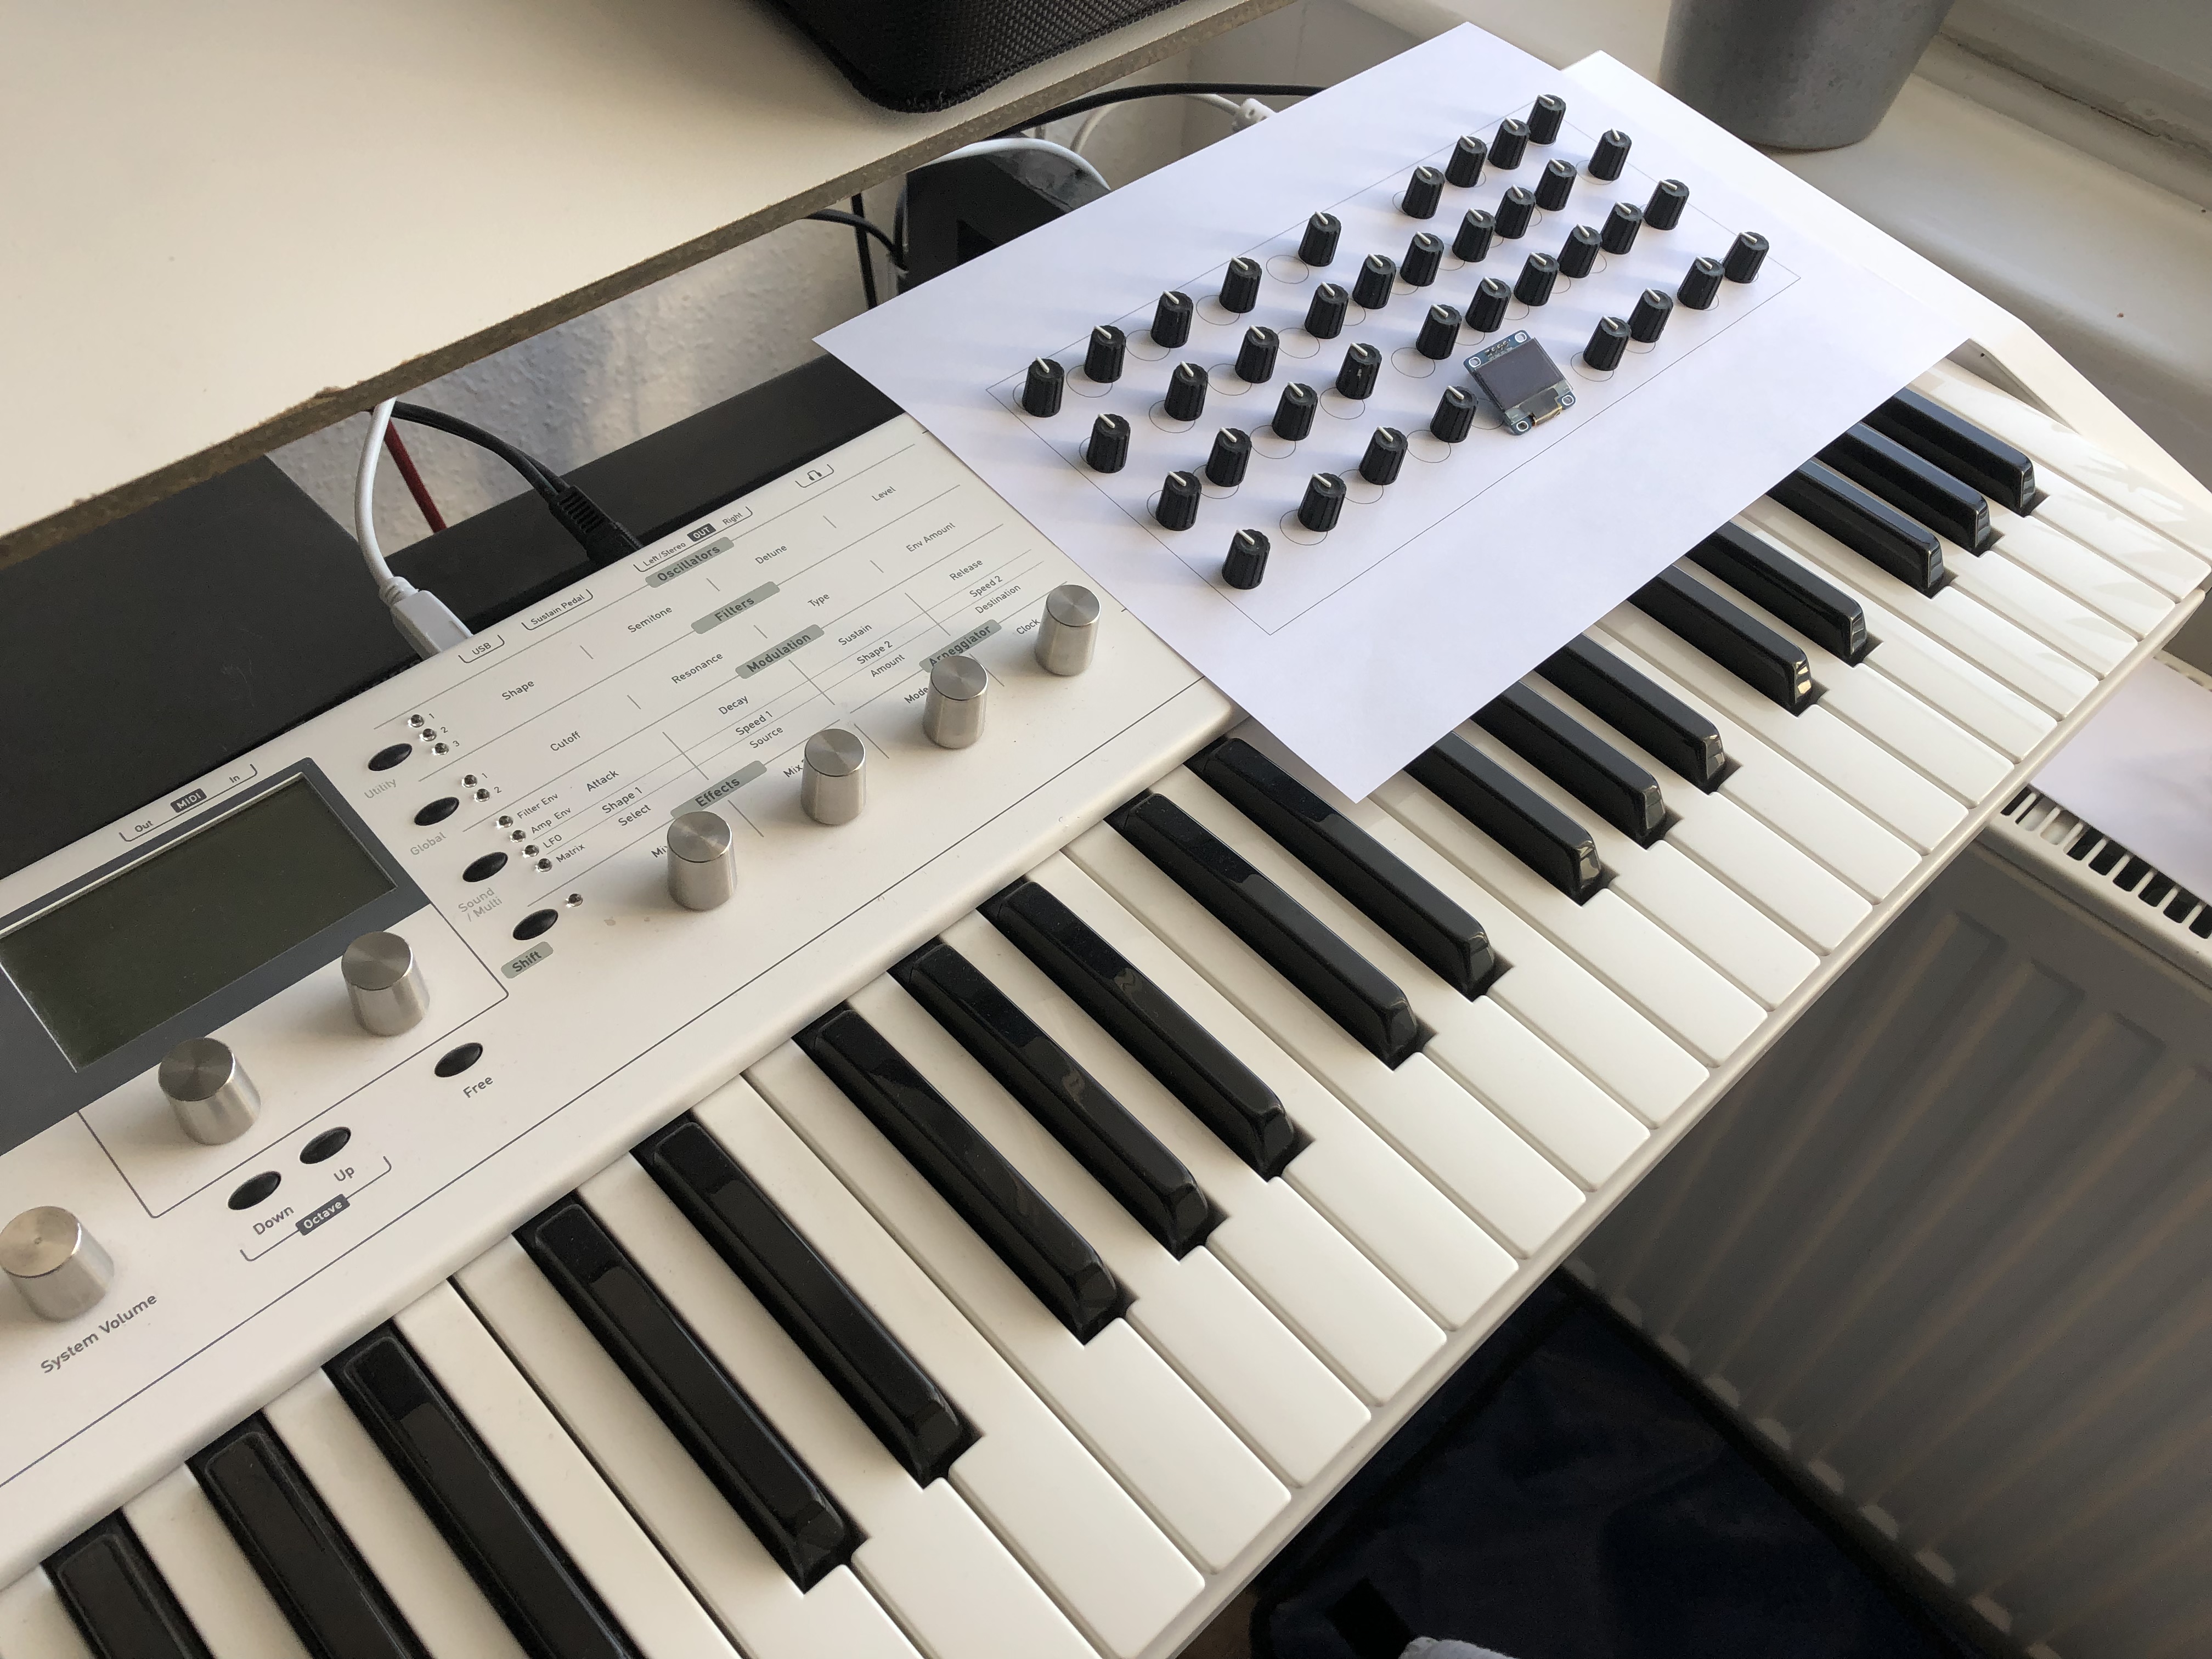
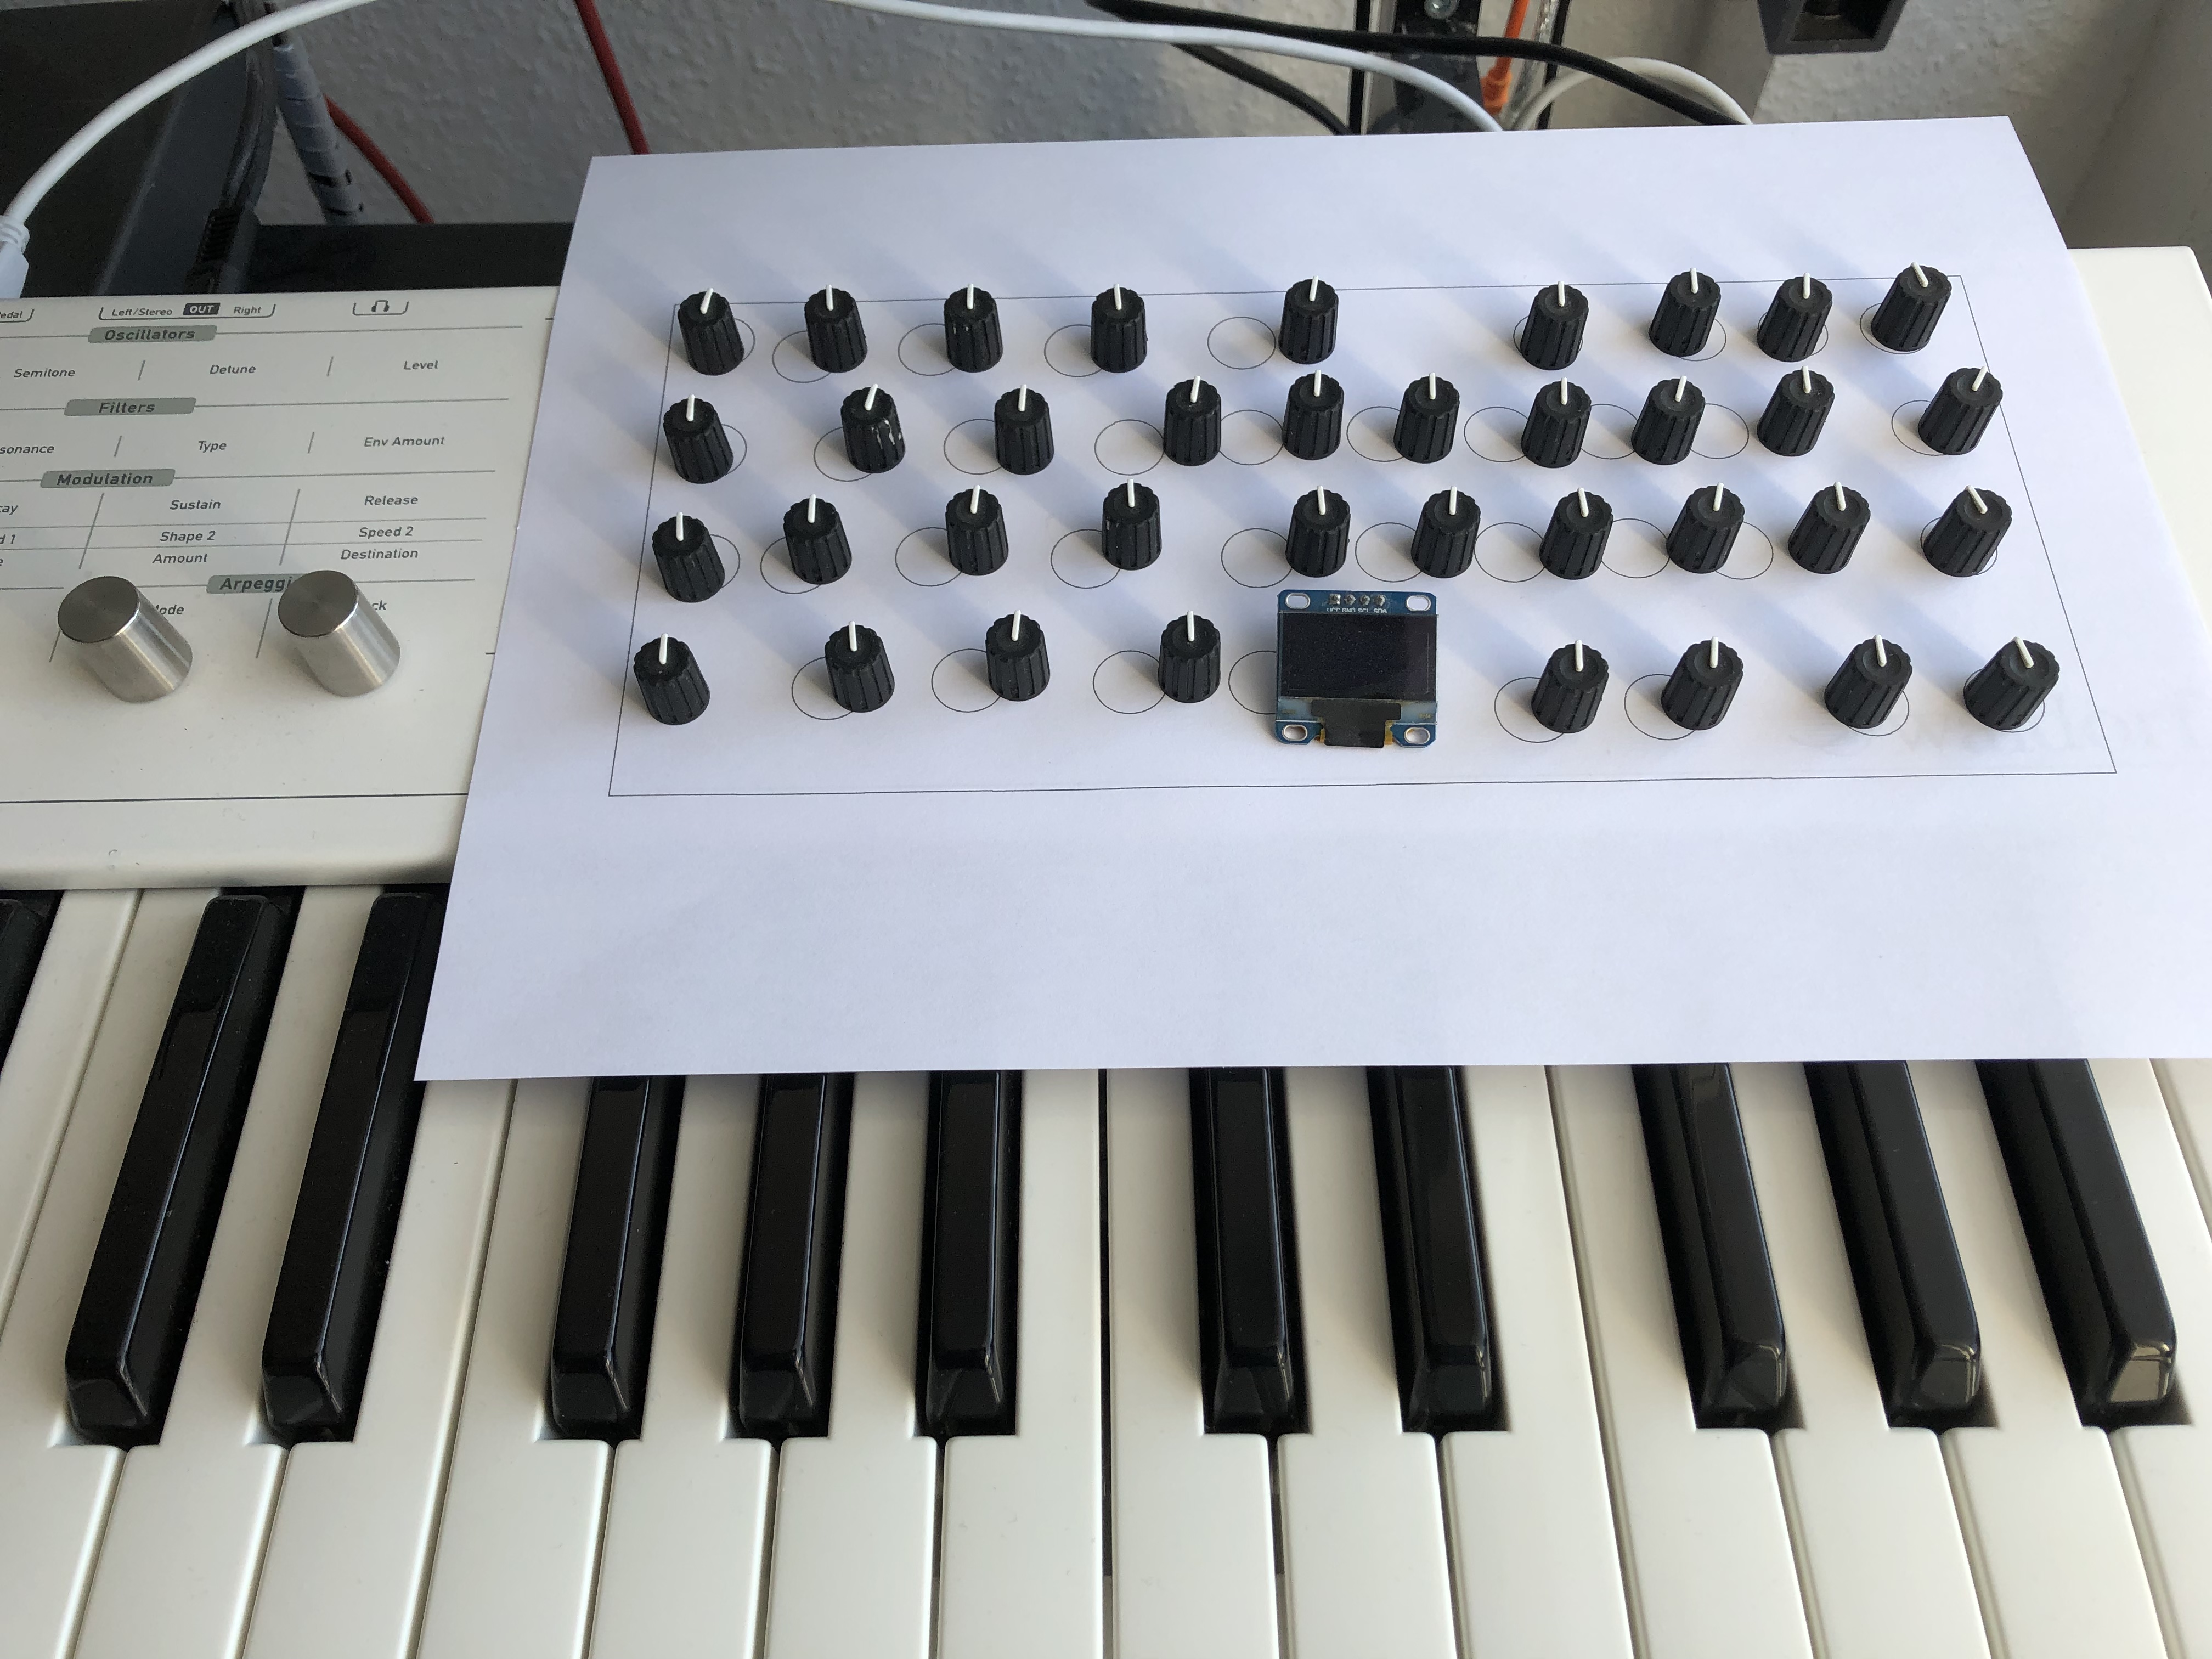
Das hier ist bisher nur ein feuchter Traum: ein Blofeld, der viele, viele Knöpfchen hat und darüber in Echtzeit zu kontrollieren ist. Das Layout ist – ähem, inspiriert – durch den Hartmann 20, der ja wiederum eigentlich ein Sledge in einem teuren Anzug ist. (Und der Sledge wiederum ist eigentlich ein Blofeld mit reichlich Knöppen.)
Behold: the Frankenfeld!
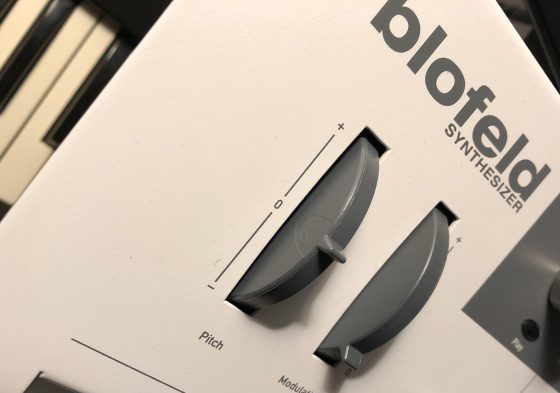
One day, my trusty Blofeld started drifting out of tune – pretty unusual behaviour for a digital synth. Even if it was in tune first, the drifting started as soon as I touched the pitchbend wheel, so I suspected that this was the culprit.
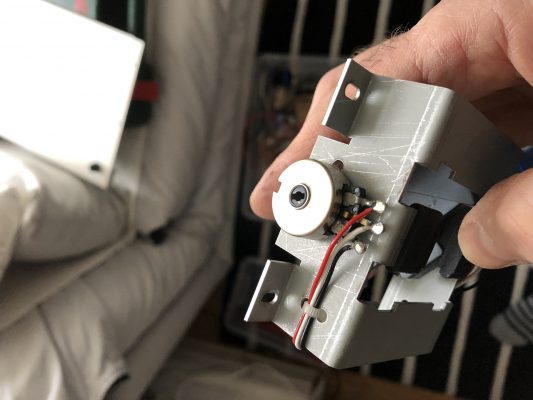
Opening the Blofeld (all 18 screws on the bottom – remember?), removing the wheelbox, and measuring the pitchbend pot confirmed that the potentiometer was indeed damaged – while an end-to-end-measurement showed 9k, the end-to-mid-resistance could be virtually anywhere, screaming „Mechanical Damage!“ to me.
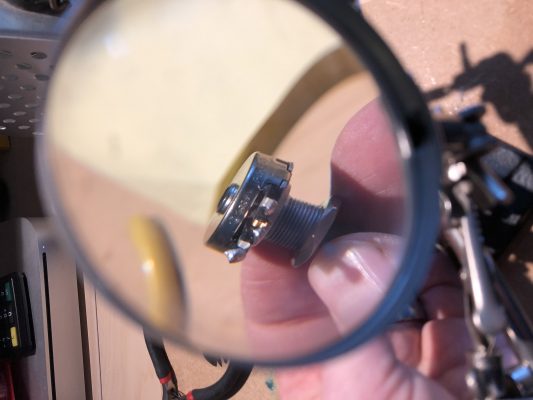
The potentiometer is 10k lin with a knurled 6.3mm shaft and an M10x0.75 mount. Waldorf seems to have used a Piher T-21Y type (datasheet). As I did not find something fitting in my parts boxes, I took it apart, cleaned it, adjusted the pickup spring, applied a bit of contact grease, refitted the pot and closed the Blofeld
Although I measured that the wheel now zeroed around the pot’s 5kOhm mark, it had most definitely shifted slightly, so I started looking for the calibration routine. There has to be a calibration routine, right?
But the good Blofeld seems to calibrate on power-up and on the first usage of the wheel – no calibration routine for the wheels needed. Phew!
Important note: Be careful to ensure that the Molex connector for the wheelbox sits correctly – when I pulled the plug, the plastic holder for the pins got pulled towards the edge of the PCB so when I reattached the plug, it did not sit correctly. Rule of thumb: If the plastic of the connector is visible from the top, you might want to push it back under the PCB.
WeiterlesenThis is the first post in a series of small projects for retrofitting my JEN SX-1000 monosynth with a simple and cheap MIDI interface controller. Read about the basic idea here. Today, I am designing and building the micro-controller brain of the Jenny retrofit – if you are capable of basic soldering, it should not take you more than two hours and a couple of very common electronic parts.
…and my sweet Lord, does it make her shine!
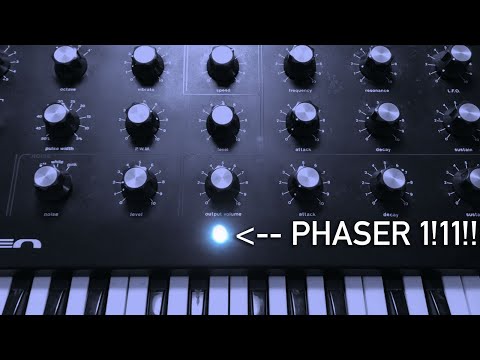
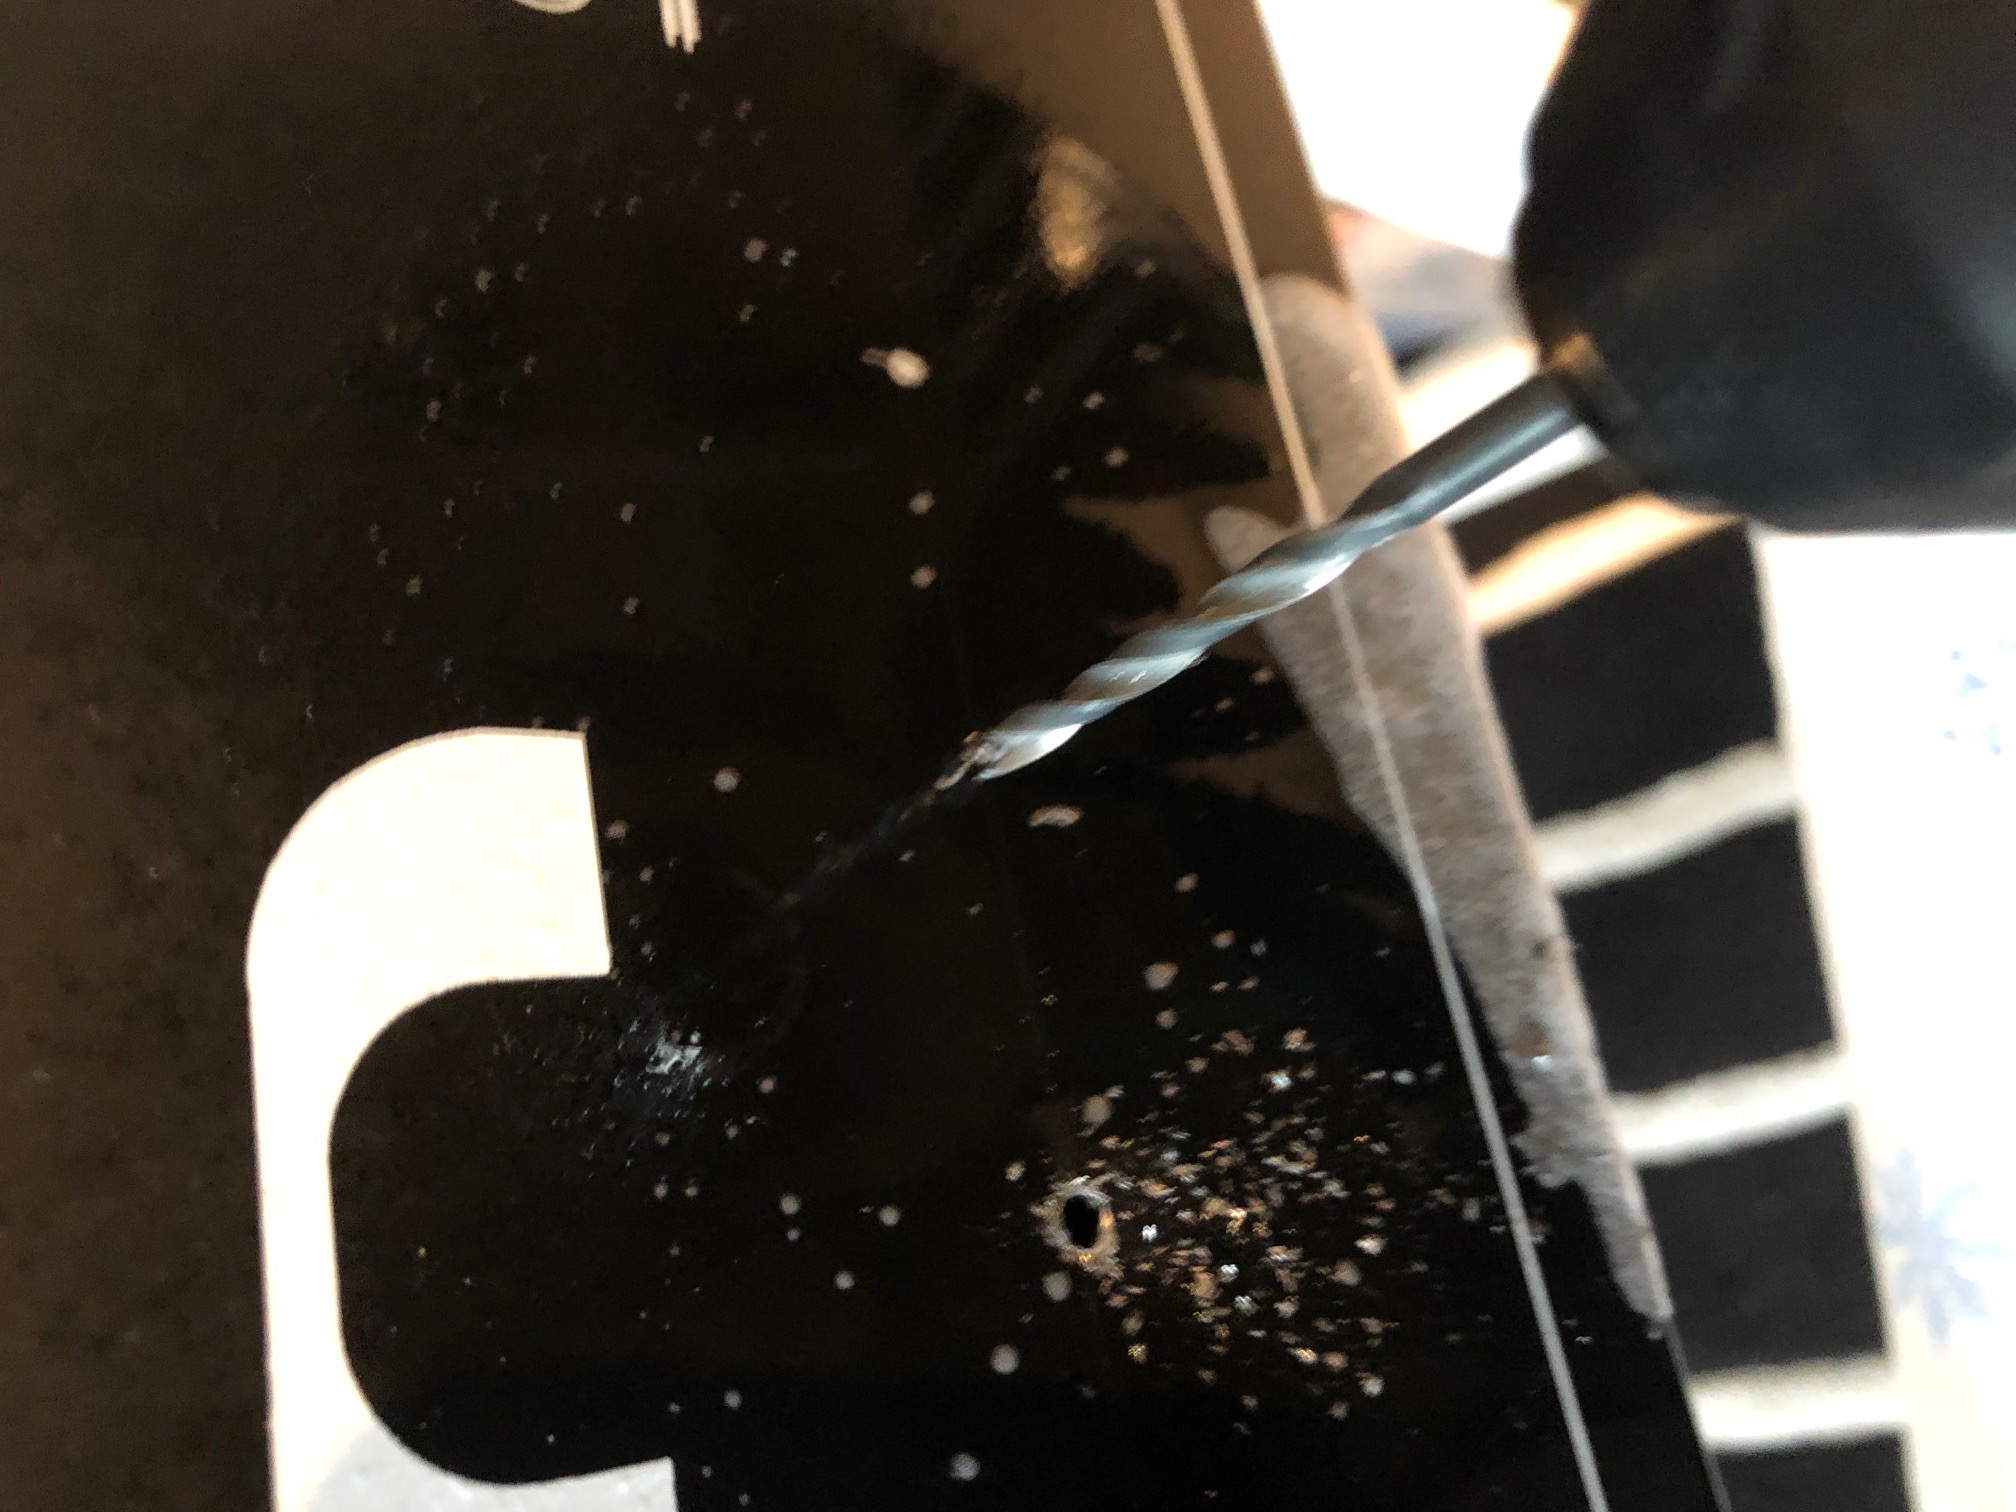
Nothing fancy here. After inserting the booster/overdrive in between VCO and filter section, I took another of those lovely Musikding.de kits for a phaser, built it, drilled some holes into Jenny’s housing and fitted it.
 I have been using Jenny as a bass synth recently, and I am quite impressed by the quantities of life and fun this old machine is adding to the mix. She doesn’t do that much in terms of tonal range, but what she does, she does well.
I rediscovered an old trick when drilling metal: use a bit of alcohol, not on the person drilling, but on the surface you want to drill. And don’t go too fast. 
Giving my JEN SX-1000 a bit of additional low growl by adding a pre-filter overdrive.

A nice little addition: Insert a booster circuit kit where the coupling capacitor between oscillator and the filter used to be. Come on, you’ll have to take out that damn capacitor anyway. And it sounds really nice, punching through the mix (samples below) – especially in combination with the sub-oscillator mod.
I do admit that you might think that this is a superfluous mod. After all, when you drive this circuit – any circuit – into overdrive and into clipping, the resulting wave form will, gradually, start to resemble a square wave.
But I could do it, so I did it. And I like it. So let’s get started.