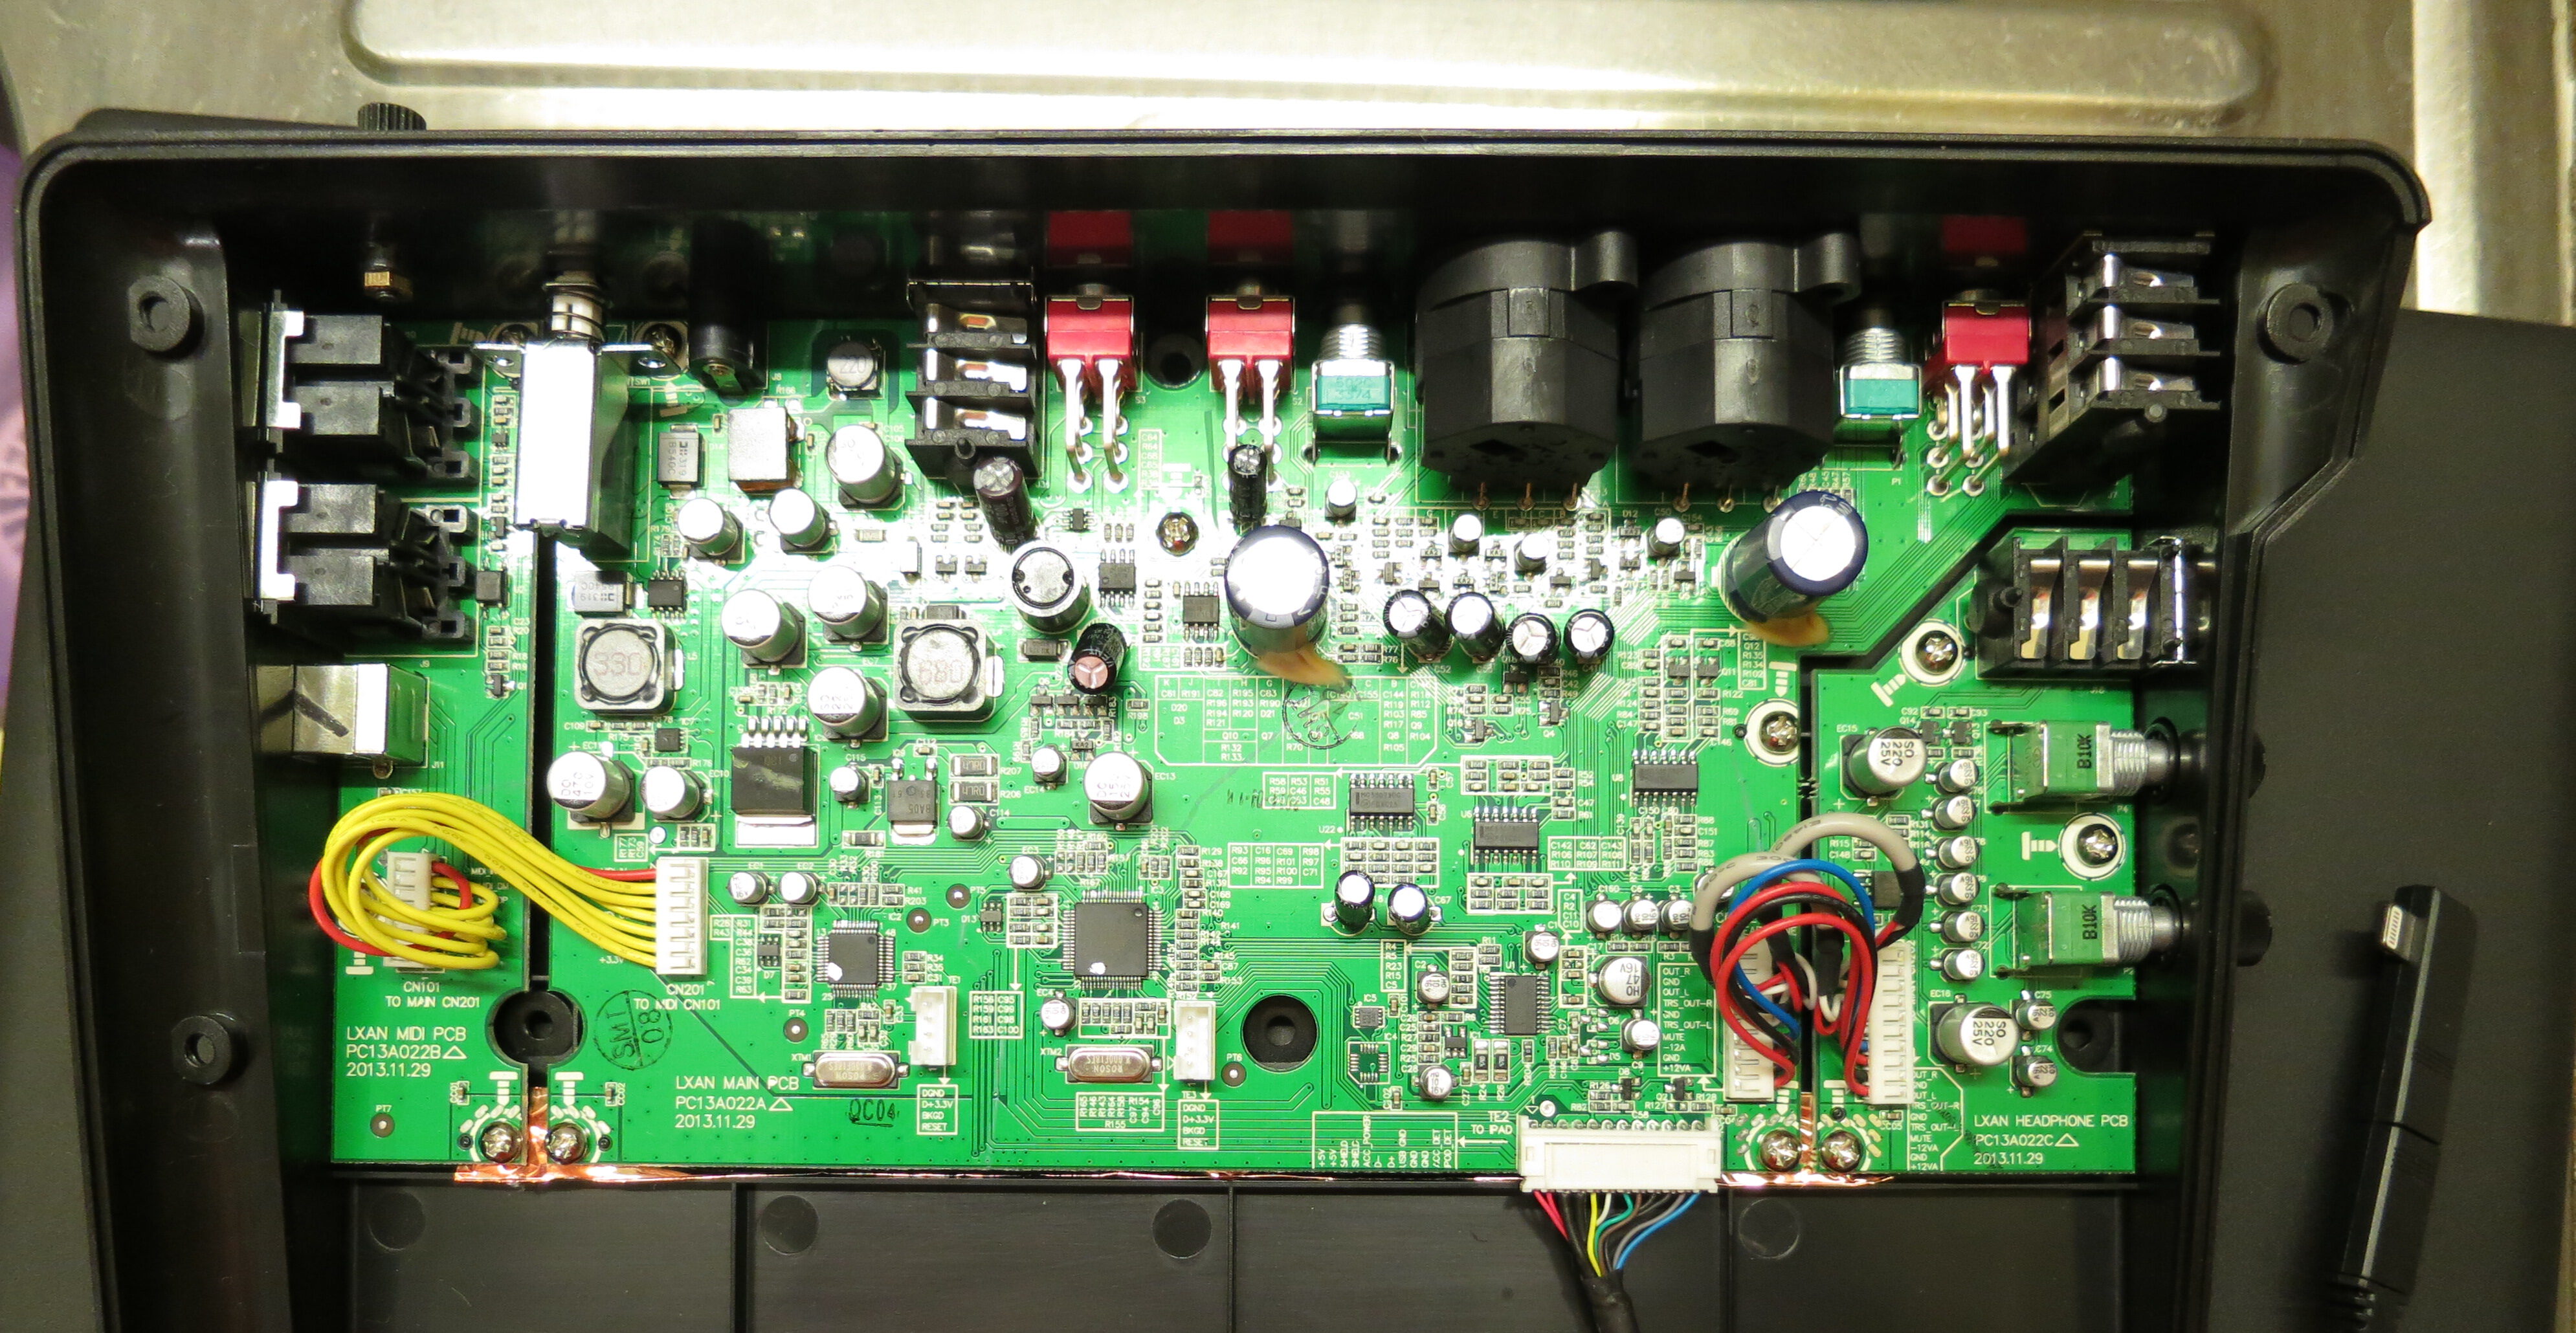
Yay! Ich hab‘ einen DIY-Minimoog gekauft. (Und Jenny wird’s lieben!)

Ist das nicht WUNDERBAR? Gediegene Klassik: Ein Minimoog – weniger ein Bedienpanel, eher eine erogene Zone für Synthesizer-Freaks. Einmal an diesen Dingern drehen – komm, du willst es doch auch! Die reine Schönheit eines einmaligen elektronischen Instruments, das auch über 50 Jahre nach seiner Konzeption noch äußerst gefragt ist – und das ich nie, nie, nie selber haben wollte.

Ich wollte aber keinen Minimoog!

Jetzt mal ehrlich: Moogs sind überteuert und überschätzt. Nenn mir einen klassischen Moog-Leiterfilter-Sound, den man nicht auch mit einem Plugin oder fast jedem modernen Hardware-Synthesizer hinkriegt. Selbst mein oller R3 – Underdog-Synth Nr. 1 – kriegt gute Moog-Imitationen hin. Und wer zur „Digital-kann-halt-nicht-klingen-wie-wahre-Analogsounds“-Sekte gehört, kann immer noch auf technologischen Neoklassizismus setzen und moderne analoge Technik nutzen. Jetzt kauf dir halt einen Boog, verdammt! Und raus aus der Kellerwohnung.

Und trotzdem… der Minimoog hat was. Bei Synthesizern geht es um den Fluss – und um die einzigartige Kombination von Aussehen, Verhalten und Klang, die ein Instrument ausmachen. Als ich also ein Moog-Gehäuse mit Knöppen und Tastatur aus einem Eigenbau-Projekt um wenige Euro sah, das der Ursprungs-Bastler aufgegeben hat, konnte ich nicht widerstehen.

„It’s aliiiiive!“ – Wie man eine leere Hülle wiederbelebt

Weiterlesen

Niederlagen – auf dem Weg zum Technikfriedhof

Es ist ein schönes Gefühl, Dinge reparieren und instand halten zu können. Der Technik nicht ausgeliefert zu sein. Funktion möglich zu machen.

Es ist ein nicht so schönes Gefühl, durch Blödheit oder Ungeschicklichkeit die eigenen Erfolge sabotiert zu haben. Und wo ich gerade am Aufarbeiten alter Schludrigkeiten bin, kann ich auch gleich das festhalten: Manchmal baut man, wenn man baut, Mist.

Fall 1: der Beamer.

Bei eBay als defekt ersteigert, weil ich aufgrund der Fehlerbeschreibung die Vermutung hatte, da wäre noch was zu machen. Tatsächlich: Bald hatte ich heraus, dass der Projektor an sich völlig intakt war, aber unter einem schlecht montierten Gehäuseschalter litt – so ein Schalter, der beim Öffnen des Gehäuses die Stromzufuhr unterbrechen soll; er unterbrach sie auch gerne einfach so. Über meine Entdeckung war ich so euphorisch, dass ich unvorsichtig und ungeschickt geworden bin und mit dem Schraubenzieher im geöffneten Gerät einen Kurzschluss verursacht habe.

Drei Dinge passierten:

  1. Es knallte gewaltig.
  2. Die Sicherung flog raus und ich saß im Dunkeln.
  3. Vor Schreck riss ich meinen Arm zurück und dabei die Bedienplatine samt Stecker von der Platine.

Natürlich habe ich versucht, das wieder hinzubiegen bzw. zu -löten, aber ohne Erfolg. Tja, einige Sekunden lang hatte ich für praktisch überhaupt kein Geld einen eigenen Beamer.

Fall 2: die Büro-Kaffeemaschine.

Ach, meine gute, alte Saeco Vienna. Ein Sorgenkind von Anfang an, und dann: treu, brav, verlässlich. Bewährte Koffeinspenderin für einen guten Teil des Büros, und bei kleineren Wehwehchen mit etwas Liebe immer wieder zur Arbeit zu bewegen. Da sie das zwanzigste Lebensjahr schon hinter sich haben dürfte und sich zumindest in den letzten Jahren bestimmt nicht gelangweilt hat, ist das schon eine Lebensleistung. Und doch…

…plötzlich, nur noch Tröpfchen statt eines Kaffeestrahls. Wohl meinende Kollegen rissen laue Witze über Prostataprobleme bei älteren Herrschaften, kurz: es war wieder Zeit. Einen Sonntagnachmittag lang den Küchentisch blockiert, den Fehler gesucht und bald gefunden – wie beim allerersten Mal war es ein Krümel Kaffee, der den Durchflussmesser verstopfte. Schnell beseitigt und gleich noch an die Große Inspektion gemacht, also gereinigt, das Mahlwerk demontiert, Dichtungen ersetzt, zusammengebaut, ausprobiert, gemerkt, dass eine Dichtung fehlte, die Sauerei weggewischt, alles wieder aufgemacht, Dichtung umgesetzt, zusammengebaut, läuft. Super!

Also schnell aus der Wohnung schaffen, damit sie aus dem Weg ist.

Der Denkfehler wurde mir klar, als ich die Maschine am nächsten Morgen auf Arbeit aus dem Auto holte: Es ist kalt, auch in Frankfurt friert es nachts. Das Restwasser in der Maschine war auch gefroren. Und damit sind einige Dichtungen und Schläuche hinüber. Welche, das will ich schon gar nicht mehr erkunden – vermutlich die Boilerdichtung, für die man wirklich, wirklich alles auseinandernehmen muss.
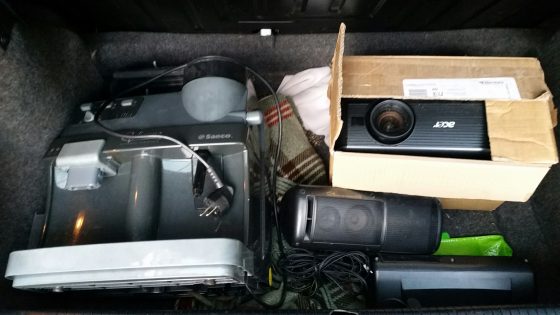
Kofferrauminhalt

Links die erfrorene Kaffeemaschine, rechts der erschlagene Beamer. Und ein Paar alte Autoboxen

Das hier ist also nur noch eine Kofferraumladung Elektroschrott (genauer gesagt: ich habe beschlossen, dass es nur noch Elektroschrott ist), und geht demnächst zum Recyclinghof.

Aufgegeben? Ja.

Hätte ich die Reparaturkandidaten nicht noch einmal reparieren können? Vielleicht. Aber so wie mich der Beamer seit Monaten vorwurfsvoll anguckt, hätte mich auch die Kaffeemaschine vielleicht jahrelang angeguckt, bis ich irgendwann dann doch den Mut und die Zeit gefunden hätte, einen Tag für einen weiteren Reparaturversuch zu opfern. Nenn mich schwach: Ich habe das nicht mehr ausgehalten.

Ärzte, sagt man, können ihre Fehler auf dem Friedhof besuchen. Ich habe meinen zumindest hier im Blog ein kleines Denkmal gesetzt.

Serious GAS warning: Stereoping is building a new Matrix controller!

Stereoping Matrix 1000/6/6R controller, preliminary visualization Oct 2016. Source: stereoping.com
Ah, yes, GAS, Gear Acquisition Syndrome. It happens to the best of us. So if the thought of a new hardware super-controller by Stereoping is giving you sweaty palms, especially as you learn that it will also be available for Microwave, MKS-80, and Rhodes Chroma, you’d better not read on. The specs I’ve got for you would only make you GAS much, much worse.
Weiterlesen

Shameless Teaser: Ctrlr editor/librarian/controller panel for Matrix-6/1000

UPDATE: Possemo’s Matrix-1000 panel for Ctrlr has been released and is free to download here.

As teasers go, I’d give it only a 0.3 on the Behringer scale – but it’s for something that I am not directly involved in, so it’s a bit shameless from me. But Chris, who is working on this, has kindly allowed to use these screenshots from his upcoming editor/librarian/controller panel for Ctrlr, the open-source multi-controller. Available for Windows, Mac, and Linux (!)

Granted, there is already a Matrix editor panel, but it’s been in permanent Beta, and Chris’s panel simply looks great, from the layout of the controls, via the Matrix-movie branding, to the randomizer (brought up by clicking on the red pill, of course!). So: stay tuned!

Could you also patch an Alesis IO Dock II?

Is it possible to retrofit an Alesis IO Dock II with an internal USB hub, just like I did with my IO Dock 1? TL;DR: Some have tried and failed – seems like Alesis deliberately switched the code for this hack off.

This photo was sent to me by Blek in the Czech Republic who asked that very same question. He has taken a look inside his IO Dock II and noted that it features an all-new PCB, so my original hack won’t work. And of course there is no guarantee that the prerequisite for the original hack is still implemented in the IO Dock II: the ability to function not only as a USB bus host for the iPad, but as a USB bus slave device, with the iPad working as the bus master.

The good news is: It is simple to give it a go, as Alesis took extra care to label the locations of the USB bus signals:

iodock2

So here is what you do to try it:

  1. Get a male-female pair of plugs matching the connector in question. Possibly a 12-pin version of these connectors, so as in the original hack, 2mm pin grid stripes could work. They are a bit hard to come by, but it is possible.
  2. Solder connections from male to female for all lines but 6 and 7 – the D- and D+ USB data signals.
  3. Get a suitable UBS2.0 hub – I used a Belkin F5U404; you might have to try a couple of hubs if that one does not work.
  4. Take the cable that is meant to connect the hub to the computer – it should have a standard USB plug on one end and a USB mini connector on the other end – and cut it in half. This is the only non-reversible action you are taking, but as it is easy to buy a replacement cable, there is not much harm done if it does not work.
  5. Take the cable half with the USB A-type plug, for connecting it with the computer. Solder the cable wires to the connector that goes into the IO Dock side as follows: Red (Vcc) -> pin 1, White (D-) -> pin 6, Green (D+) -> pin 7, Black (GND) -> pin 8.
  6. Take the other cable half with the USB mini-B plug for connecting to the hub and solder it to the iPad side, i.e. to the connector that is leading to the iPad connection cable. Once again, solder red to 1, white to 6, green to 7, and black to 8.
  7. Do some checking for connections and possible short-circuits. Believe me, it’s worth the effort.
  8. Unplug the IO Dock board connector for the iPad. Insert your freshly-made adapter.
  9. If it works, make a video of it. Become world famous. :)

Wiring diagram

Wiring the USB hub connector: Once again, the trick is having the iPad work as USB host rather than as a slave device, and the IO Dock as the slave rather than as the host. Use your hub’s connector cable, cut in half, and solder the color-coded wires to the connectors as shown.

Sorry for my rather artistic impression of the adapter, hope it gives you the right idea. Pin 1 is to the left, pin 12 to the right. IO Dock side is up, iPad connector side is down.

Just to be sure:

  • I’d strongly advise you to solder and try out the adapter rather than soldering any wires to your IO Dock. It is a good thing to keep that sort of stuff reversible. For this reason, don’t start dremeling before proving that it actually works…
  • …which I won’t guarantee you. Mind you, I don’t even own an IO Dock any more. If you start doing this, you should know what you are doing.
  • Please understand that the base for this hack is a feature that Alesis seems to have implemented deliberately into the first IO Dock (see Dan Radin’s comment): the ability to work as a USB slave to the iPad, in addition to normal operation, where the IO Dock works as a host for the iPad. If the IO Dock does no longer do that, you can try to rotate the USB hub, but that’s about it.
  • Please write me back with your experiences. Please don’t get on my tits with any attempts to make me do this hack for you, or repair your IO Dock if anything went wrong. (Oh my god – I just realize that bullshit warnings are obviously contagious.)

It’s worth giving it a try, isn’t it?

Thanks to Blek for allowing me to use his pictures.

Tough Love: 5 Gründe, warum wir Retro lieben

Roland JX8P Synthesizer in, sagen wir, leicht angefasstem Zustand

Neulich habe ich mir einen 30 Jahre alten Synthesizer gekauft. Eine Maschine, die auch ohne die Kratzer nicht besonders hübsch wäre und längst von Software für ein paar Euro rechts überholt wird. Eigentlich wollte ich sie nicht einmal, und Platz und Zeit habe ich auch nicht dafür. Aber was willst du tun, wenn es Liebe ist. Liebe? Moment mal…

Crosspost zum Super-Retro-WMFRA #67 am 8.12. – weiter lesen auf wmfra.de.

Weiterlesen