That you can change a three-position switch into one with up to eleven positions?
I didn’t. Continue reading
That you can change a three-position switch into one with up to eleven positions?
I didn’t. Continue reading
Isn’t it GORGEOUS? Classic Minimoog – less of a control panel, more of an erogenous zone for synth nerds. Tell me you don’t want to feel up these knobs! The pure beauty of a one-of-a-kind electronic instrument. The design and the sounds are still in highest demand more than 50 years after its design – and I was pretty sure I’d never, never even be tempted to buy one.
Let’s be honest: Moogs are ludicrously overpriced, and overhyped. Not a single classic Moog ladder filter sound you couldn’t do just as well with a modern plugin, or almost any modern hardware. Hey, even the R3 – my most underdog synth – can do pretty decent Moog impressions. And if you are with the “Digital-will-never-sound-like-true-analog” esoterics, there is still the option of Neo Old School: Using the old design with the upsides of modern analog technology. Get yourself a Boog, for fuck’s sake. (And a life.)
Still… as we know, it’s all about the workflow – and about that unique combination of how an instrument looks, feels, and sounds. So when I saw a Moog enclosure and front panel on eBay for a couple of Euros, I could not resist and had to buy it.
Suddenly, the Mac did no longer click with me: The trackpad in my MacBook Air M1 (end-2020) no longer clicked, seemed to have jammed, gave no haptic feedback. I could no longer click any objects on the screen; without an external mouse, the laptop was unusable.
It was quite easy to solve that problem; some short notes might help you if you have a similar problem.
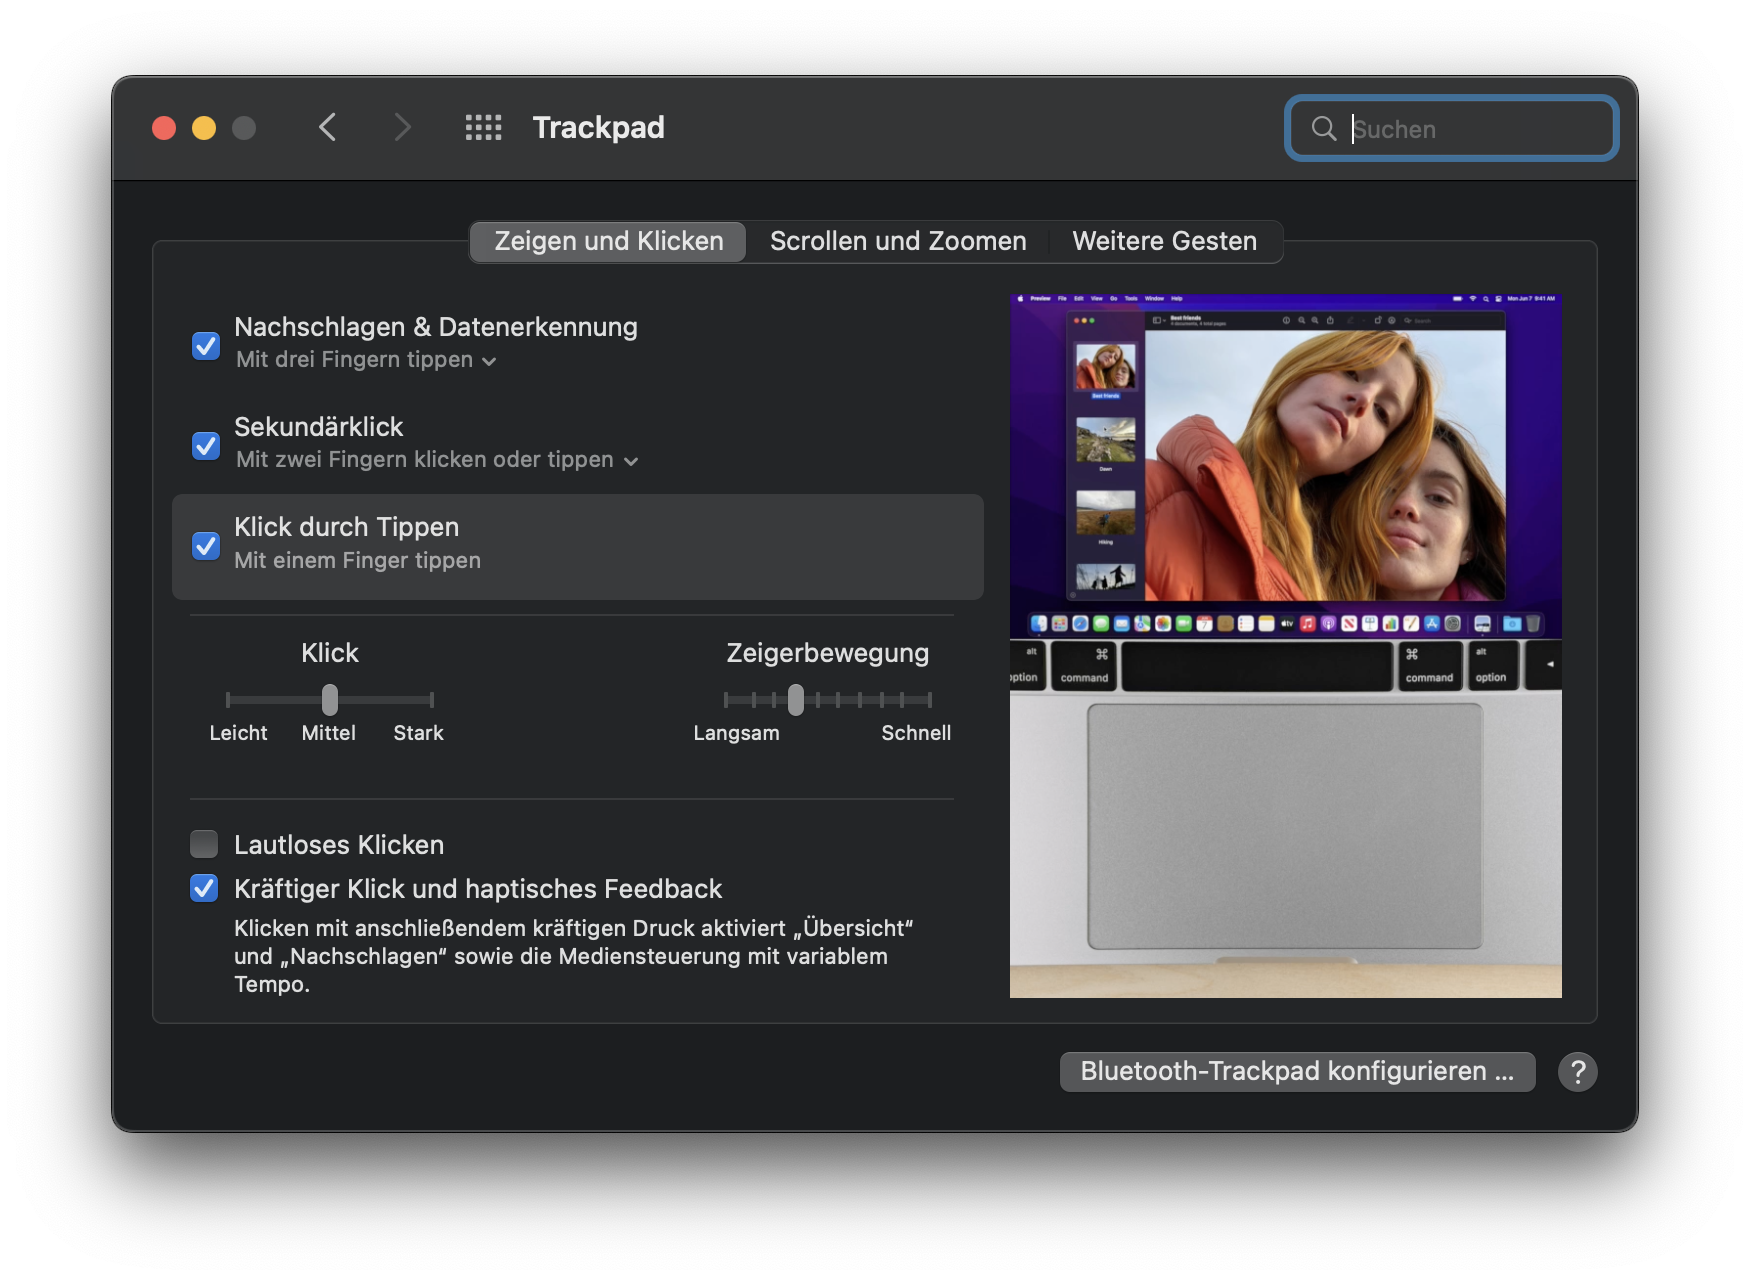
In short: This is what I did to get the trackpad working again

I’ve won a Dreadbox Typhon in a sweepstake, and it’s bloody brilliant. Like, really, really brilliant! A fun machine with a monster sound and a great concept for real-time sound manipulation and editing. If there wasn’t that nasty problem with digital noise.
Just listen to it! It’s wonderful – but you will have noticed the nasty sound on switching it on, and the permanent high-frequency noise. (Oddly enough, it’s no longer in the recording as soon as the sequencer starts, but believe me – it’s there, all of the time.)
Digital noise, for sure.
Stephan (aka umusic6) did some nice work:
Thanks to his efforts, there is now a Bit Edition of Stereoping’s Synth Controller, for Crumar Bit-01/One/99 with the Tauntek firmware. You can read up on the firmware, or order it, here.
(No, this is not an affiliate link, I have no share in this. But I think it’s a great project.)
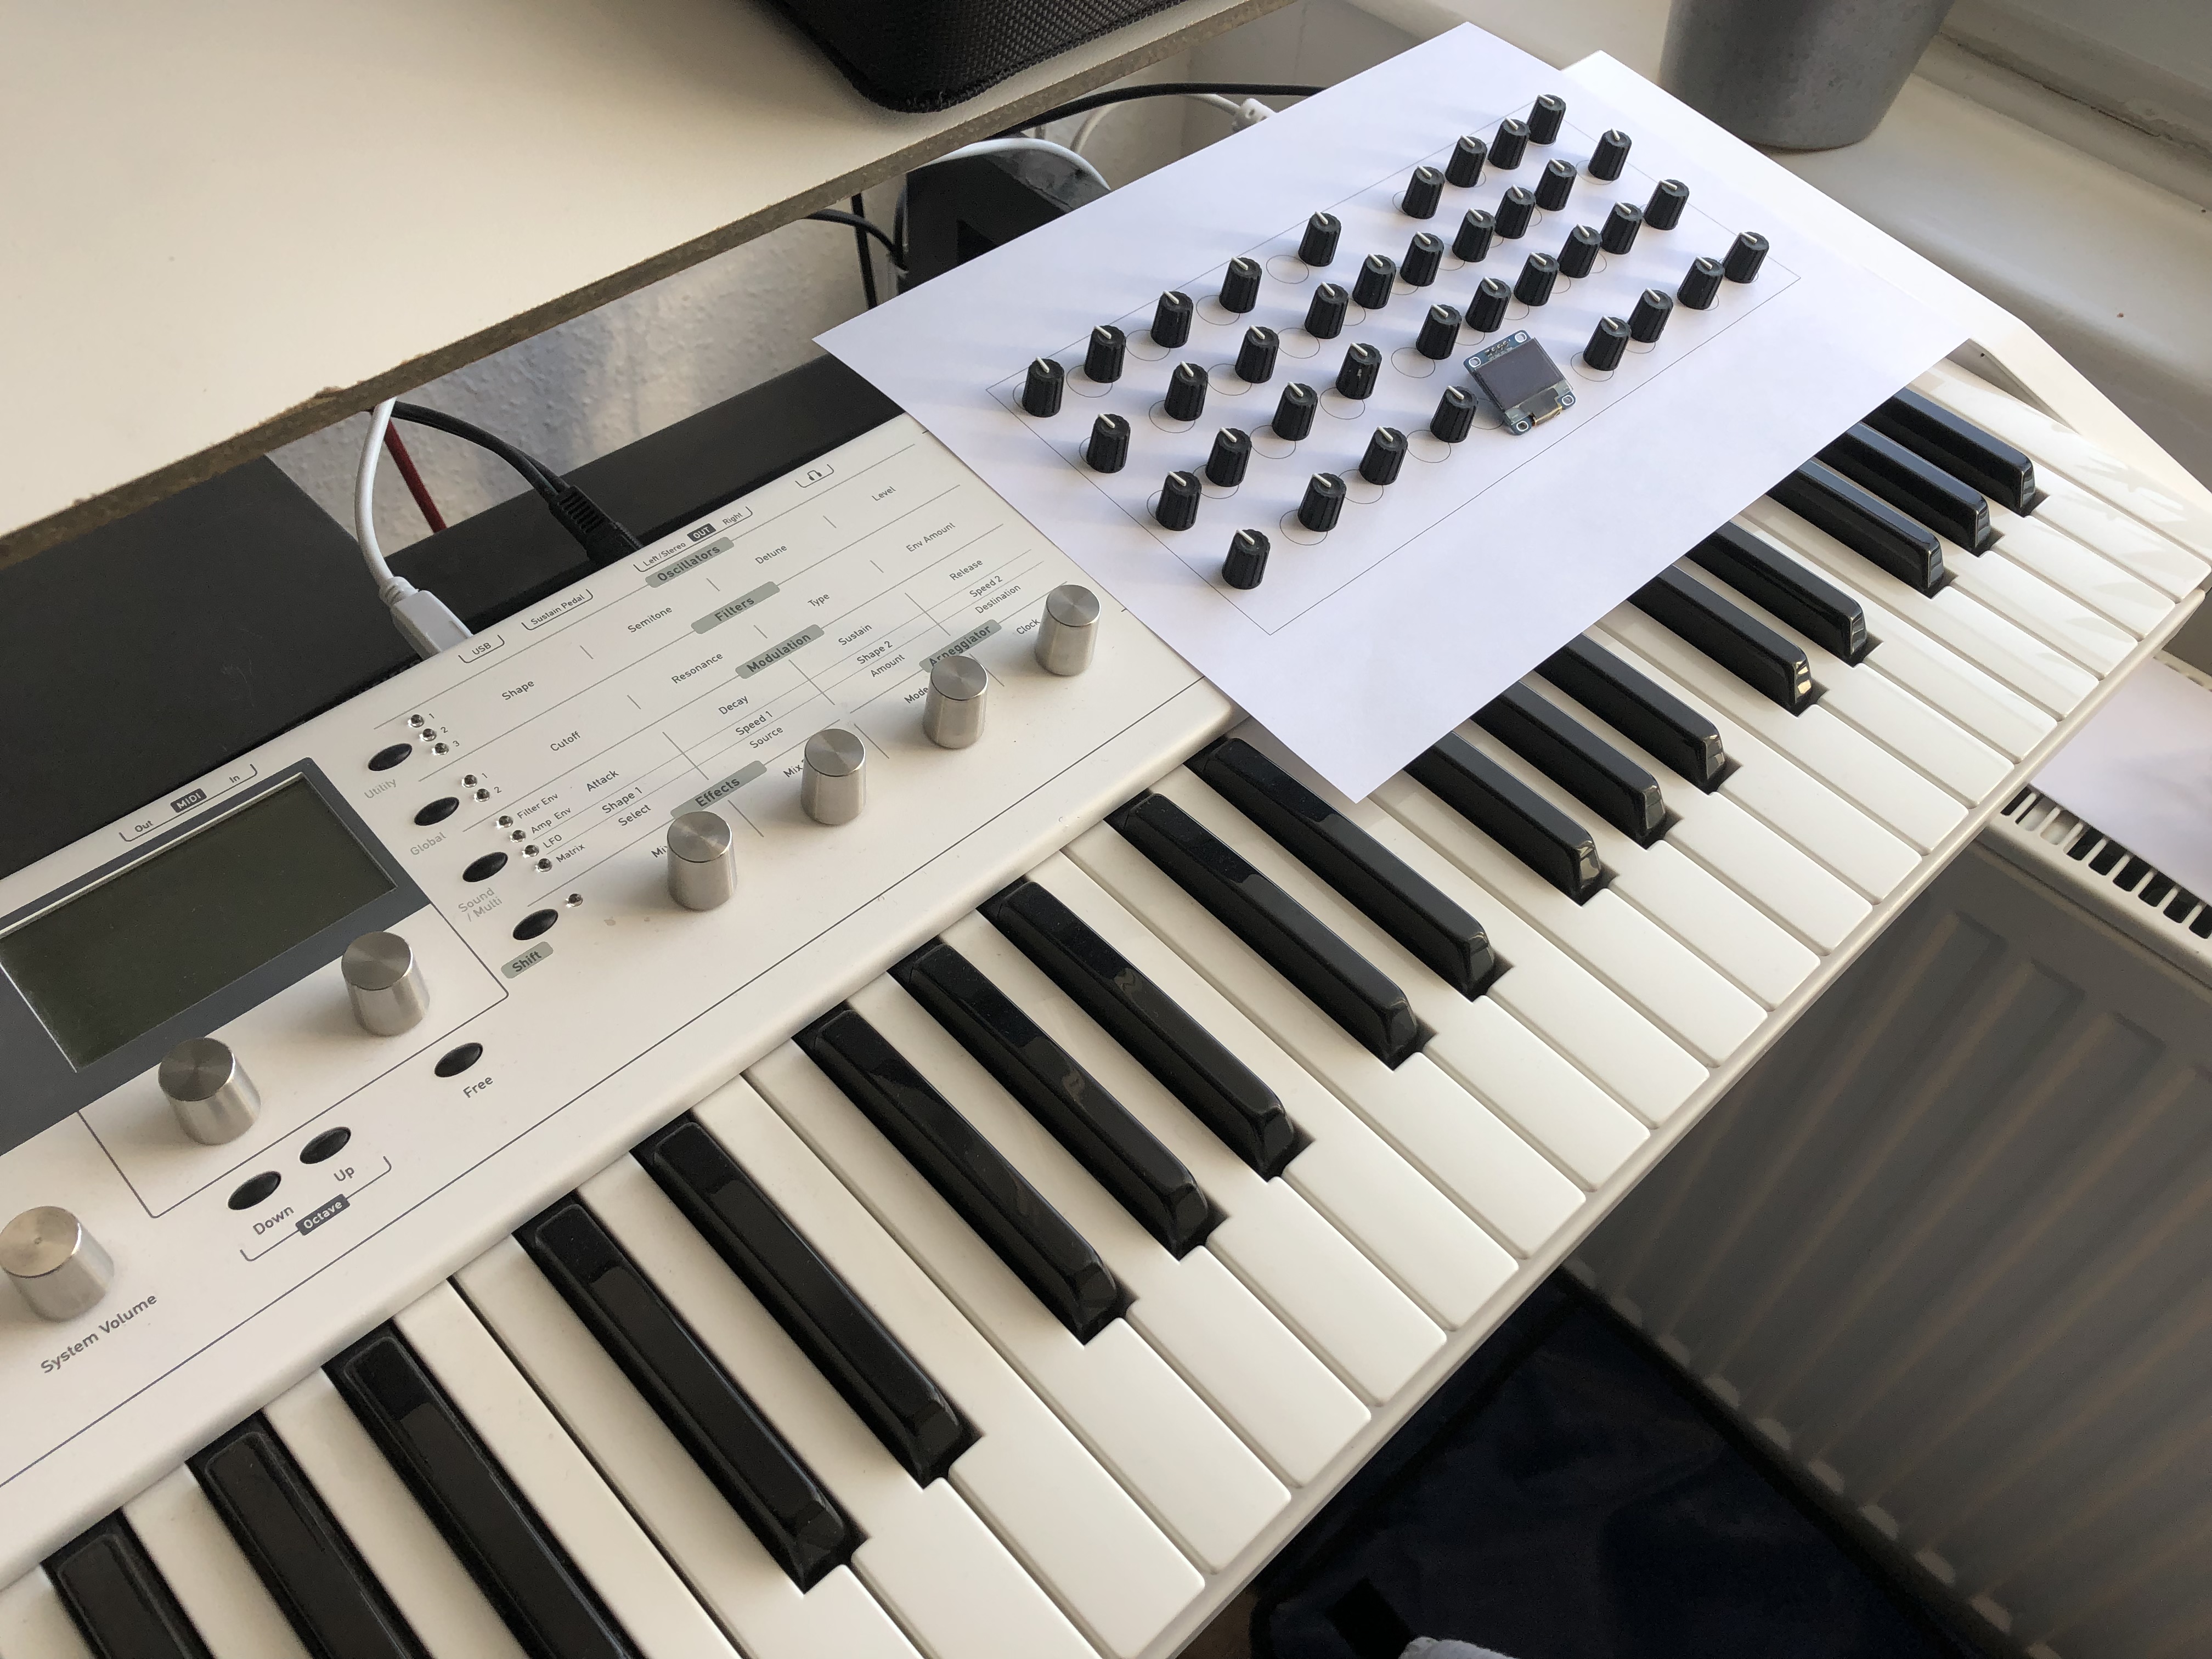
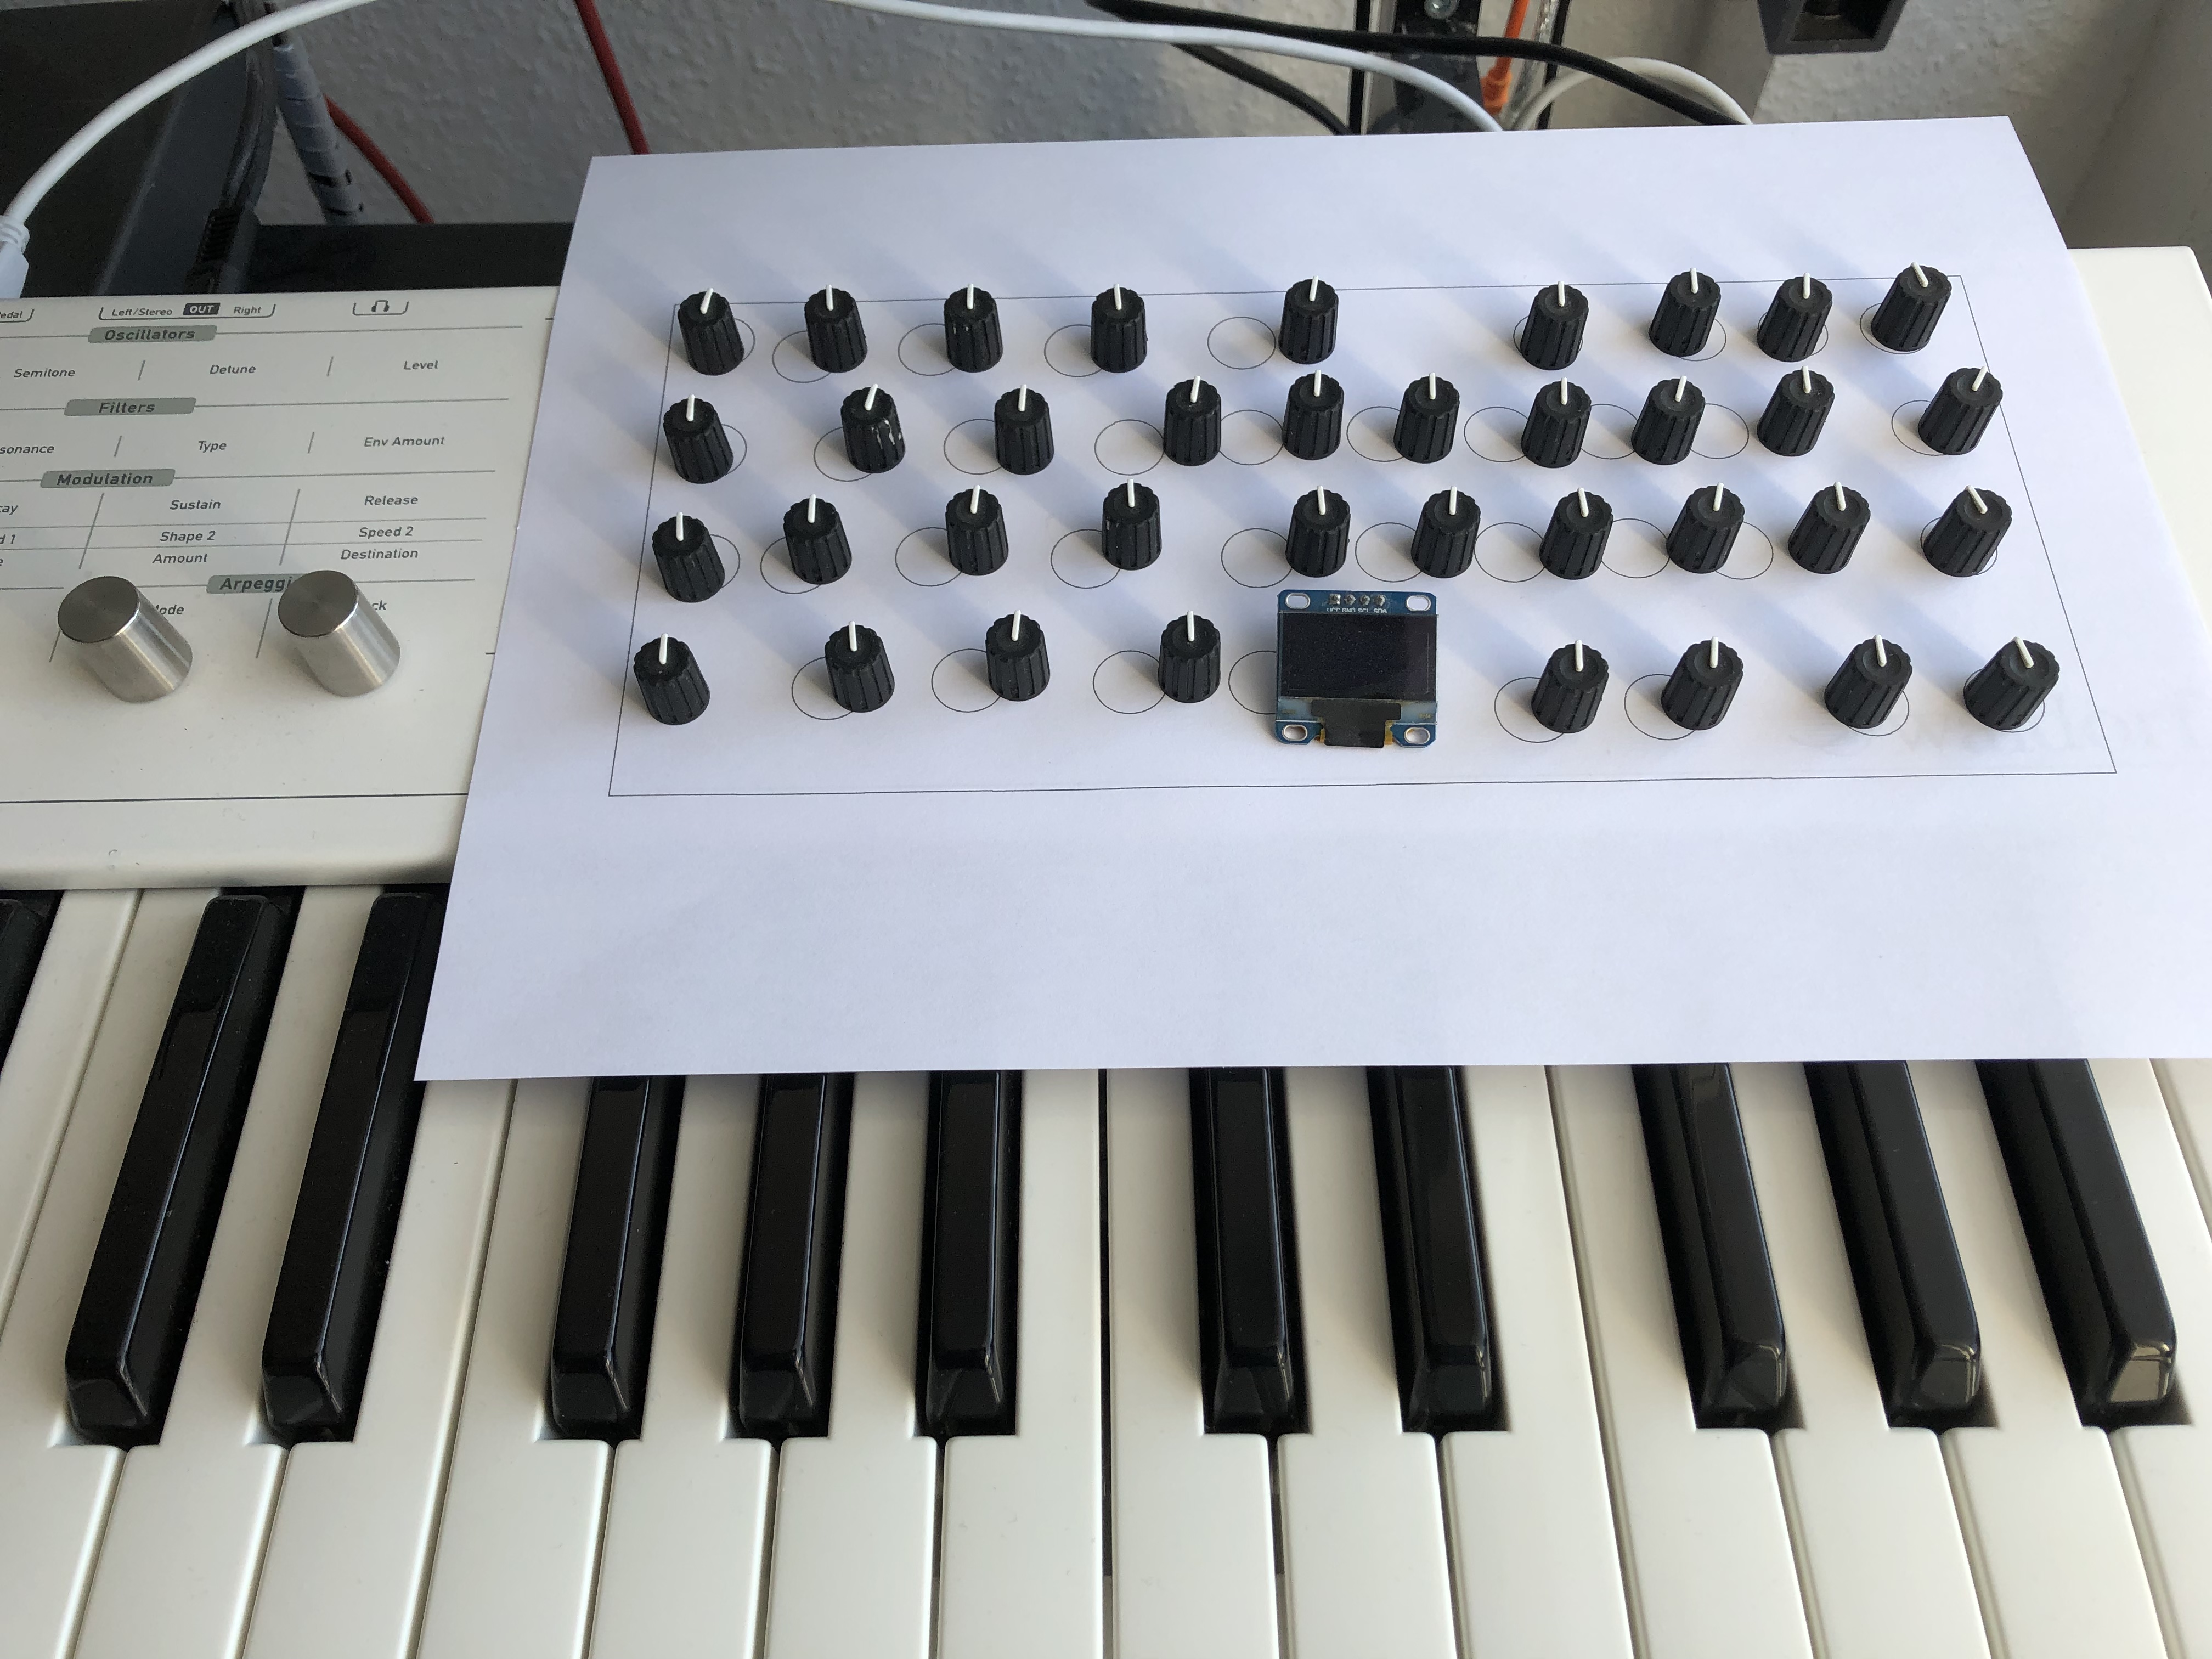
This is just a wet dream so far – a knobby controller integrated into the Blofeld. The layout being- ah, let’s call it inspired – by the Hartmann 20 that is, essentially, a Sledge in an expensive coat. (The Sledge is, essentially, a Blofeld with knobs.)
Behold: the Frankenfeld!
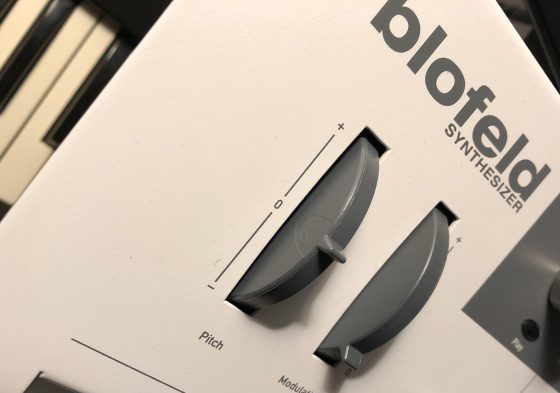
One day, my trusty Blofeld started drifting out of tune – pretty unusual behaviour for a digital synth. Even if it was in tune first, the drifting started as soon as I touched the pitchbend wheel, so I suspected that this was the culprit.
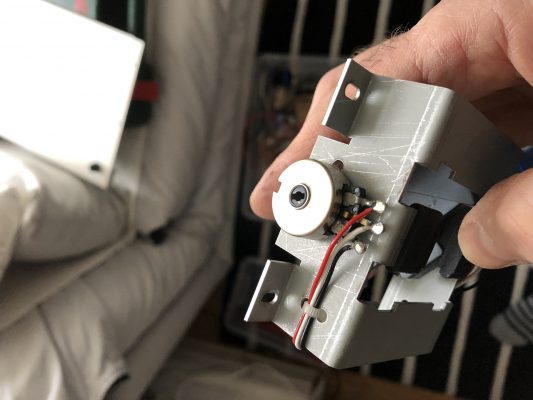
Opening the Blofeld (all 18 screws on the bottom – remember?), removing the wheelbox, and measuring the pitchbend pot confirmed that the potentiometer was indeed damaged – while an end-to-end-measurement showed 9k, the end-to-mid-resistance could be virtually anywhere, screaming “Mechanical Damage!” to me.
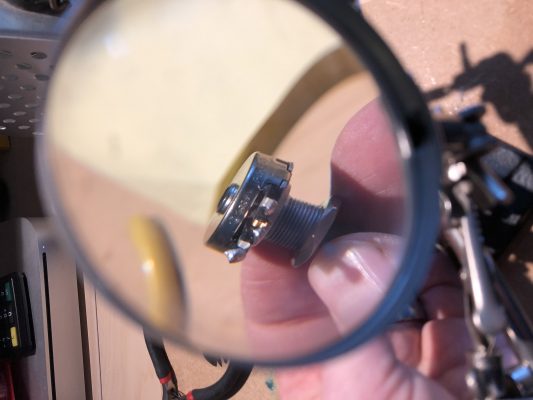
The potentiometer is 10k lin with a knurled 6.3mm shaft and an M10x0.75 mount. Waldorf seems to have used a Piher T-21Y type (datasheet). As I did not find something fitting in my parts boxes, I took it apart, cleaned it, adjusted the pickup spring, applied a bit of contact grease, refitted the pot and closed the Blofeld
Although I measured that the wheel now zeroed around the pot’s 5kOhm mark, it had most definitely shifted slightly, so I started looking for the calibration routine. There has to be a calibration routine, right?
But the good Blofeld seems to calibrate on power-up and on the first usage of the wheel – no calibration routine for the wheels needed. Phew!

Important note: Be careful to ensure that the Molex connector for the wheelbox sits correctly – when I pulled the plug, the plastic holder for the pins got pulled towards the edge of the PCB so when I reattached the plug, it did not sit correctly. Rule of thumb: If the plastic of the connector is visible from the top, you might want to push it back under the PCB.
Continue readingThis is the first post in a series of small projects for retrofitting my JEN SX-1000 monosynth with a simple and cheap MIDI interface controller. Read about the basic idea here. Today, I am designing and building the micro-controller brain of the Jenny retrofit – if you are capable of basic soldering, it should not take you more than two hours and a couple of very common electronic parts.
…and my sweet Lord, does it make her shine!
Nothing fancy here. After inserting the booster/overdrive in between VCO and filter section, I took another of those lovely Musikding.de kits for a phaser, built it, drilled some holes into Jenny’s housing and fitted it.
 I have been using Jenny as a bass synth recently, and I am quite impressed by the quantities of life and fun this old machine is adding to the mix. She doesn’t do that much in terms of tonal range, but what she does, she does well.
I rediscovered an old trick when drilling metal: use a bit of alcohol, not on the person drilling, but on the surface you want to drill. And don’t go too fast. 
Giving my JEN SX-1000 a bit of additional low growl by adding a pre-filter overdrive.
A nice little addition: Insert a booster circuit kit where the coupling capacitor between oscillator and the filter used to be. Come on, you’ll have to take out that damn capacitor anyway. And it sounds really nice, punching through the mix (samples below) – especially in combination with the sub-oscillator mod.
I do admit that you might think that this is a superfluous mod. After all, when you drive this circuit – any circuit – into overdrive and into clipping, the resulting wave form will, gradually, start to resemble a square wave.
But I could do it, so I did it. And I like it. So let’s get started.