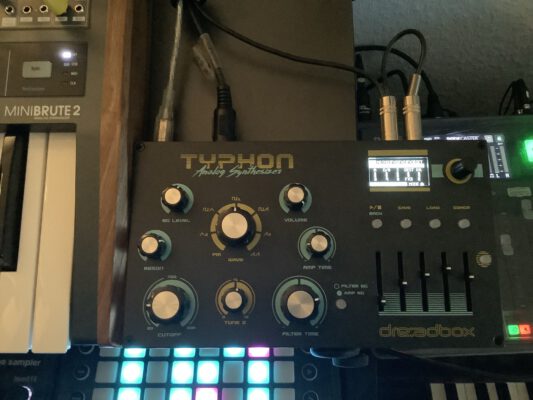
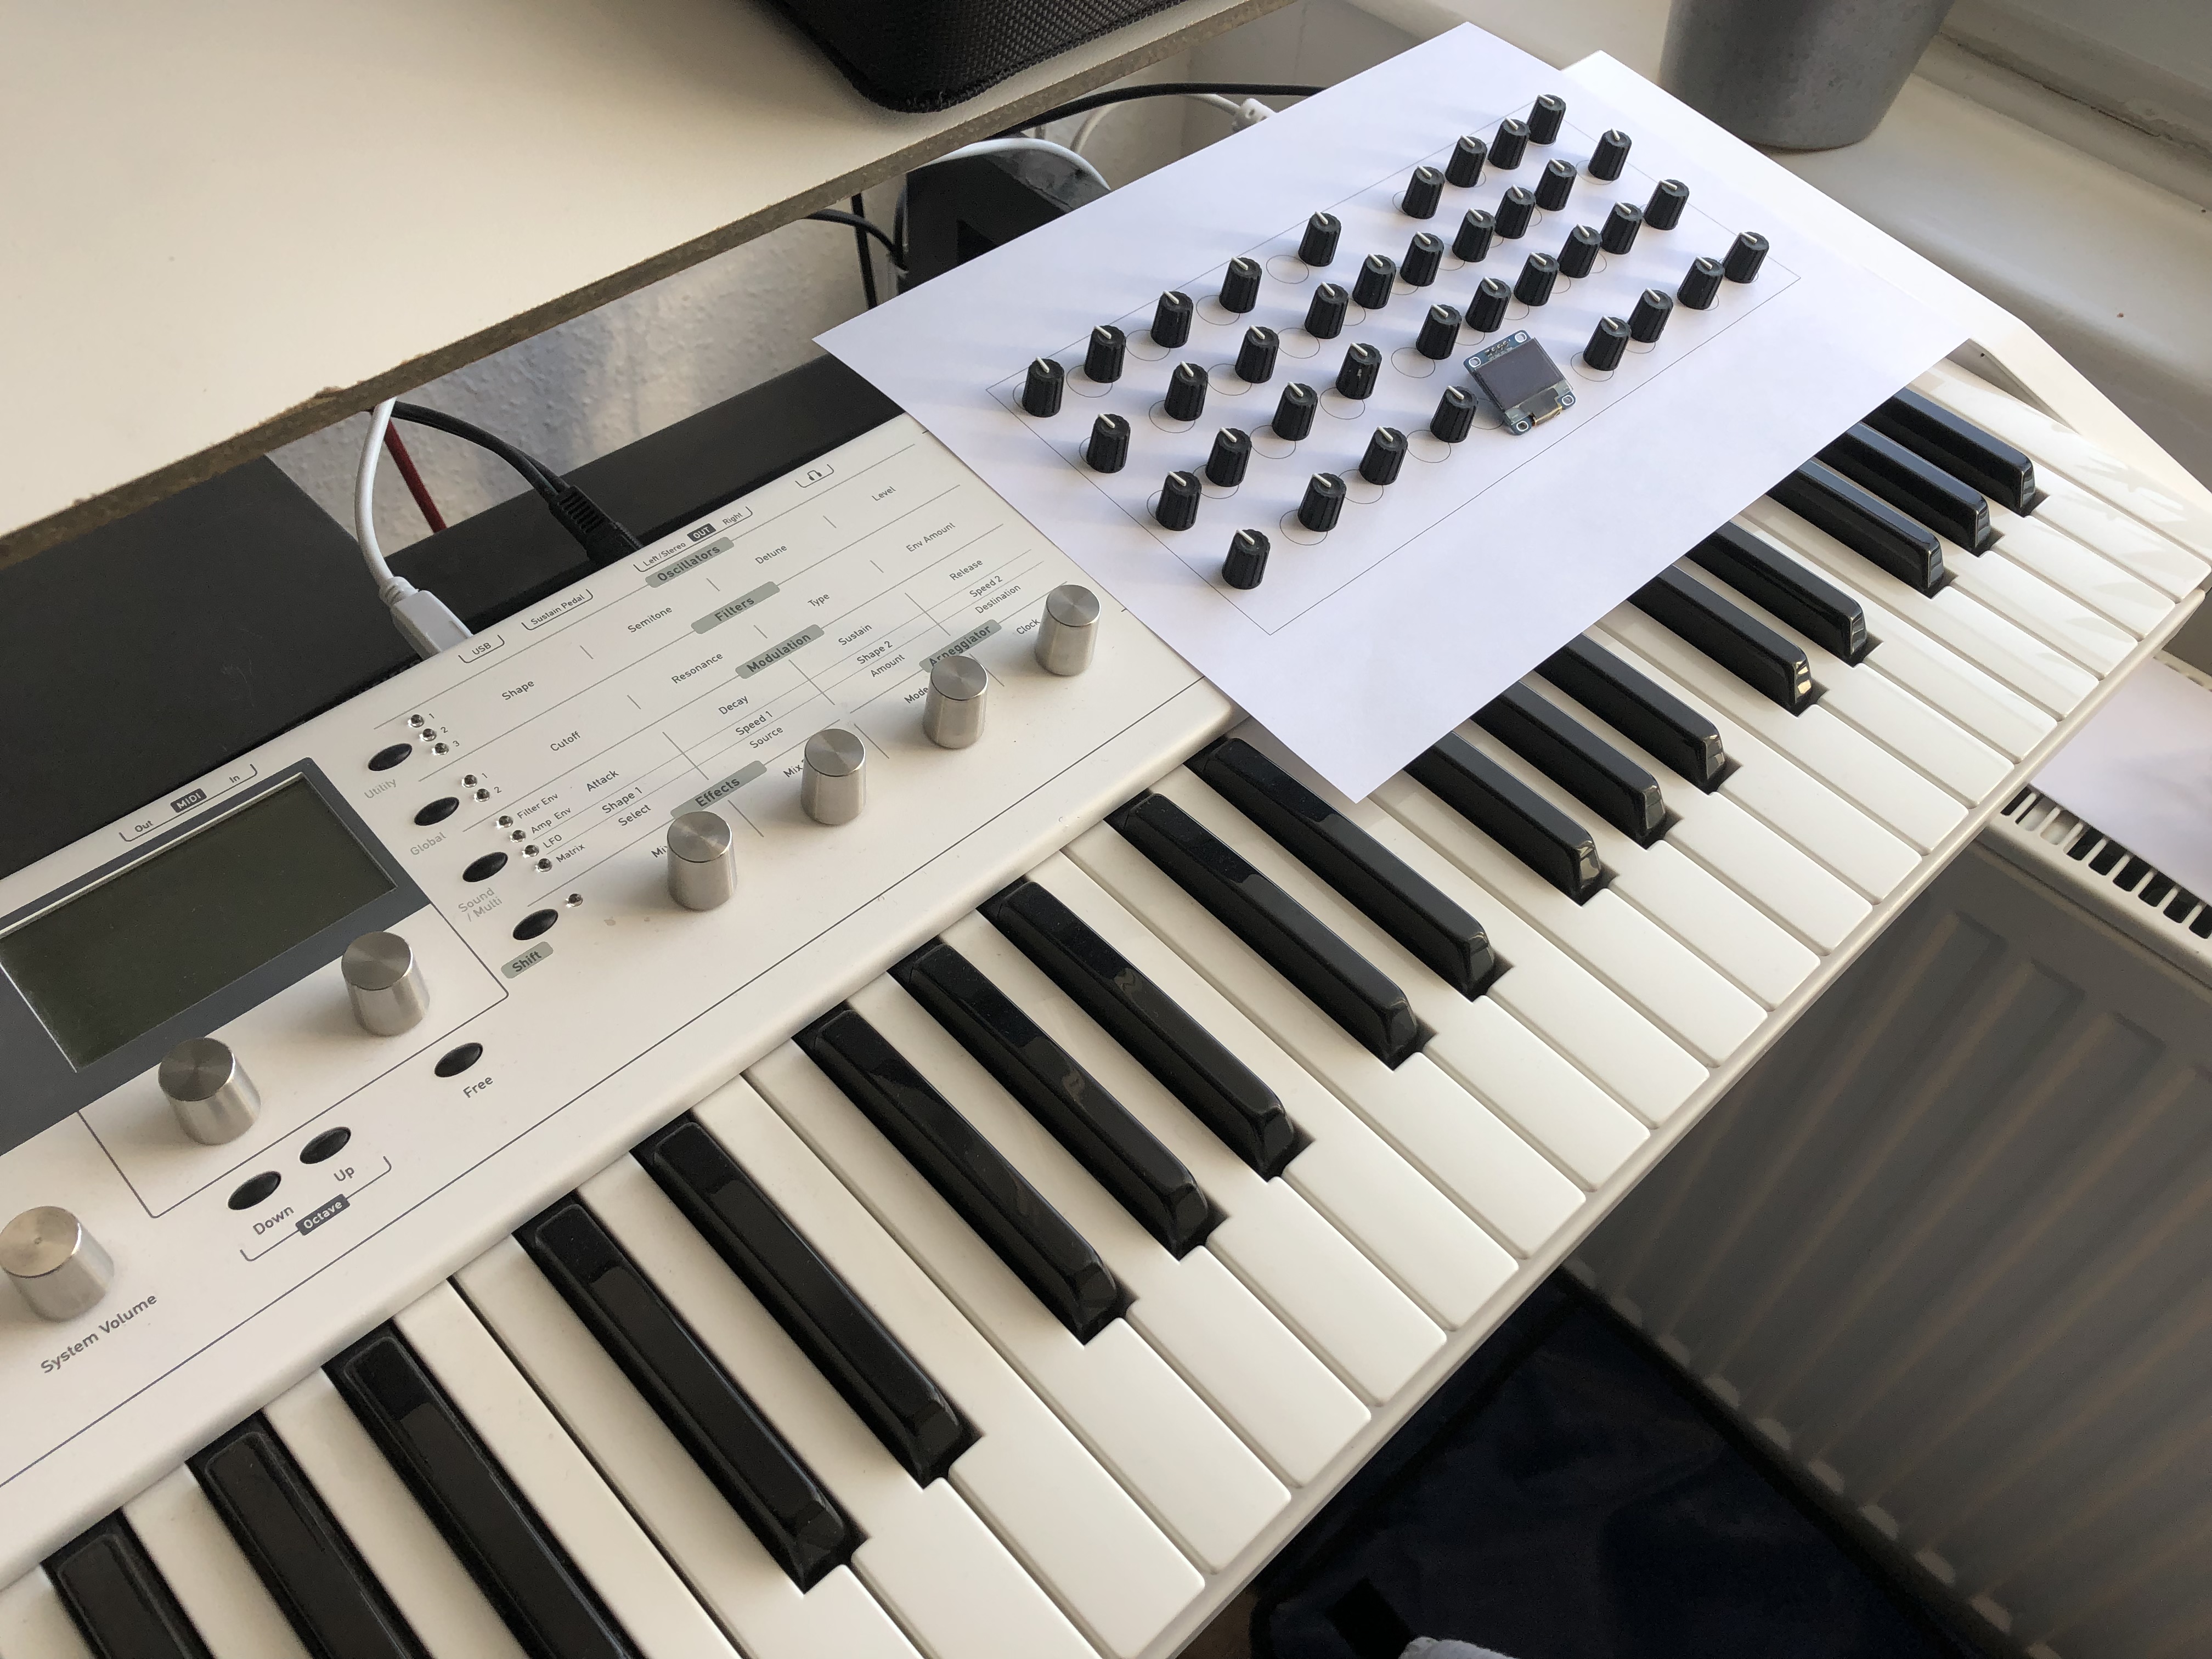
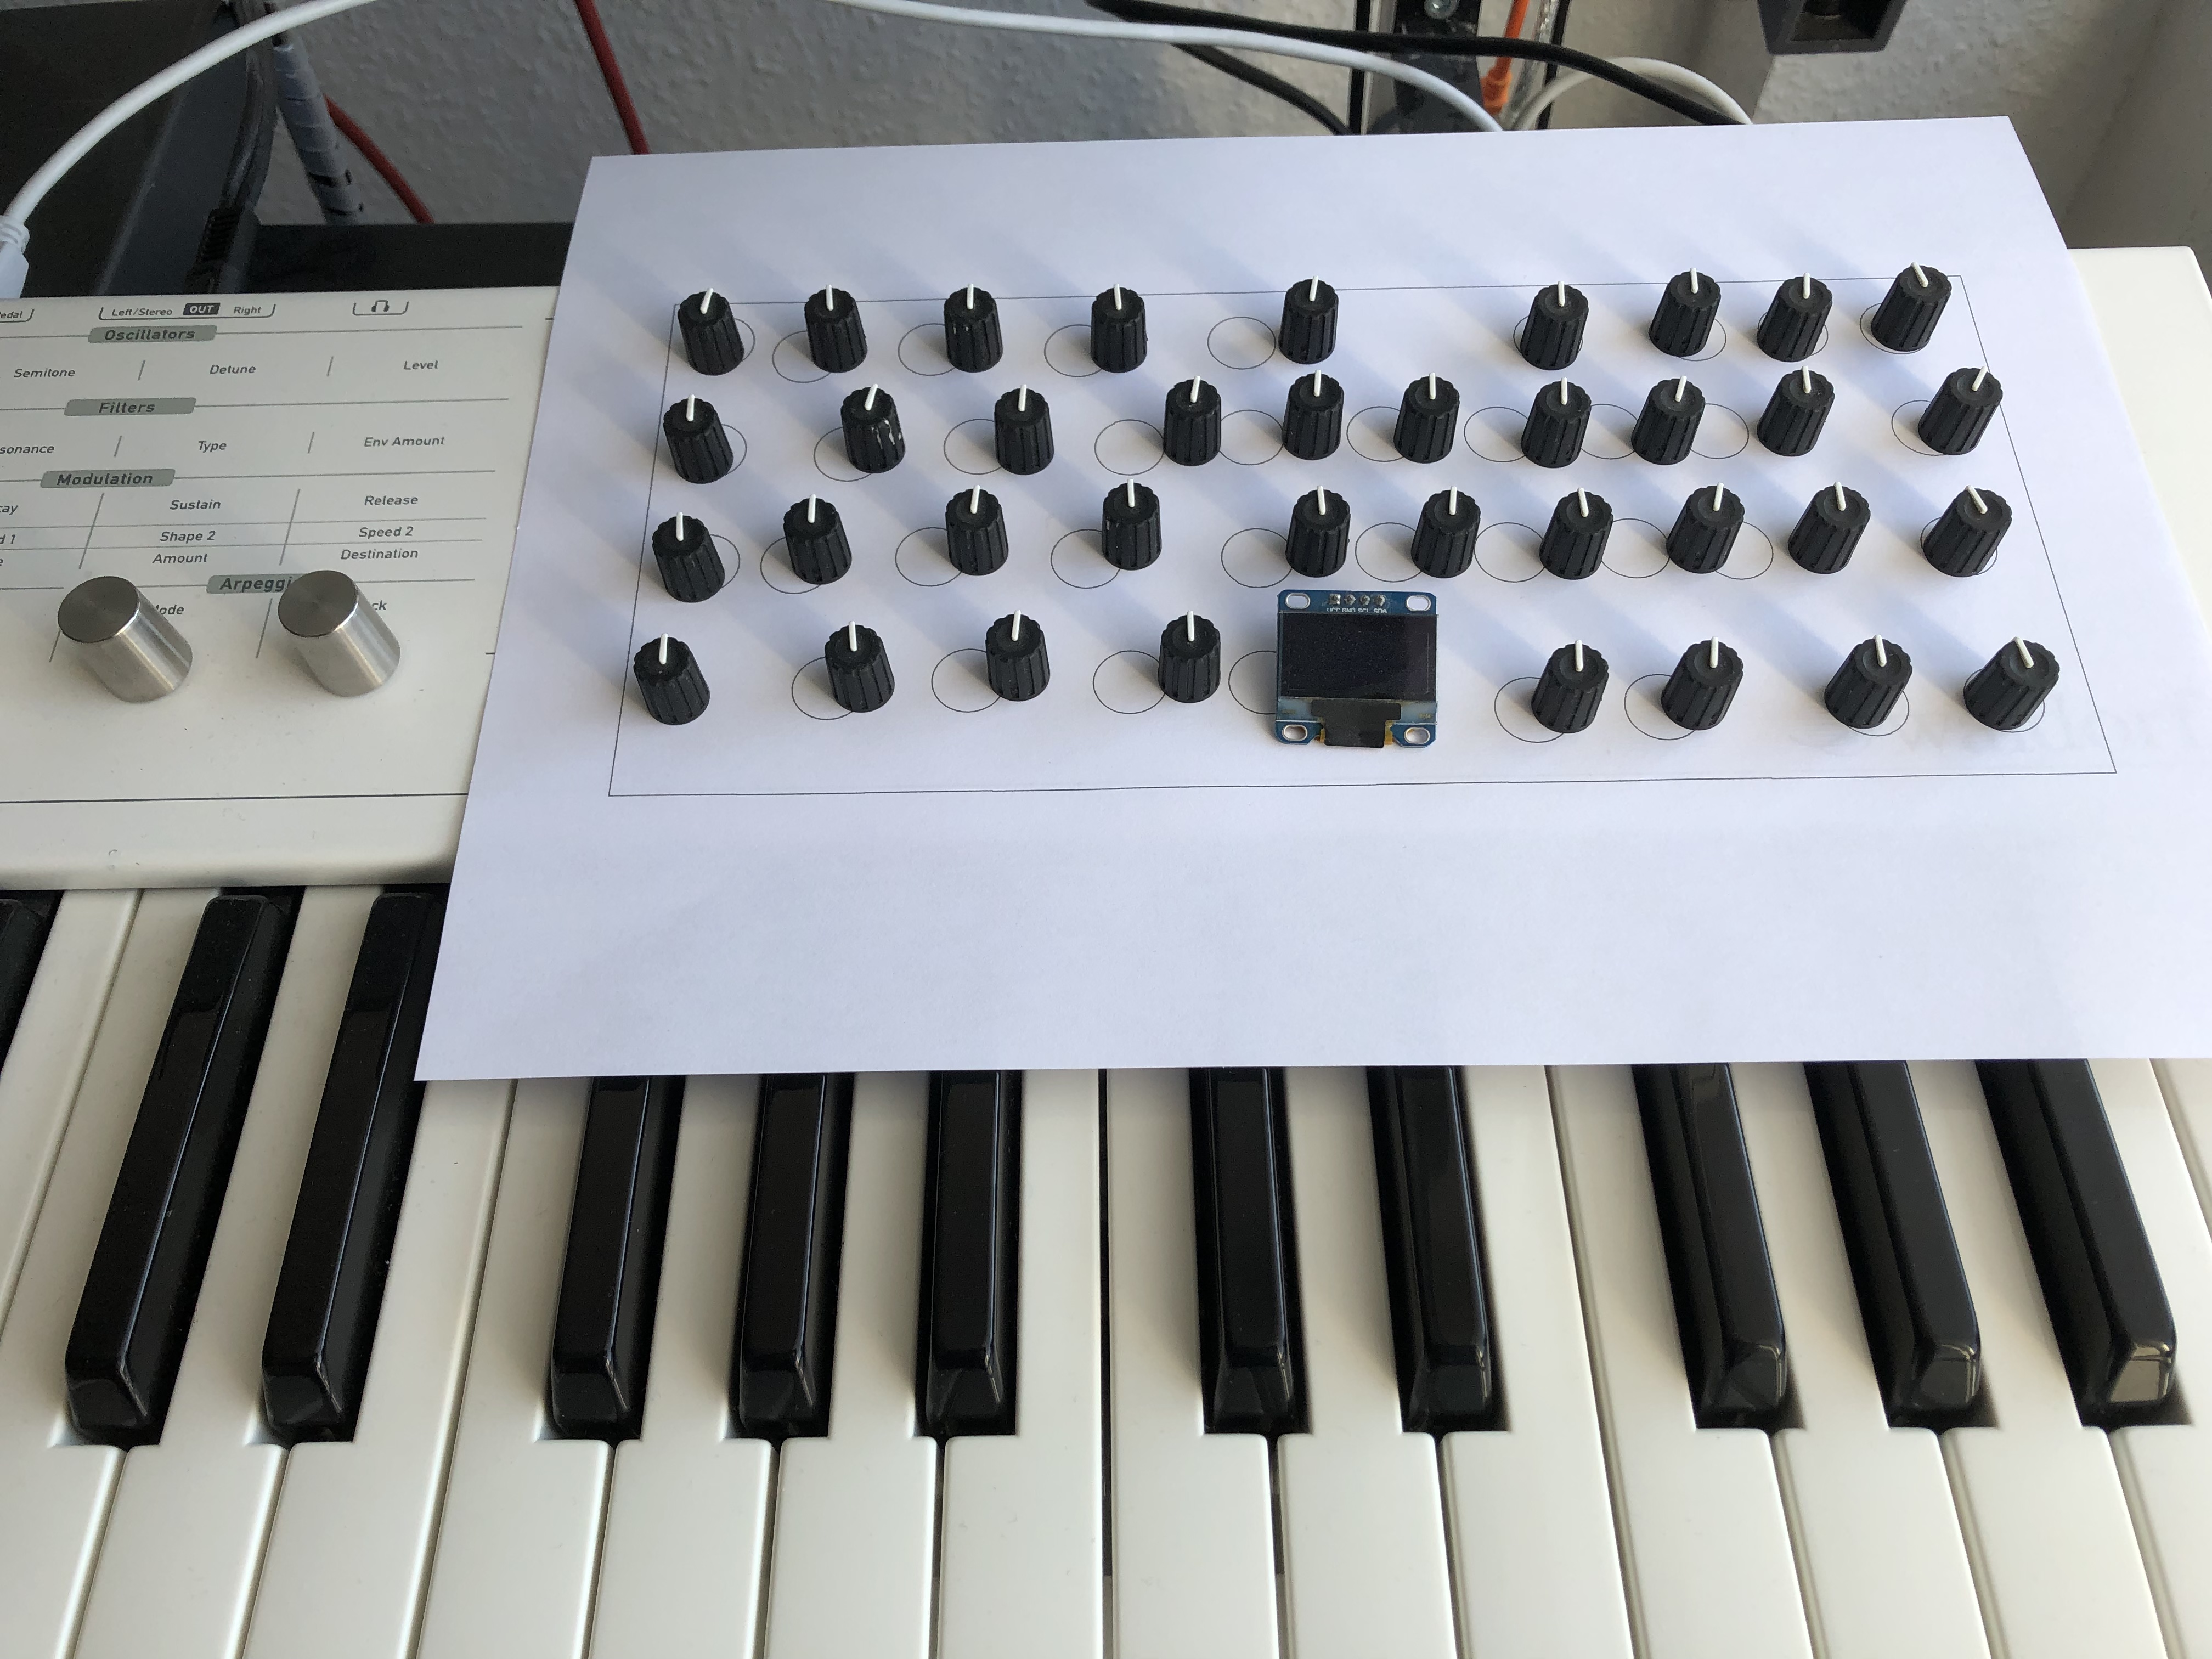
This is just a wet dream so far – a knobby controller integrated into the Blofeld. The layout being- ah, let’s call it inspired – by the Hartmann 20 that is, essentially, a Sledge in an expensive coat. (The Sledge is, essentially, a Blofeld with knobs.)
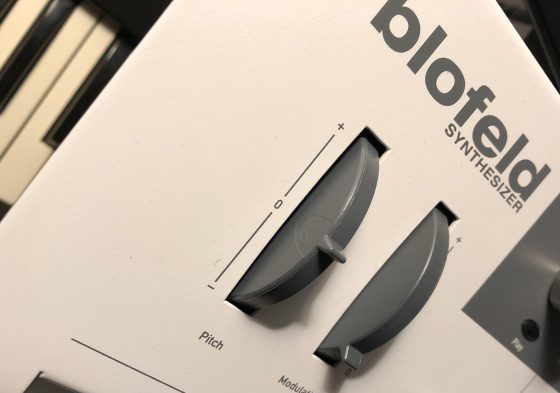
One day, my trusty Blofeld started drifting out of tune – pretty unusual behaviour for a digital synth. Even if it was in tune first, the drifting started as soon as I touched the pitchbend wheel, so I suspected that this was the culprit.
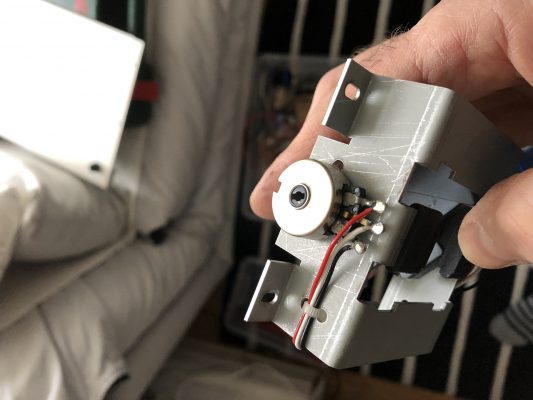
Opening the Blofeld (all 18 screws on the bottom – remember?), removing the wheelbox, and measuring the pitchbend pot confirmed that the potentiometer was indeed damaged – while an end-to-end-measurement showed 9k, the end-to-mid-resistance could be virtually anywhere, screaming “Mechanical Damage!” to me.
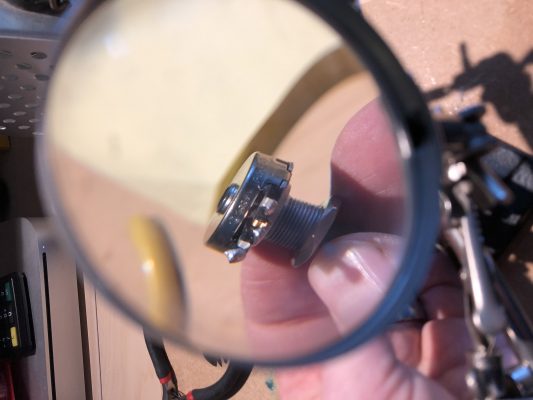
The potentiometer is 10k lin with a knurled 6.3mm shaft and an M10x0.75 mount. Waldorf seems to have used a Piher T-21Y type (datasheet). As I did not find something fitting in my parts boxes, I took it apart, cleaned it, adjusted the pickup spring, applied a bit of contact grease, refitted the pot and closed the Blofeld
And now for the good part…
Although I measured that the wheel now zeroed around the pot’s 5kOhm mark, it had most definitely shifted slightly, so I started looking for the calibration routine. There has to be a calibration routine, right?
But the good Blofeld seems to calibrate on power-up and on the first usage of the wheel – no calibration routine for the wheels needed. Phew!
Important note: Be careful to ensure that the Molex connector for the wheelbox sits correctly – when I pulled the plug, the plastic holder for the pins got pulled towards the edge of the PCB so when I reattached the plug, it did not sit correctly. Rule of thumb: If the plastic of the connector is visible from the top, you might want to push it back under the PCB.
This is the first post in a series of small projects for retrofitting my JEN SX-1000 monosynth with a simple and cheap MIDI interface controller. Read about the basic idea here. Today, I am designing and building the micro-controller brain of the Jenny retrofit – if you are capable of basic soldering, it should not take you more than two hours and a couple of very common electronic parts.
I have been using Jenny as a bass synth recently, and I am quite impressed by the quantities of life and fun this old machine is adding to the mix. She doesn’t do that much in terms of tonal range, but what she does, she does well.
Drilling holes in Jenny’s front
I rediscovered an old trick when drilling metal: use a bit of alcohol, not on the person drilling, but on the surface you want to drill. And don’t go too fast.
Giving my JEN SX-1000 a bit of additional low growl by adding a pre-filter overdrive.
A nice little addition: Insert a booster circuit kit where the coupling capacitor between oscillator and the filter used to be. Come on, you’ll have to take out that damn capacitor anyway. And it sounds really nice, punching through the mix (samples below) – especially in combination with the sub-oscillator mod.
I do admit that you might think that this is a superfluous mod. After all, when you drive this circuit – any circuit – into overdrive and into clipping, the resulting wave form will, gradually, start to resemble a square wave.
But I could do it, so I did it. And I like it. So let’s get started.
Certainly the last post in this blog this year – a happy 2018 to all of you, with loads of creative endeavour and technical discoveries!
Version 1.2 of my iPad control panel for my brilliant virtual Prophet, the Creamware/Soniccore Pro-12 ASB. Read here about it. The new version does not only allow access to all the hidden parameters you cannot reach by turning the synth’s knobs, it shows the actual settings for the sound as well – a true addition if you want to look at what the sound actually does. Once again, you need the TB Midi Stuff app for it to work, which is about 4 Euros.
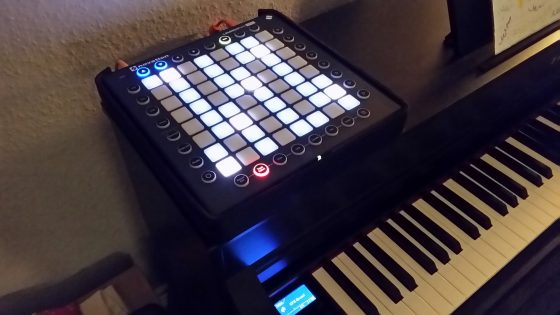
A tutorial for using the Novation Launchpad Pro as a synth keyboard.
What this is about
Last summer, I borrowed a Launchpad to take along on my holiday, and fell in love with it. The Launchpad is a new instrument; you have to relearn the movements of your fingers. These considerations and patterns are supposed to make learning easier.
I am not much of a musician, nor do I know that much musical theory. The few musical skills I use these days are mostly self-taught. When I started discovering synthesizers, I got myself a table of the basic minor and major chords and their inversions. This helped me produce the first harmonies, just like someone learning the first chords on a guitar. This document is supposed to give you that same kind of start.
Building my own wheels for the Launchpad Pro – once again, with style.
Two weeks ago, I started a little sunday afternoon project, sucessfully building my first own MIDI controller – a pitch bend/mod wheel/midi merge device to serve as a companion to my new Launchpad Pro. Using an Arduino, a prototyping board by SparkFun, and community-made code, I succeeded with surprisingly little effort – the most time-consuming part was finding and fixing the errors I had clumsily soldered into my pathetic excuse for a MIDI interface. But it worked!
This is actually a side project to that. I looked at my self-made controller and noticed that it is usable but not very playable – I wanted real wheels for the Launchpad, not sliders. So I decided to redo a V2.0 of the controller, based on the Teensy.
I have bought a Launchpad Pro, and am still trying to figure out how to play a synthesizer with this thing. (More on this in another post.) It’s like starting over with keyboards, only with a better understanding what this is getting at. Simply great.
One thing I don’t like about the Launchpad is that it may give you velocity and per-note pressure sensitivity – provided your synth is capable of interpreting it – but takes away the traditional performance controls of a synth keyboard: the good old pitch bend and modulation wheels we have seen as our goddamn right as keyboard players ever since they were introduced with the Minimoog.
So I decided to build my own simple Launchpad Companion Controller, based on an Arduino.
You may know these two gentlemen. If not, grab your VHS player, rent out the BBC’s “Hitchhiker’s Guide” series, watch. Hurry!
If you have tried to send a message, or use the shop, you may have noticed that it did not work in the last two days – or, you didn’t notice, and are still waiting for an answer. A conflict between the Contact Form 7 plugin, which I have rediscovered, and the WP Cerber security plugin made some readjustments necessary. It should all be fine again now.
On the plus side, I had the opportunity to overhaul my shop pages, so if you are interested in an update for the Akai AX-80 or Kawai SX-240, it is easier to find and order. Concerning the Matrix-6, there is news: A very old bug in the firmware has finally been found and eliminated; it made it impossible to set negative DETUNE (parameter 12) values. Oddly enough, nobody except Gregor from Stereoping ever seems to have noticed, so there is no harm in continuing to use the firmware V2.14.
There is a new version V2.15 though – Bob fixed the bug – so if you feel that you need negative detune values, you may order that. Or you may take the opportunity to buy one of the V2.14 firmware PROMs extra cheap – while stocks last.
This website uses cookies to improve your experience. We'll assume you're ok with this, but you can opt-out if you wish.AcceptRead More
Privacy & Cookies Policy
Privacy Overview
This website uses cookies to improve your experience while you navigate through the website. Out of these, the cookies that are categorized as necessary are stored on your browser as they are essential for the working of basic functionalities of the website. We also use third-party cookies that help us analyze and understand how you use this website. These cookies will be stored in your browser only with your consent. You also have the option to opt-out of these cookies. But opting out of some of these cookies may affect your browsing experience.
Necessary cookies are absolutely essential for the website to function properly. This category only includes cookies that ensures basic functionalities and security features of the website. These cookies do not store any personal information.
Any cookies that may not be particularly necessary for the website to function and is used specifically to collect user personal data via analytics, ads, other embedded contents are termed as non-necessary cookies. It is mandatory to procure user consent prior to running these cookies on your website.