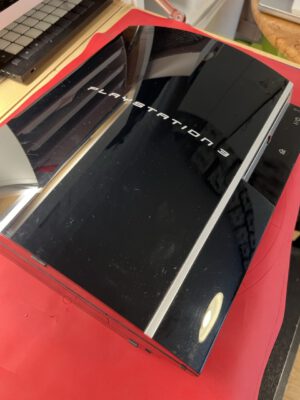
The PS3 is amazing – I got it 16 years ago, and it’s still running, working as a Blu-Ray player, and for the occasional round of Little Big Planet with the kids. And Sony still sends updates! But I noticed the fan has been getting rather loud, so I guessed it was time to clean the cooling paths.
In the end, it took me about 30 minutes to take it apart and put it back together again, due to Sony’s service-friendly design. And it wasn’t quite as bady in need of some cleaning as I feared.
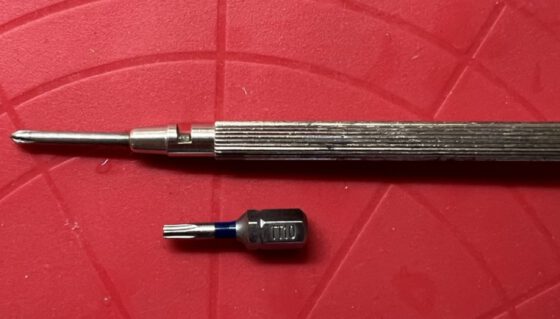
This is all you need for tools:
A Philips-head screwdriver and a T8/TT10 torx bit. You can also use an Inbus bit instead, and you will need it only once, to remove the single screw from the side of the unit holding the lid (it’s underneath a rubber plug cover).
The design of the PS3 is extremely service-friendly – totally unlike the Jura coffee machine I once fixed. It is built in layers; all the screws you need to remove to get to the next layer are marked with an arrow symbol, and there is a large friendly “S” where the one shorter screw will go. So it is a breeze to take it apart and get it together again.
Couple of notes:
- Once you remove the top lid, the Blu-Ray drive is no longer secured; take care that you don’t turn the PS3 upside down, or you may drop the drive, tearing off the ribbon connector. In case of a drive acting up, it may easily be replaced, or taken apart for further cleaning.
- The power supply sits on two metal poles serving as power connectors, so to take it away, pull it upwards after removing the screws.
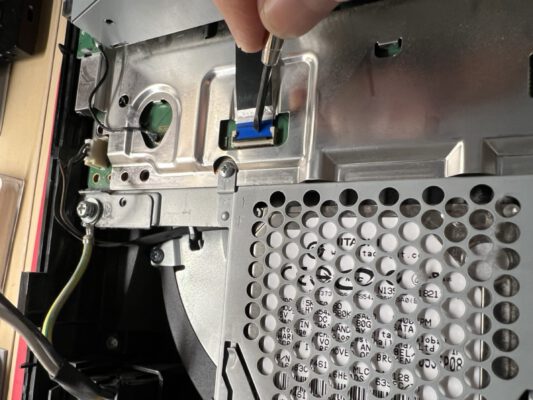
- The ribbon cable connector for the drive is underneath the power supply. Lift the small black part with the blade of a screwdriver to open it. Do not use force to pull the ribbon cable out.
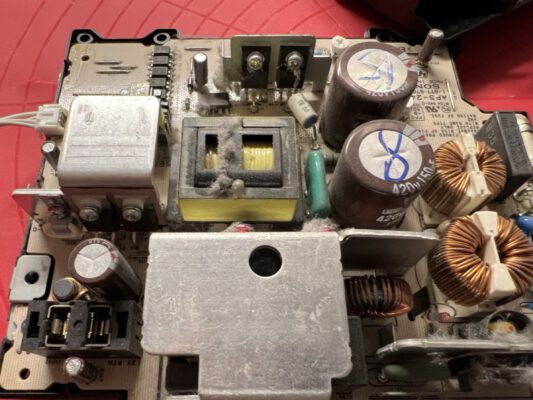
- The power supply was not quite as dirty as I had feared, but still, it helps to blow away the dust. When wiping the electronics, be careful not do get in too much contact with the capacitors; they may still hold nasty charges.
- No need to remove the WLAN/Bluetooth antenna. Leave it where it is, as well as the screw next to it, and the one on the front side of the board right next to it.
- To remove the main board, again, remove the screws marked by arrows, including the ones holding the little metal clamps in place in the center of the board. These hold the coolers for the MPU and the GPU in place, and if you keep them fastened and try to pull the board out, you will bend the cooler.
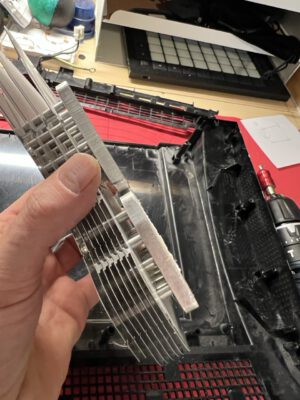
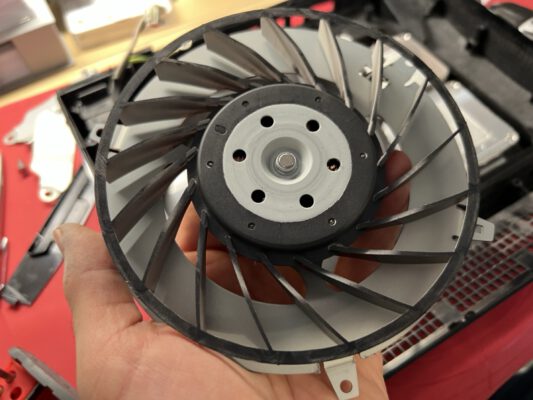
Still looks OK. Give it some cleaning, same with the fan.
Once again, the ifixit breakdown is the best step-by-step tutorial; hope you don’t mind me showing you my pictures first. And hope the PS3 will still have some good years.
Verwandte Artikel:
- Jahresendräumen: PC fliegt raus! (Thursday, 1. January 2009; Schlagworte: Mac OS X, Opensuse, Parallels, PC, PS3, Virtualisierung)
- Abenteuer Wohnzimmer: Mac-Medienserver von PS3 gesucht (Friday, 12. December 2008; Schlagworte: EyeConnect, Mac, Mediatomb, Medienserver, PS3, Twonkymedia)
