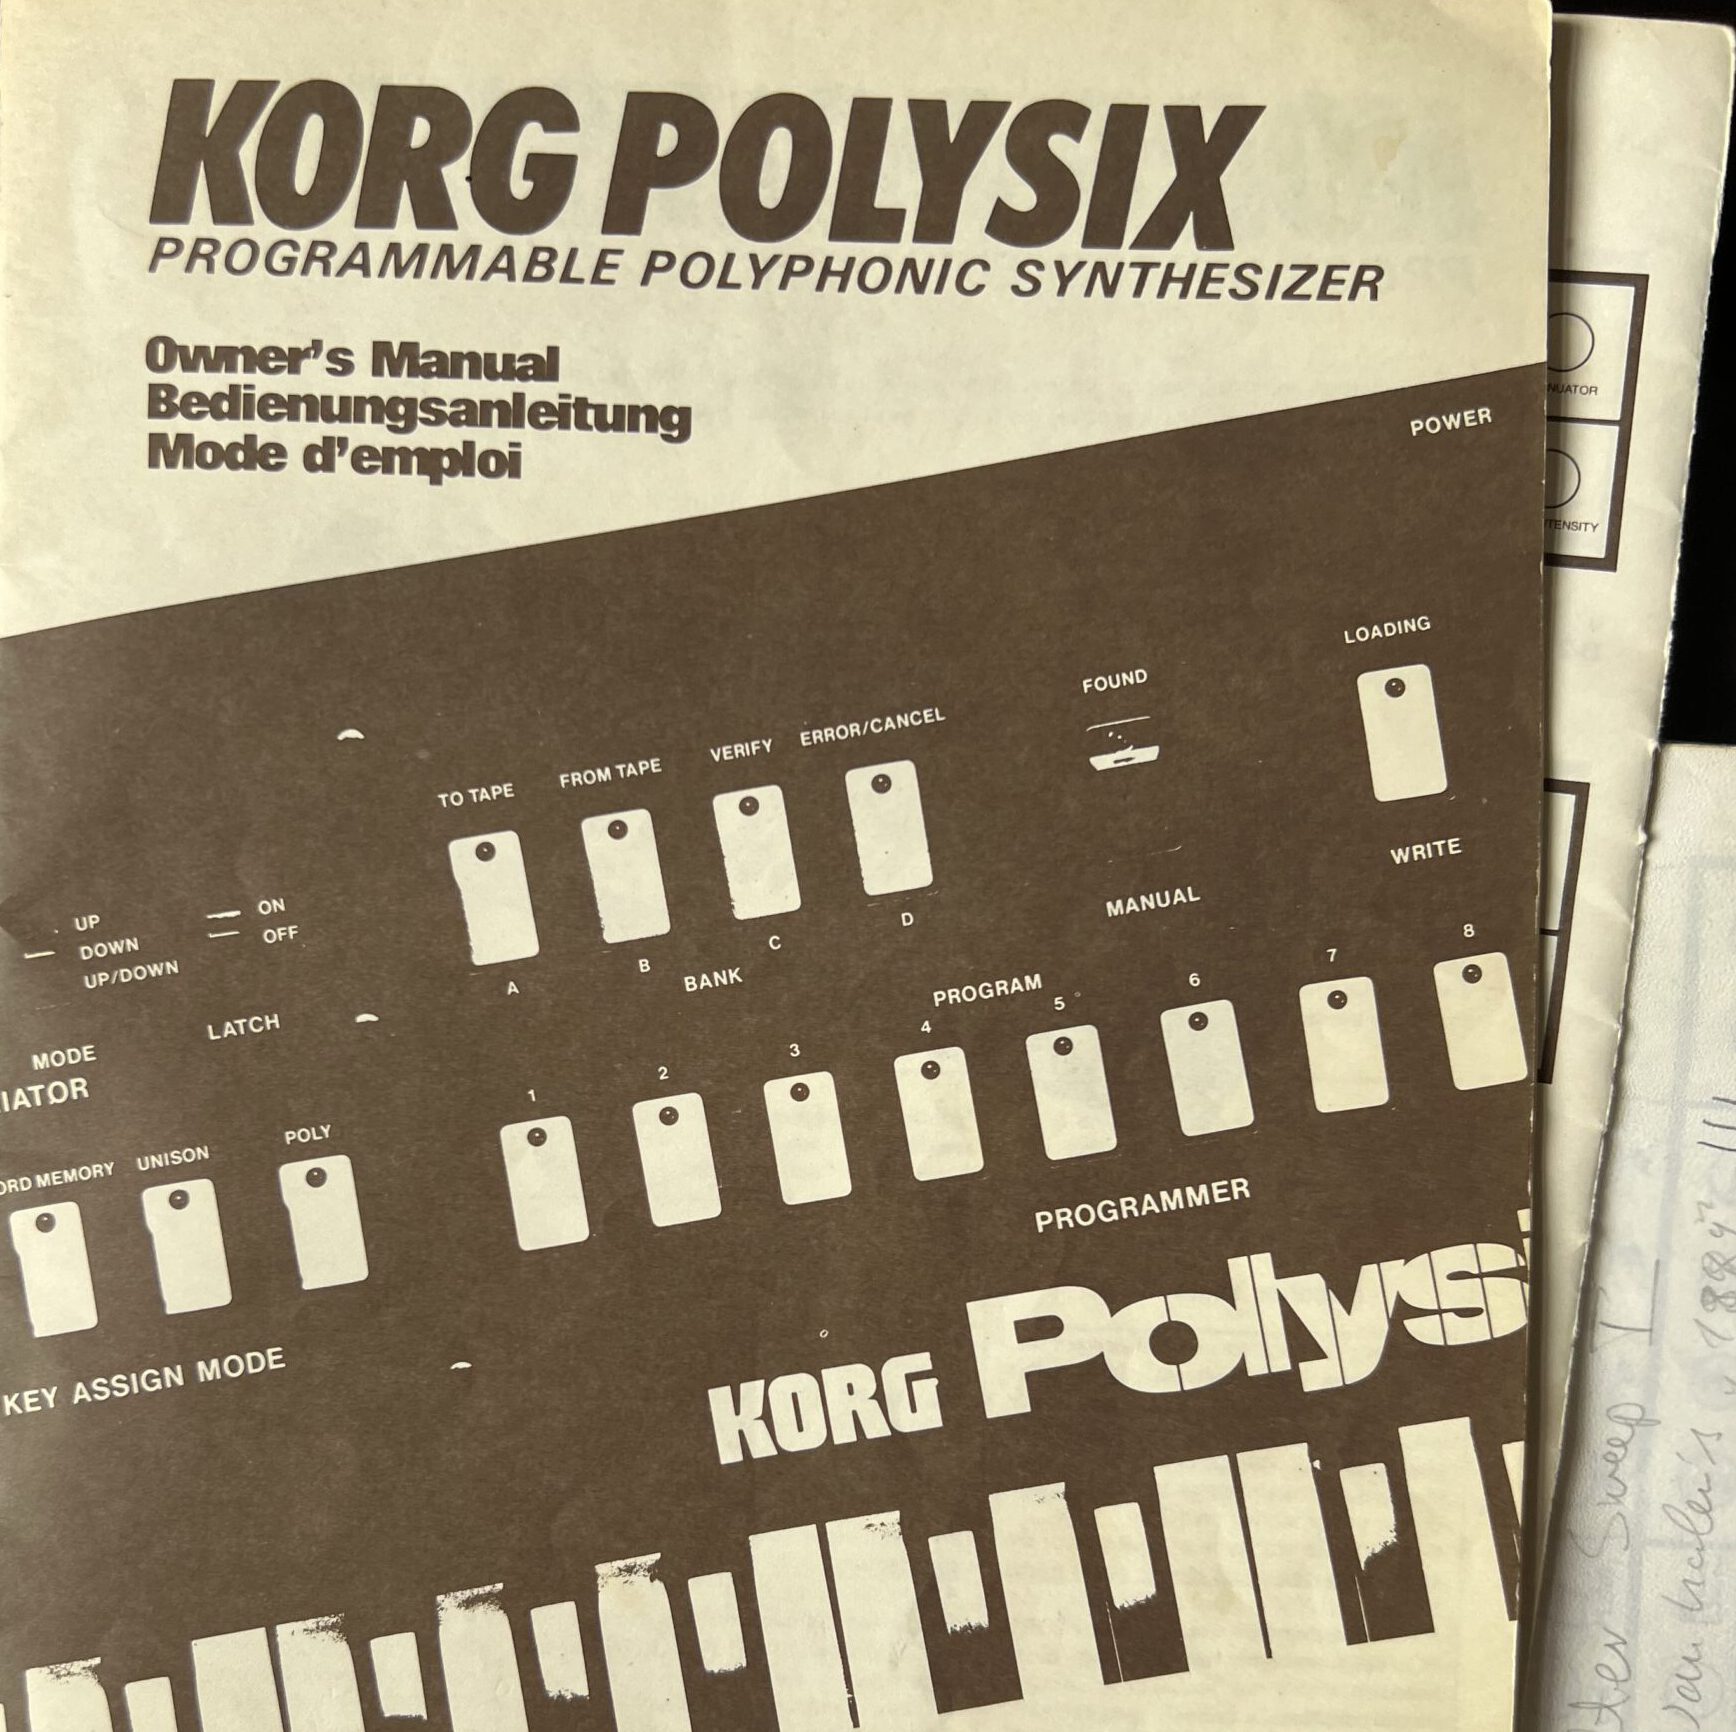
Getting hold of a piece of synth history, and a piece of my own history as well. And fixing it is just like everybody tells you it is.
(This is partly a DeepL translation from German)
Over 30 years ago, I played with great people in a great band. I didn’t really know what I was doing, and my synthesisers were a pretty strange selection – the rightfully dreaded Keytek CTS-2000 played a part (it would later be replaced by the very able combination of Casio VZ-1 and Matrix-1000, but I had way to go).
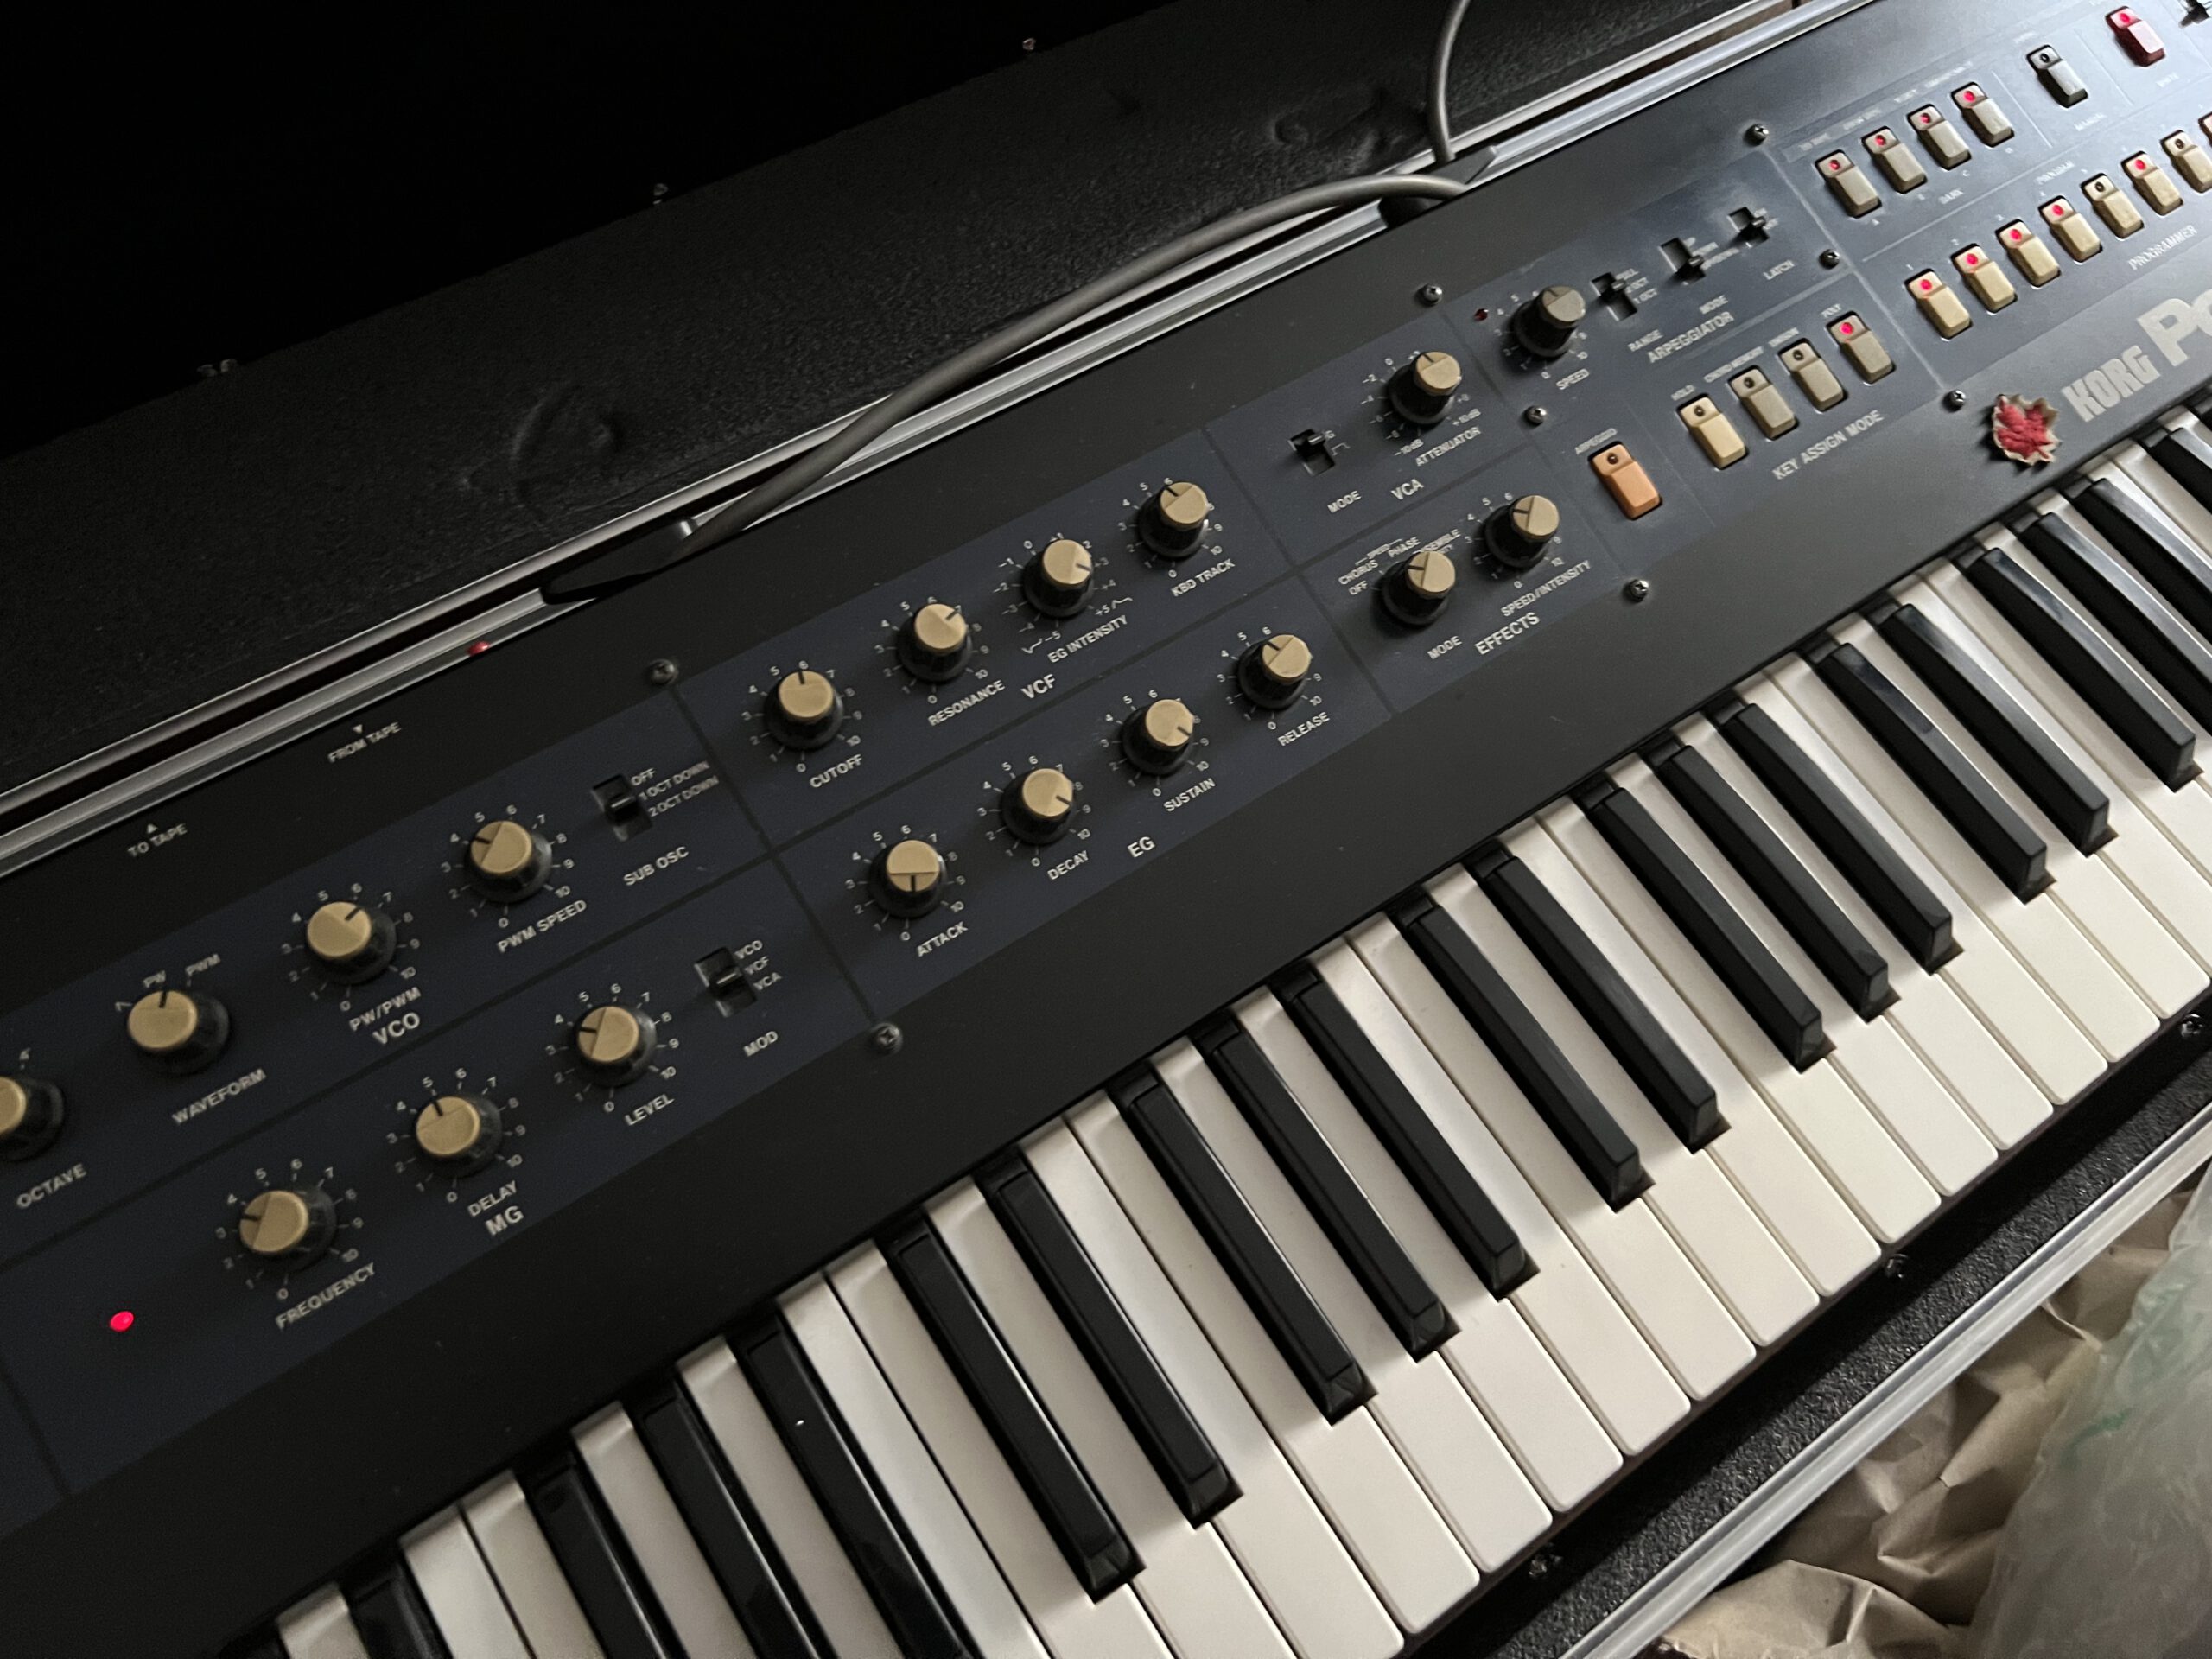
Anyway, one of my fellow musicians once borrowed a Polysix from a friend – and it was a revelation. It was already an outdated machine in the early 90s, it couldn’t do much in terms of sonic variation either (‘Poor Man’s Prophet’? Ha!), but the sounds it did do took my heart, the chorus made the sun shine over Tiefenbronn, and the instrument had something very immediate about its knobs that I didn’t know from my instruments at the time.
I have a clear image in my head of the rehearsal with the Polysix – and it came up when I recently clicked on an EBay auction while visiting family: a slightly defective Polysix. I placed a bid without really wanting to, and got it for a quite decent price as vintage Polysixes go – although I know and knew that I don’t really have time for another repair project, but the image from 35 years ago was so present… we’ve all reached that age where we can no longer defend ourselves so well against emotional flashbacks from our youth (you too, dear reader, otherwise you wouldn’t be here now, would you?)
It’s the KLM-367 time bomb battery, stupid!
I wouldn’t have placed a bid if I didn’t have a suspicion, and this proved to be correct when looking inside. Everybody who ever had to do with a Polysix possibly knows what’s coming next: the infamous time bomb battery problem. As in many other Polysixes, the rechargable buffer battery had leaked, and the battery chemicals had eaten part of the KLM-367 Programmer circuit board.
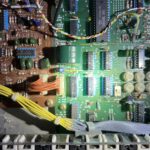
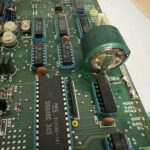
Actually, this is a problem haunting virtually every Polysix if the battery is not swapped in time to prevent it. Soldering traces proved that the battery had indeed been swapped once, presumably some time in the late 90s when a Kenton MIDI interface had been added, but unfortunately, it had been swapped for another rechargeable battery of the same type. And this had leaked at some point in time. As it had to.
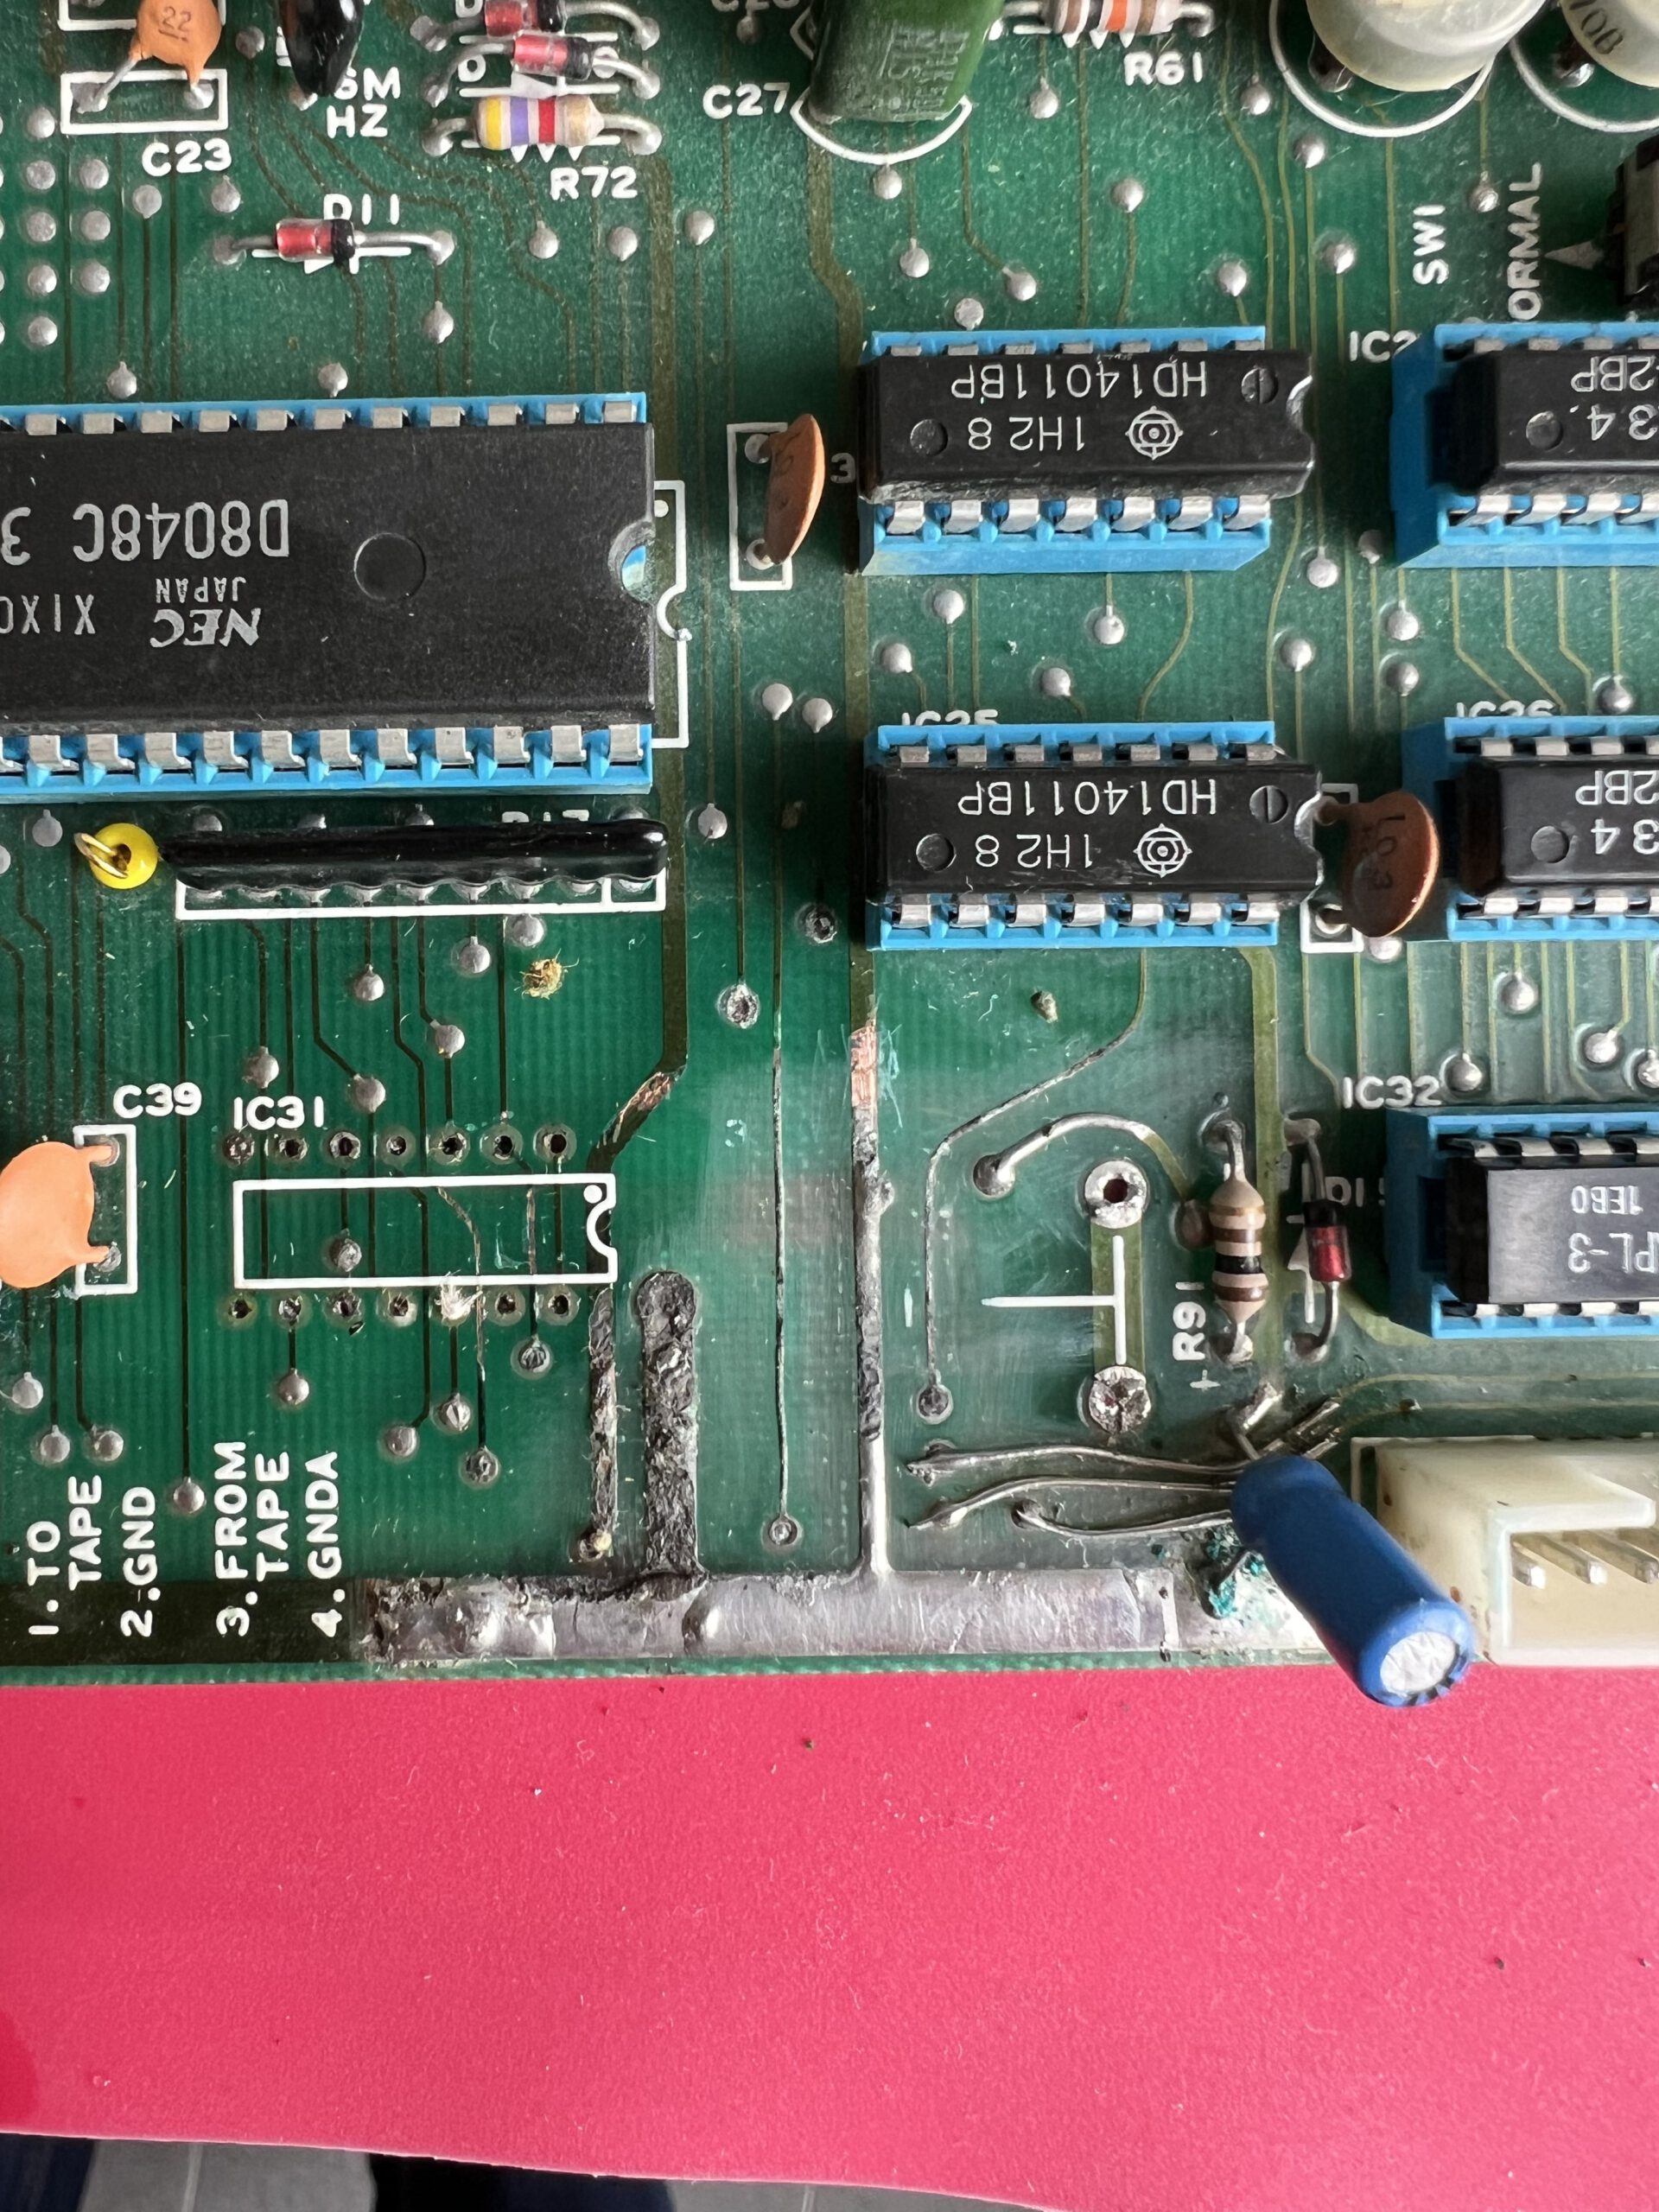
Battery and IC31 desoldered – the visible damage is only part of the problem, though.
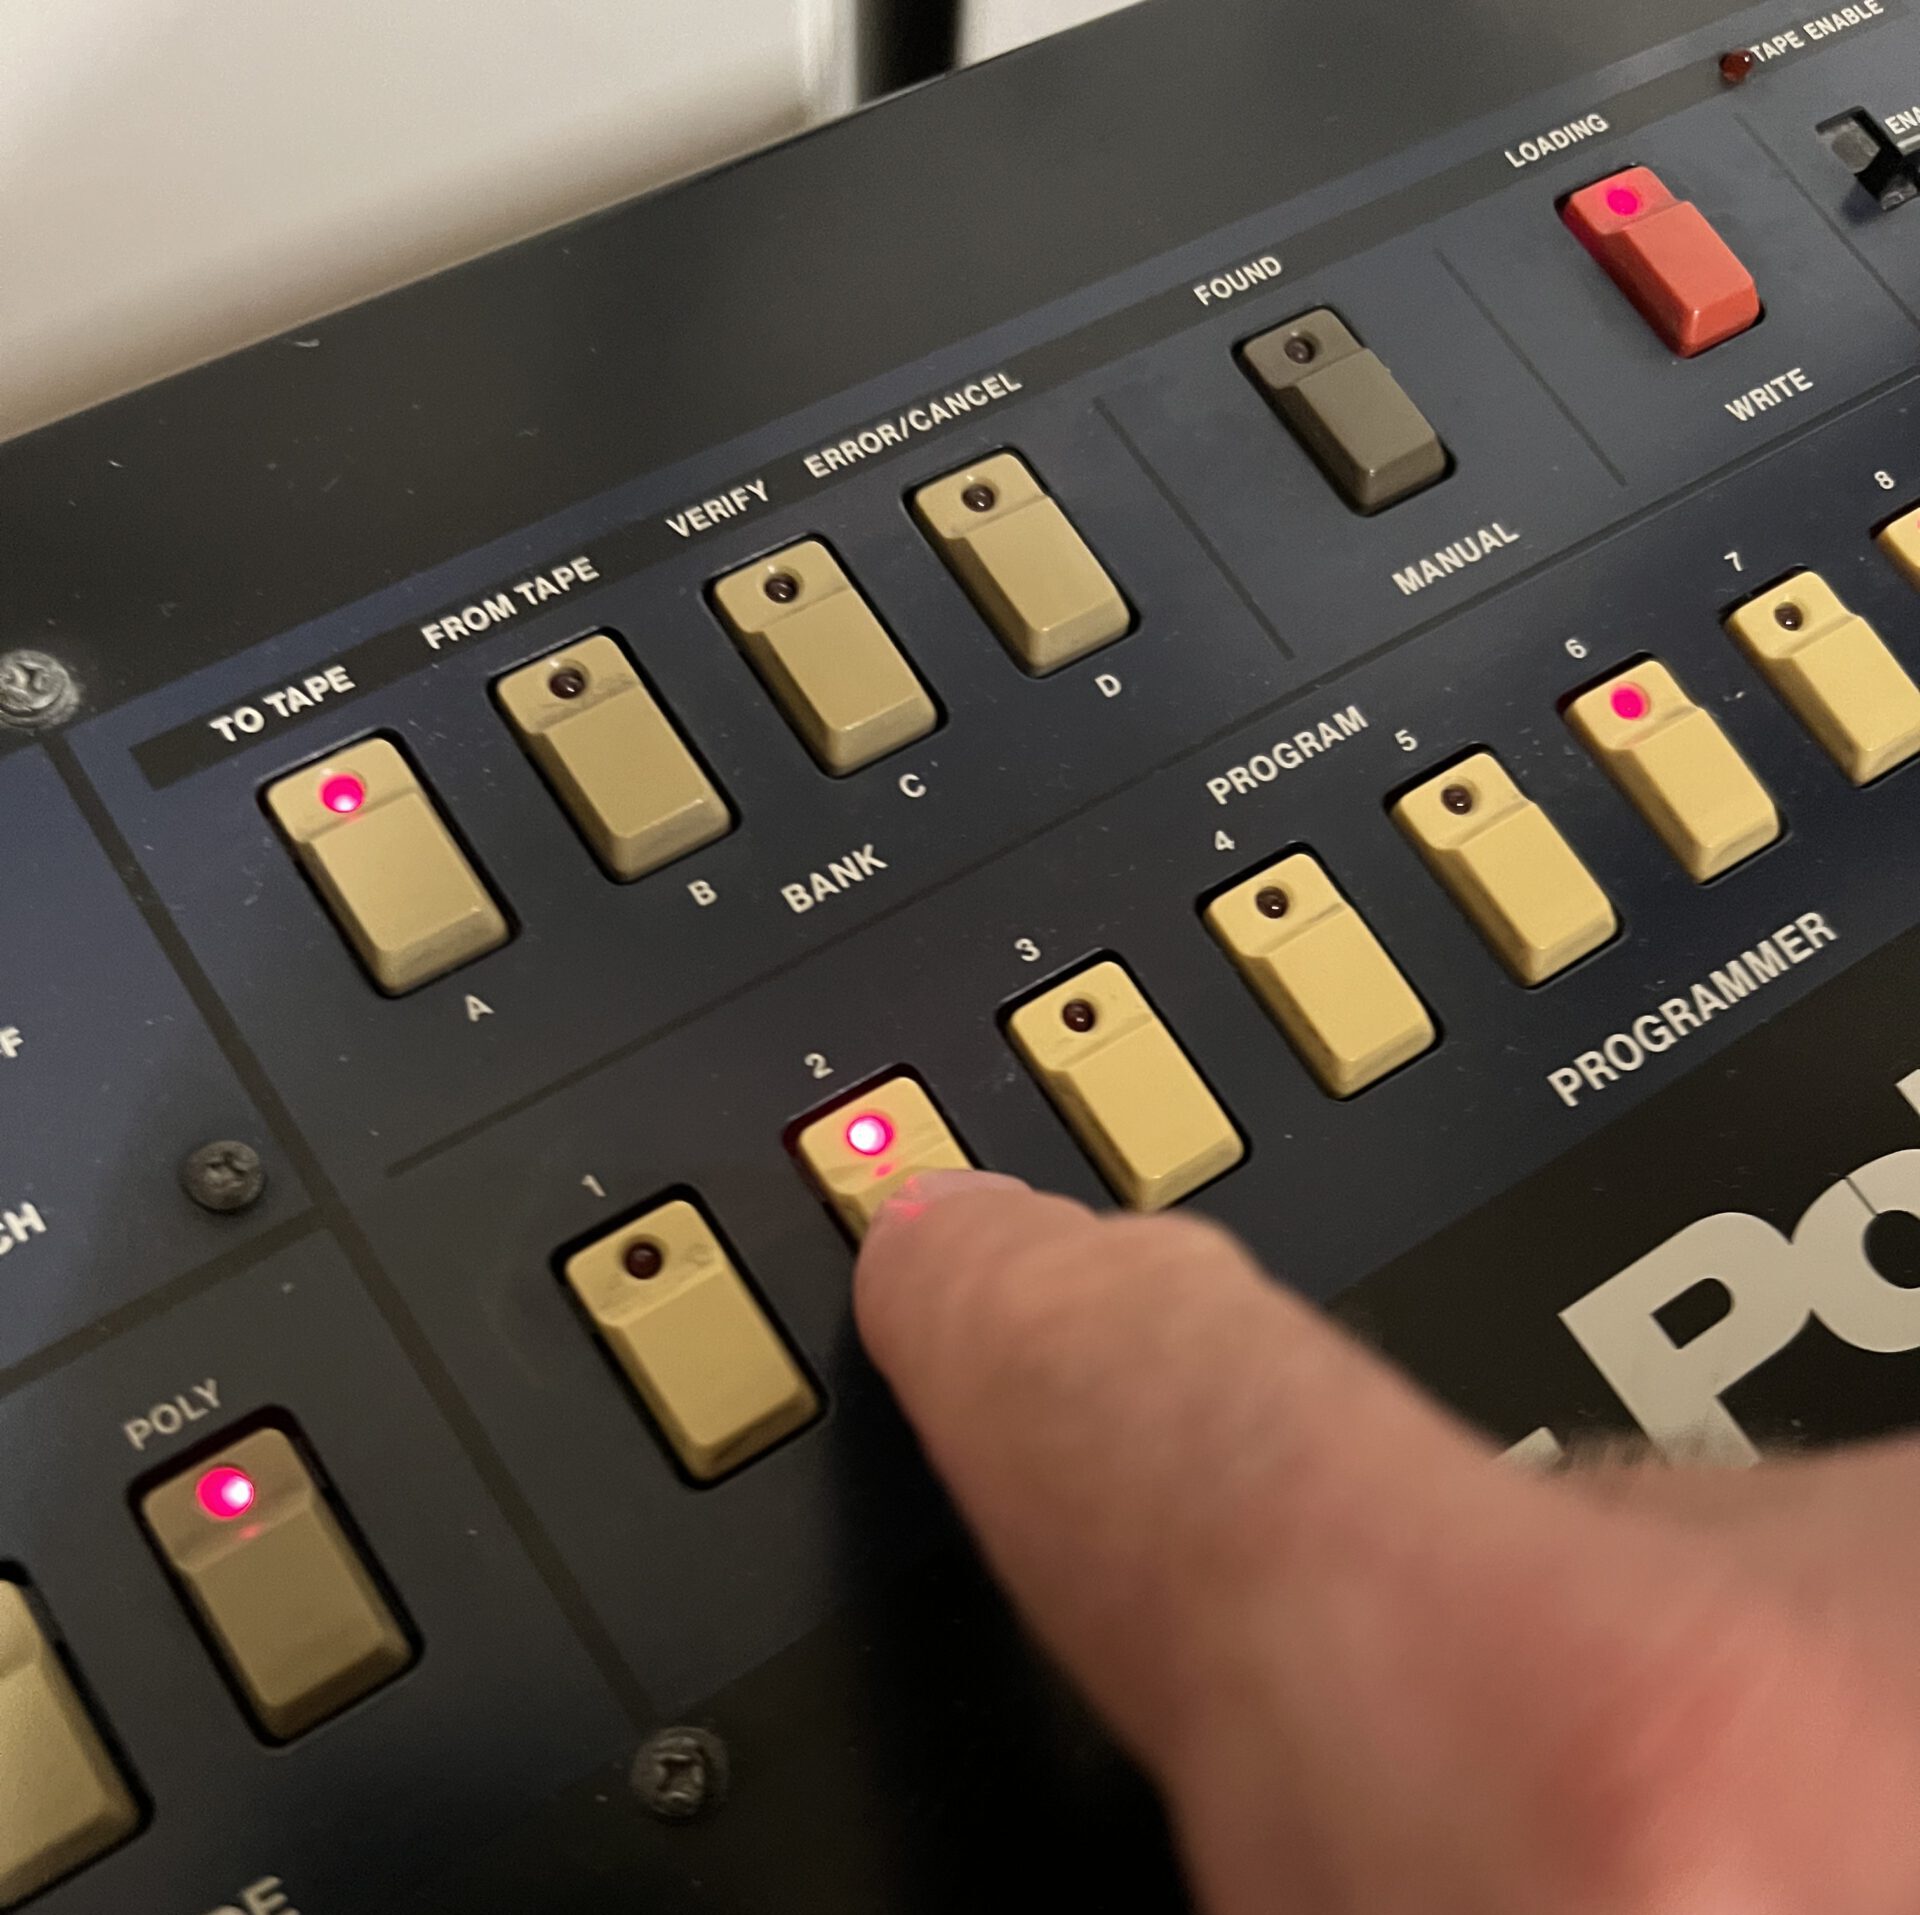
You can see that the PCB has been corroded, and the IC31 socket was also damaged. The Polysix service manuals (PDF) tells you that this is a 74LS08 Quad-NAND gate that functions as a buffer driver and may easily be swapped for a more modern HC or HCT type chip.
Cleaning up
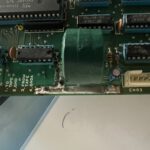
First step: Remove the old battery and the damaged socket. I had to use quite a bit of force to get rid of the socket; desoldering proved messy, and I discovered that it might be a fine idea to get a fresh soldering tip every twenty years. Alas. Now: clean the PCB with mild vinegar solution and alcohol.
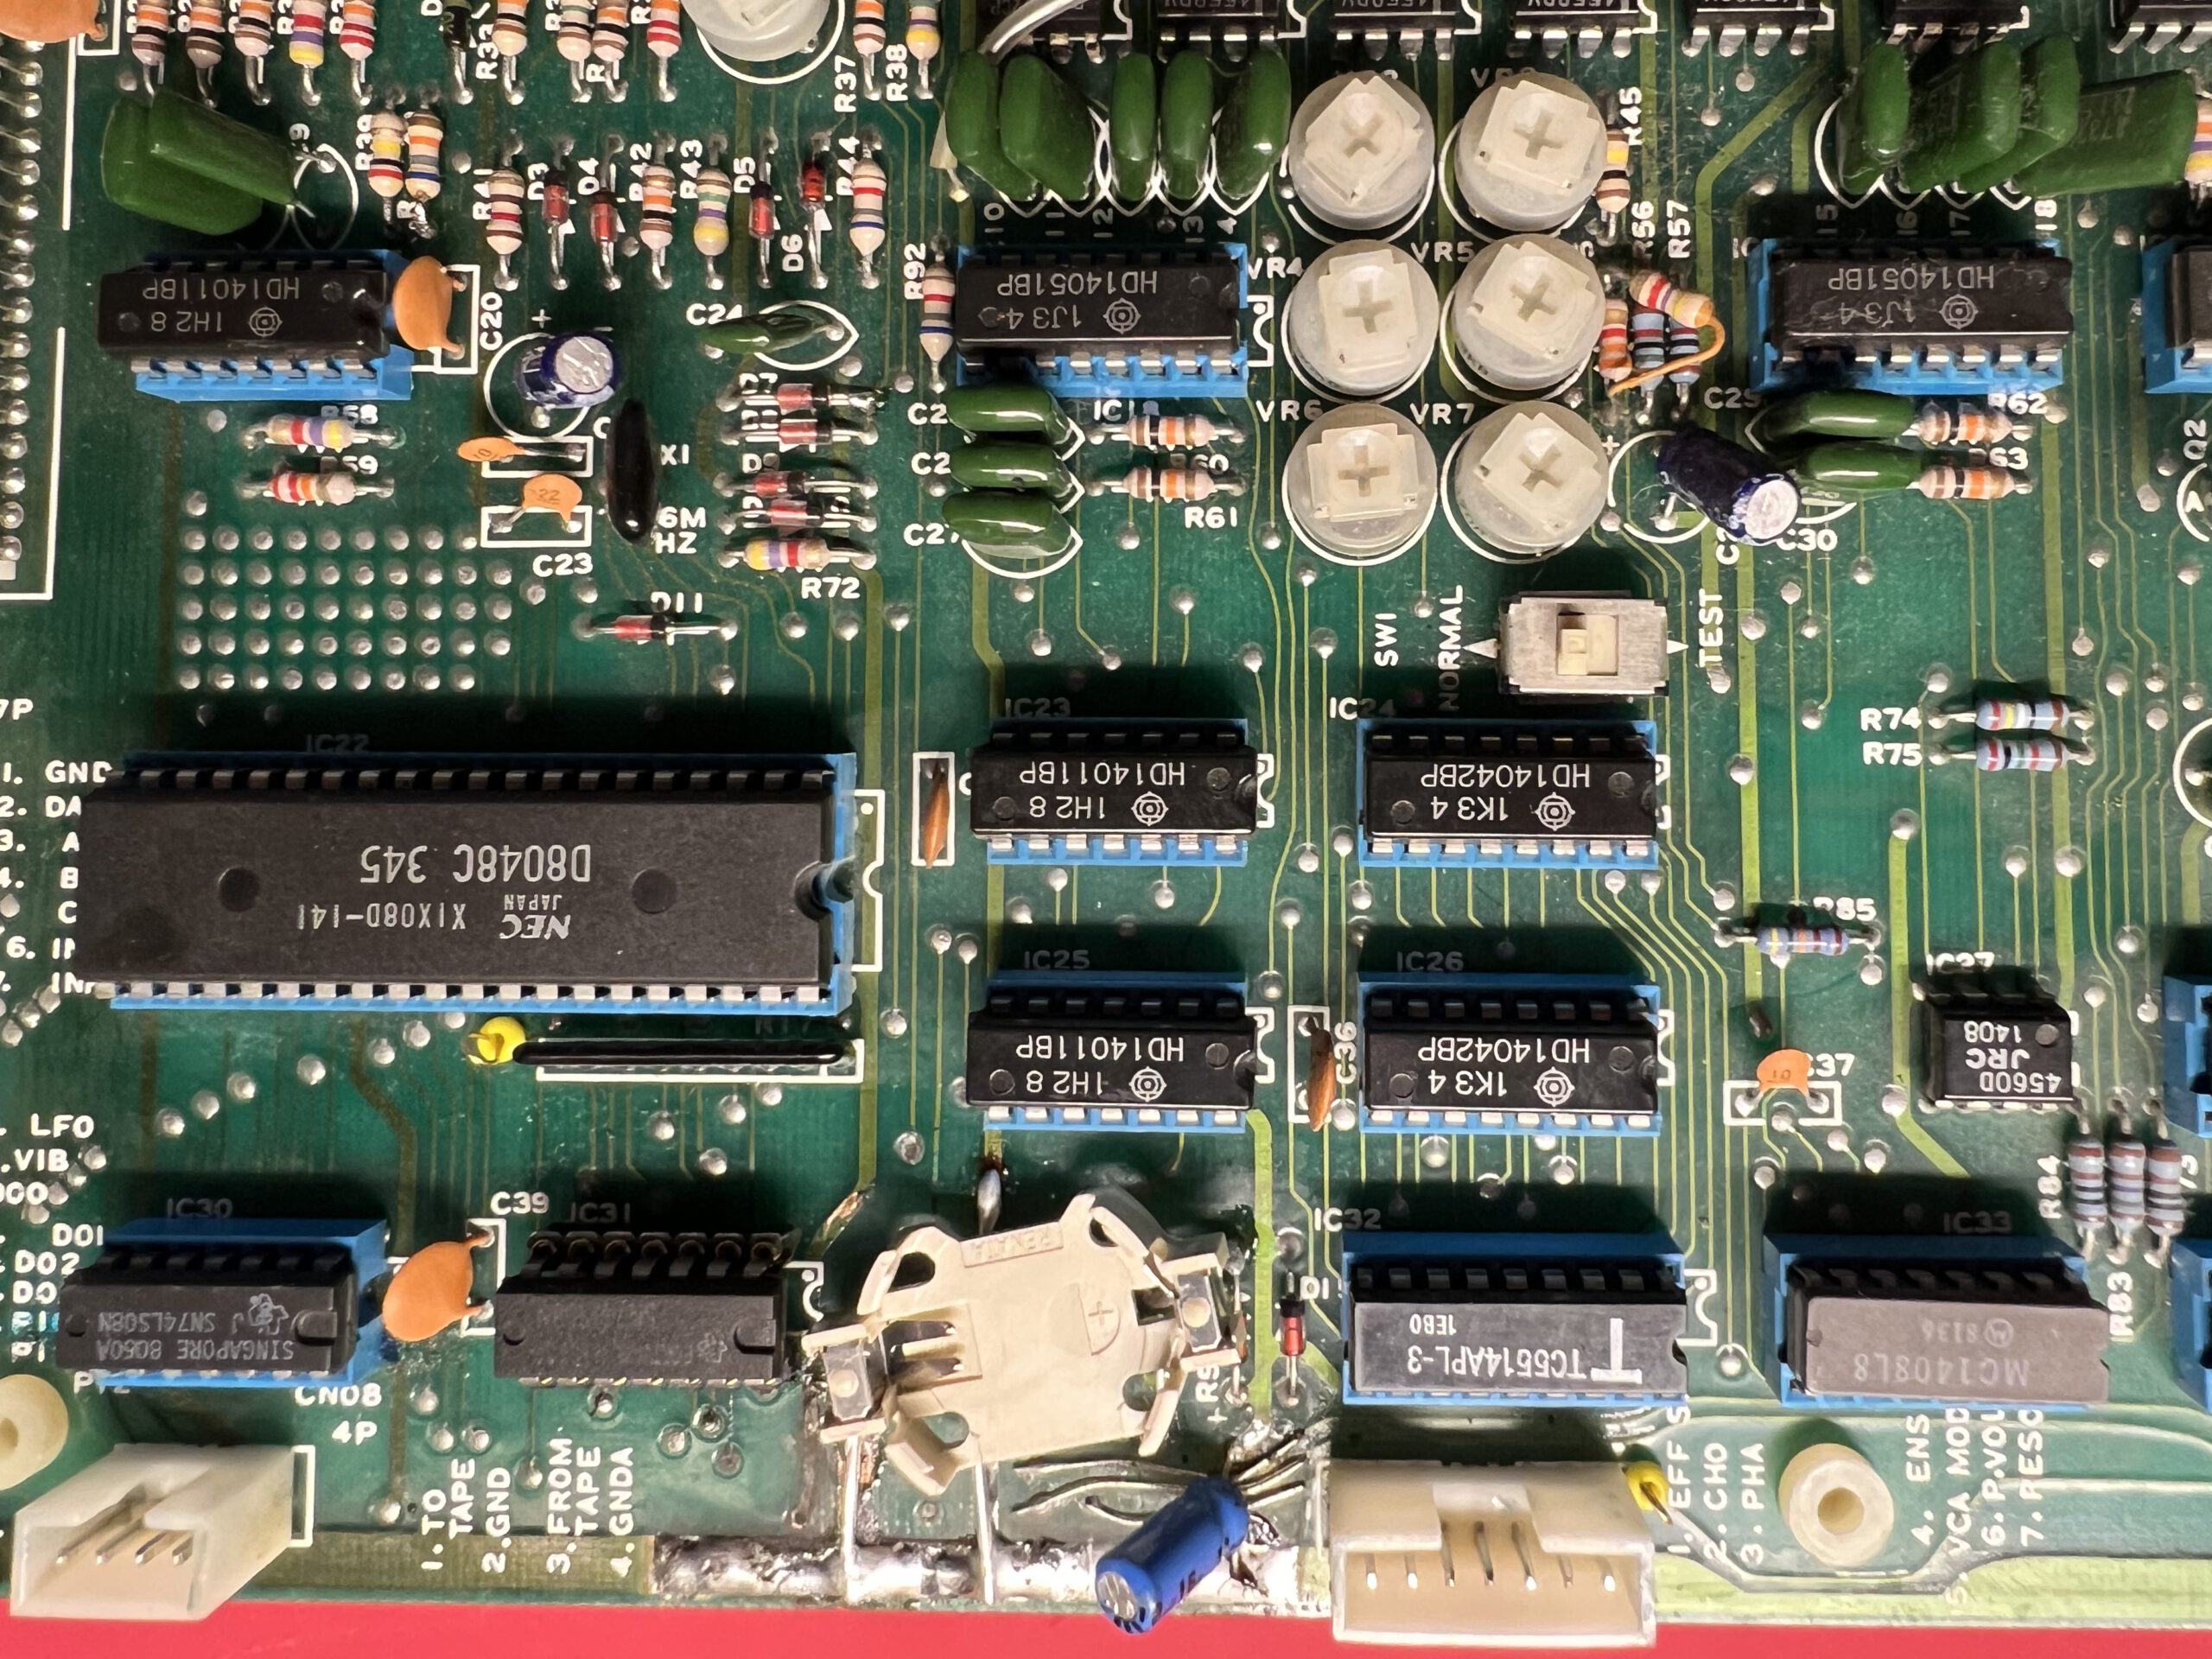
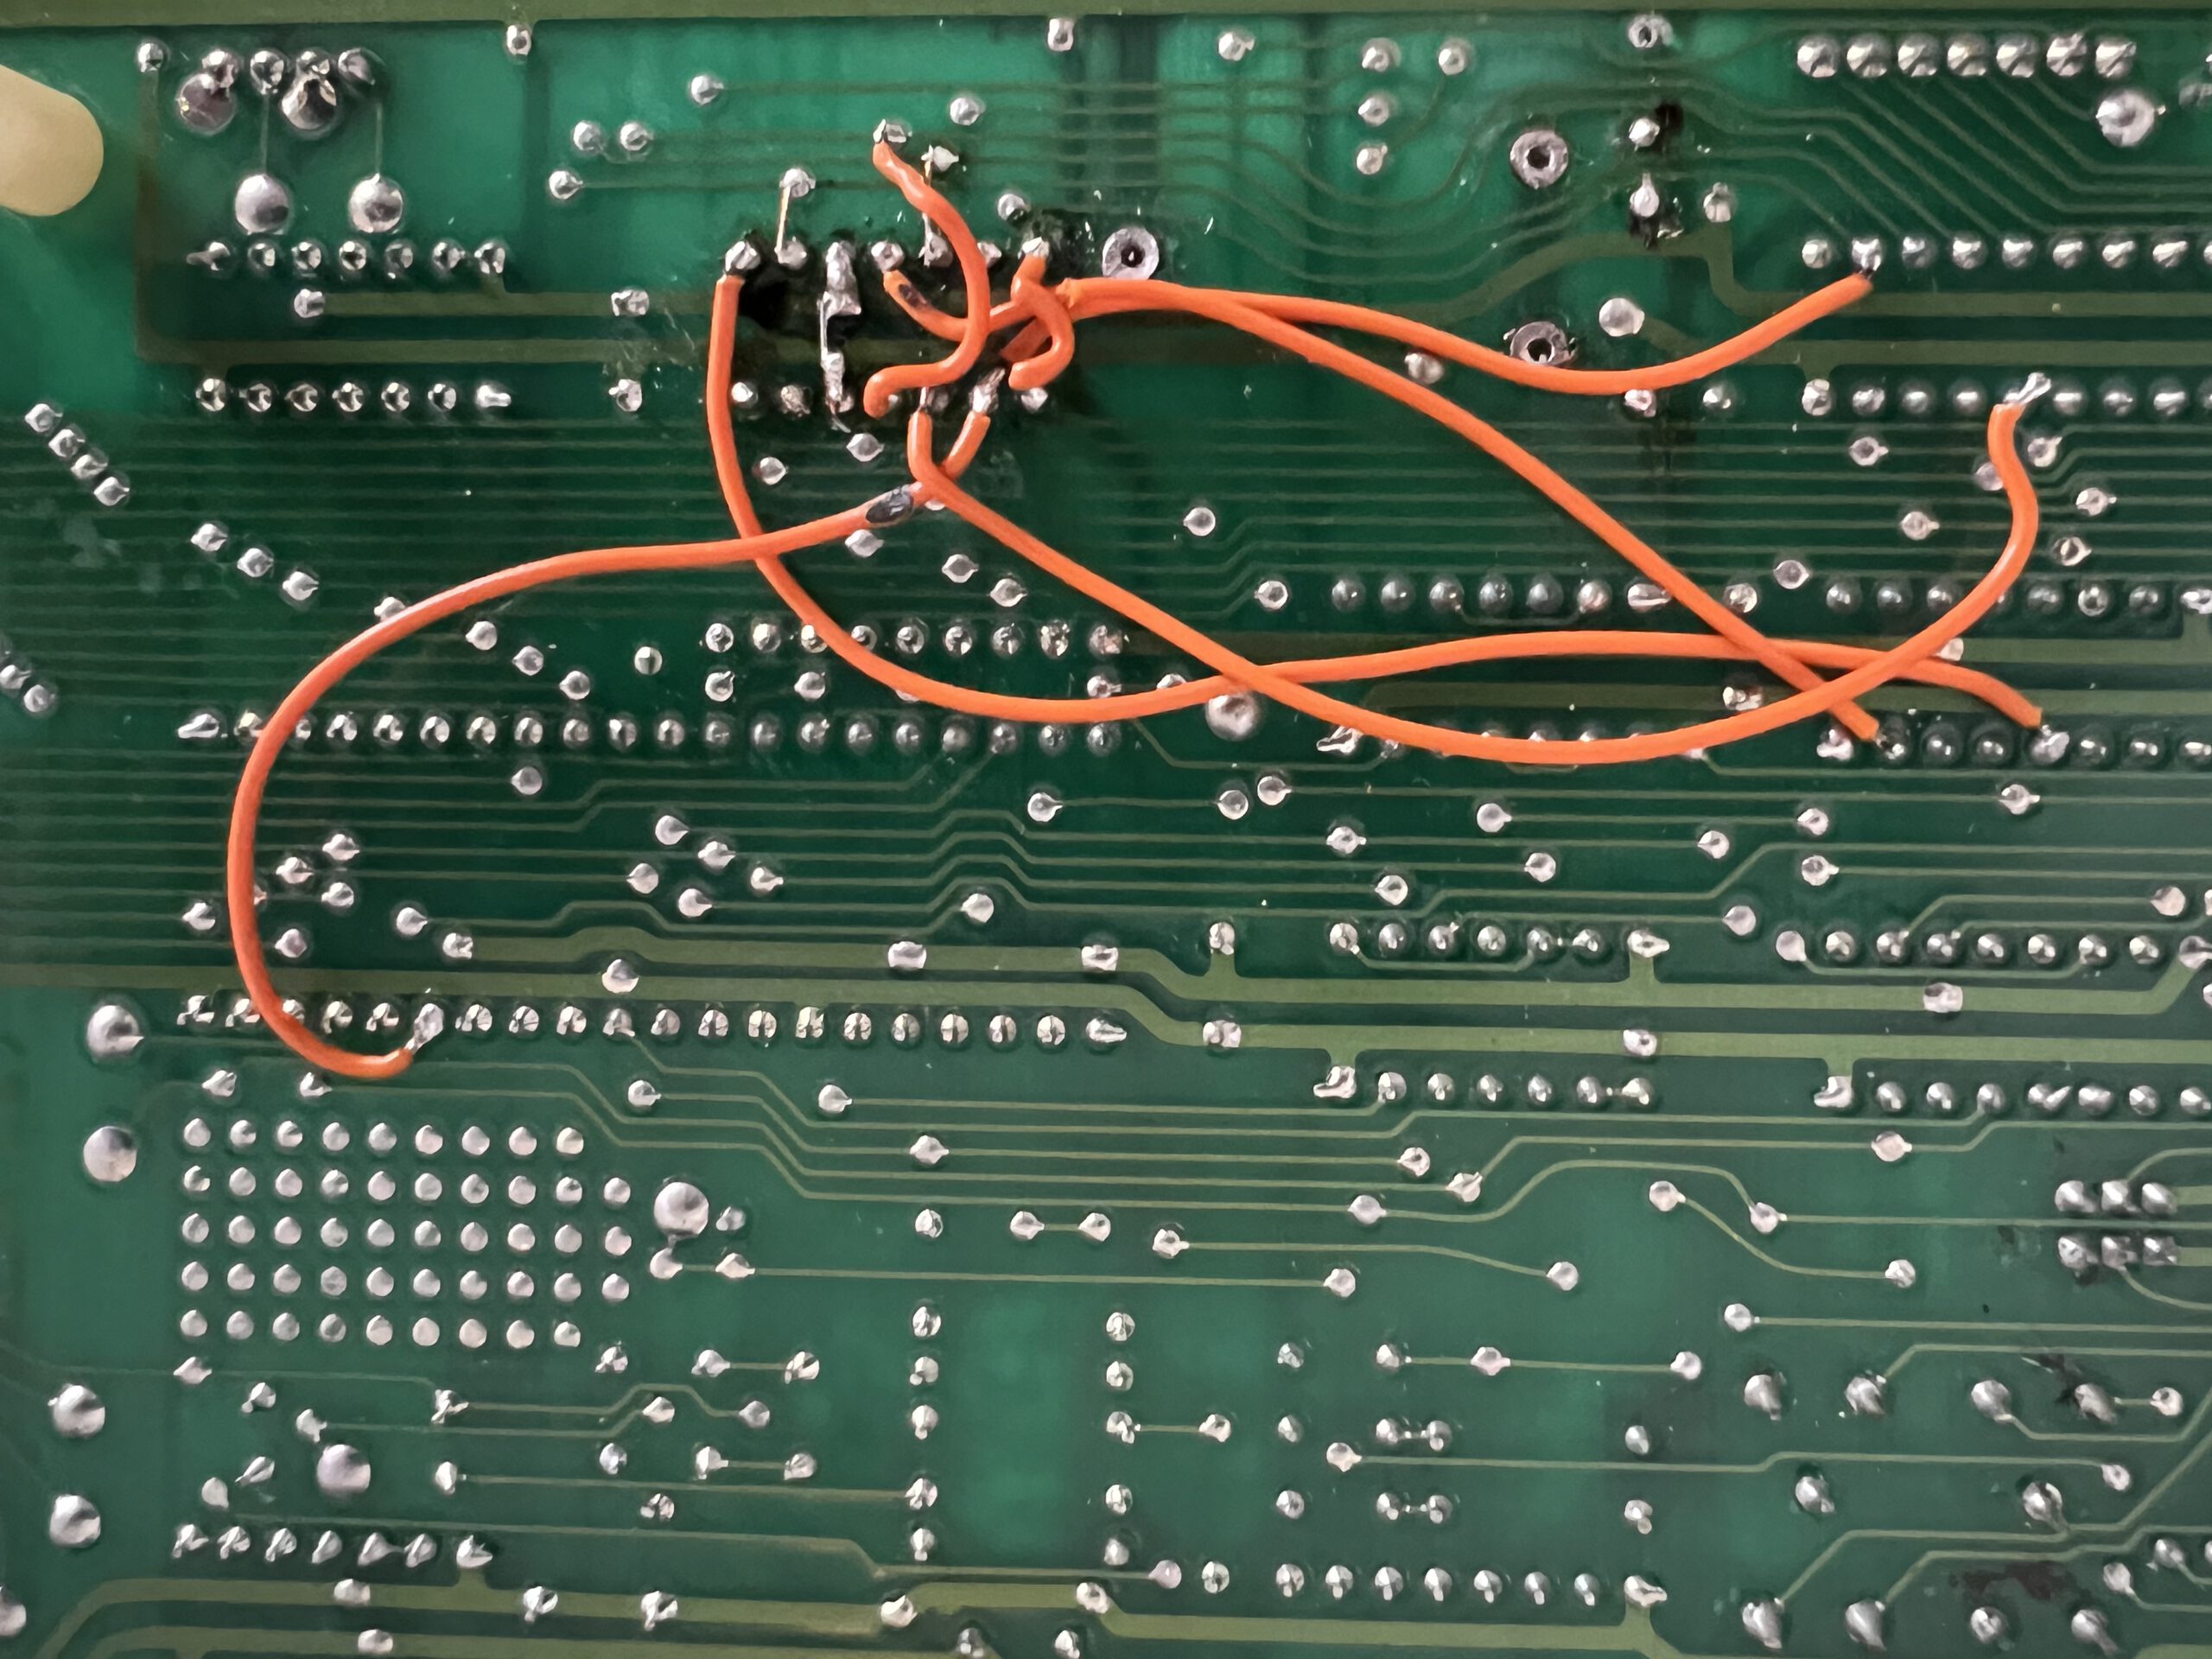
Next: Solder in a new socket, and a battery holder for a standard CR2032 cell. BTW: The service manual has an appendix describing this very modification. The chemical attack combined with my clumsy soldering had the through-holes suffer so I replaced all connections to IC31 with wires. Not very beautiful but functional.
Not there yet
A quick test shows that half of the preset select keys have come back to life, the other half is still off the grid. Measurements confirm that IC30 has defective connections as well – and, what’s worse, IC32 and IC33 have lost some connections. As these are the RAM chip and the DAC, it is hardly surprising that the synth does not produce proper sounds.
This was the point where I stopped: Replacing the complete KLM-367 board seems the better way to proceed. Andrej Shenshyn offers a replacement board, complete with new chips and parts, and calibrated, only the microcontroller has to be swapped in from the old board. As the synth is more than 40 years old, this seems to be a good investment in its future.
As is getting a state-of-the-art power supply, also offered by Andrej. It does not get as warm as the original regulators, and reduces the risk of overvoltage damaging the ancient electronics.
Still work to do!
Brief update: Mounted the KLM-367A replacement board which works fine, although the control pots are still non-functional. Anyway, loads of contact-related trouble. Volume pot scratchy. Single keyboard keys non-functional if not pressed with excessive force, so a keyboard contact cleaning is due. Audible whine on the headphone output. Not upgraded to the new PSU yet. And, yes, a good adjustment might be a fine idea. So this is still some way to go. Looking forward to it!
Verwandte Artikel:
- Midifying Jenny, Step 1: Replacing the old keyboard chip with a Teensy (Sunday, 6. January 2019; Schlagworte: Arduino, Jen SX-1000, Löten, Midi, Modding, Retro, Synthesizer, Teensy)
- Yay! I’ve bought a DIY Minimoog. (And Jenny is going to love it!) (Thursday, 1. December 2022; Schlagworte: Moog, Synthesizer, vintage, Makeproaudio Dino Park, Roland SE-02)
- The Humble Art of iPad Music: A Rant (Wednesday, 21. March 2012; Schlagworte: Animoog, App, iPad, Korg iMS-20, music, Musik, Softsynth, Sunrizer, Synthesizer, SynthX)
This was the first ever ‘proper’ polysynth I ever played and I always lusted after one as a teenager in the Eighties. As a more responsible adult – with limited DIY synth repair skills (and an even more limited budget!) – I’m simply awaiting the Behringer PolyEight clone. If their Mono/Poly is anything to go by, their 8-voice PolySix should help assuage any misplaced cravings I still have for this beautiful instrument.
Thanks for the post…
Thank you for sharing that memory with me! And yes, I think that we should thank Behringer for that.