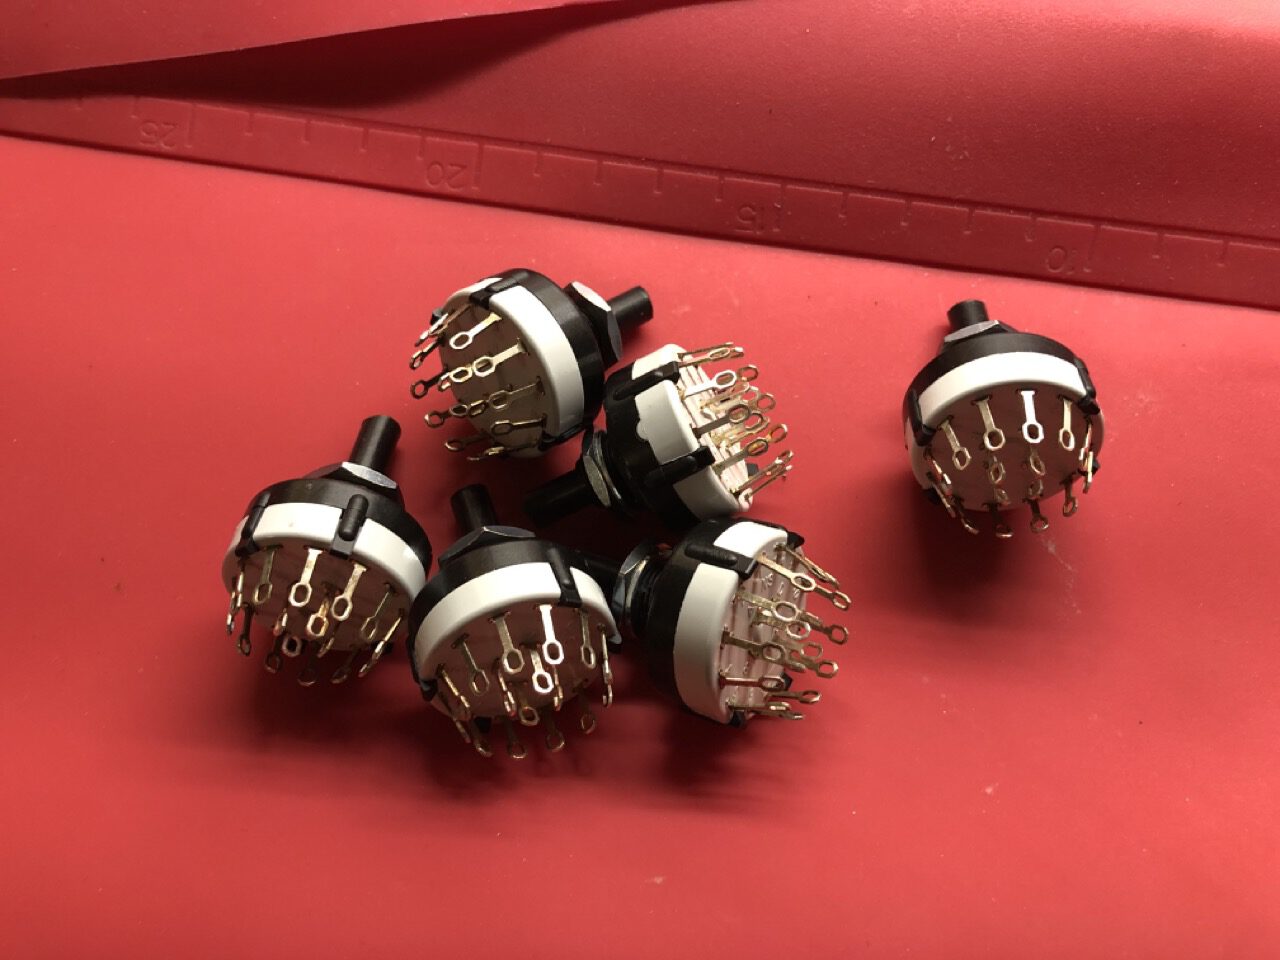
That you can change a three-position switch into one with up to eleven positions?
I didn’t.
If you followed my plans for building a Midimoog, you know that I really like Bjarne’s DIY Moog case but have two minor criticisms: One, the keyboard. I’ve learned. More on that below. And two, the six rotary switches did not have the necessary six positions but only three each.
So I ordered some replacements at Musikding.
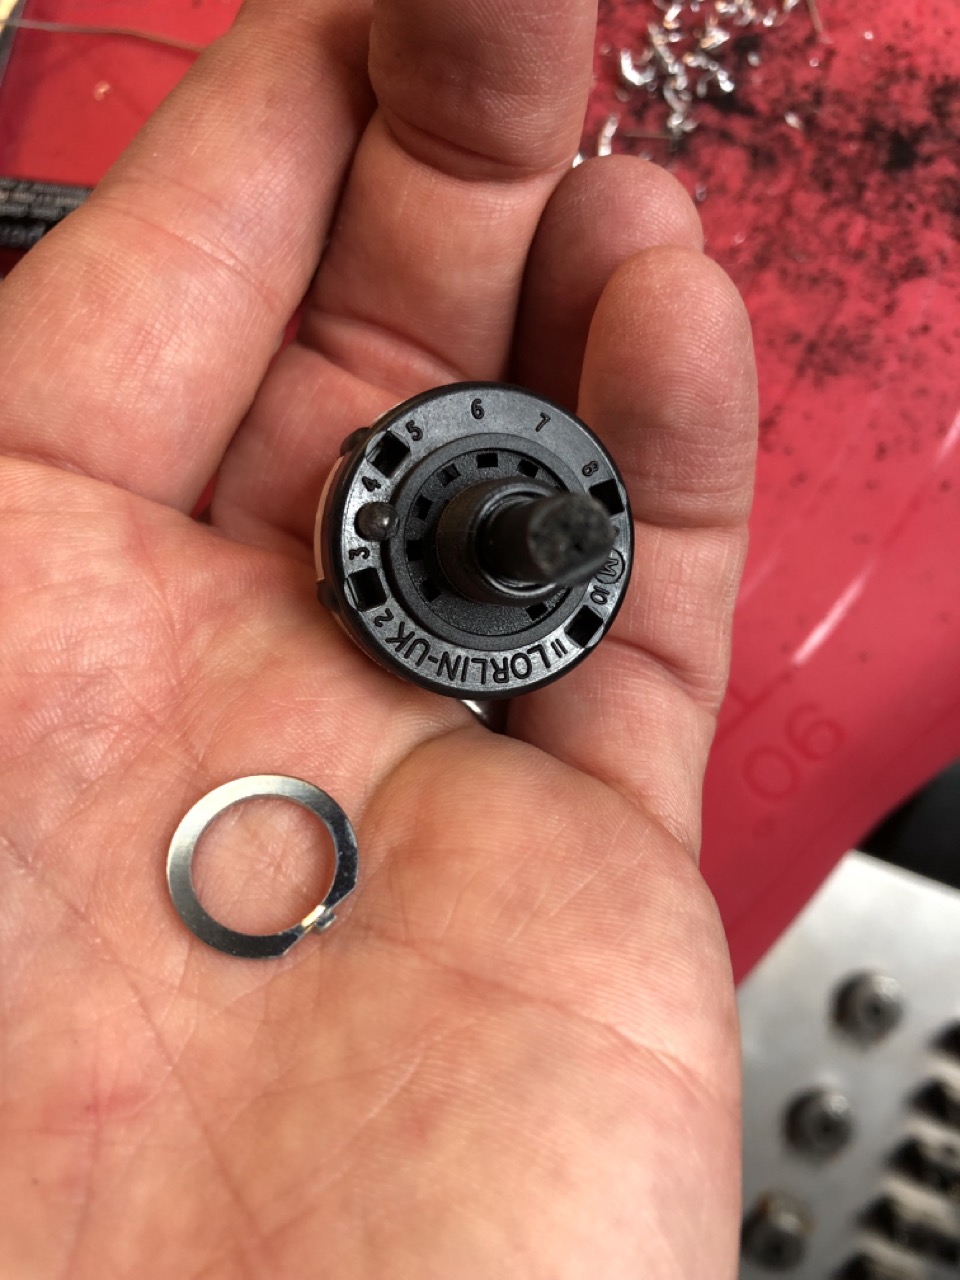
When I tried to insert one of them, the silver disc from the top slipped away. I had thought that this is just a simple spacer and was surprised to find it had a small nose. And I was even more surprised when I discovered that the switch now only had two positions!
And thus I was enlightened: You can configure these switches by setting the ring to the number of positions you want – just put the nose in the hole at the number marker for the number of positions: 2, 3, 4… up to 11. (Yes, these switches DO go to 11!)
So now you know as well.
The keyboard is actually exactly what I need…
…as it is almost identical to the yellowed old one from my Blofeld which I wanted to use. They are both from FATAR, the Blofeld keyboard only featuring weighted keys and aftertouch, but electrically, they seem to be identical. And this means that I can salvage the scanner electronics and use them for the Blofeld keyboard as well. Easy! Making progress.
Verwandte Artikel:
- Yellow keys: “If you can avoid UV light, avoid it” (Sunday, 19. December 2021; Schlagworte: bleaching, hydrogen peroxide, Keyboard, Synthesizer, )
- Fixing a Waldorf Blofeld’s jumpy encoders (Sunday, 24. January 2016; Schlagworte: auseinandernehmen, dismount, DIY, Drehknöpfe, fix encoders, Synthesizer, Waldorf Blofeld)
- Yay! I’ve bought a DIY Minimoog. (And Jenny is going to love it!) (Thursday, 1. December 2022; Schlagworte: Moog, Synthesizer, vintage, Makeproaudio Dino Park, Roland SE-02)

